

1785 Susan Hurlbutt, Colonial Healer
Click to see Susan’s other characters & projects

Susan is a time traveler, or at least her character is. Based on the “Outlander” series which inspired her ensembles so she could attend Diana Gibaldon events in her area and Celtic Games her son participates in, the other projects we developed were for the character’s beginnings in Scotland.
We now have her character settled in the new United States just post Revolutionary War, which “officially” ended in 1783. She is found in a thriving new country which is recovering from war, yet still abundant in resources and innovation.
This sees her “Claire-like” character, a healer who came from the year 1945 originally, and traveled back to Scotland 1745 through the Jacobite uprising, to the “end” of her journey and settled in the Southern Colonies of the New World. Susan herself is a nurse, just retired, and in parallel with her “Outlander” character, has also settled in to take care of her close and extended family.

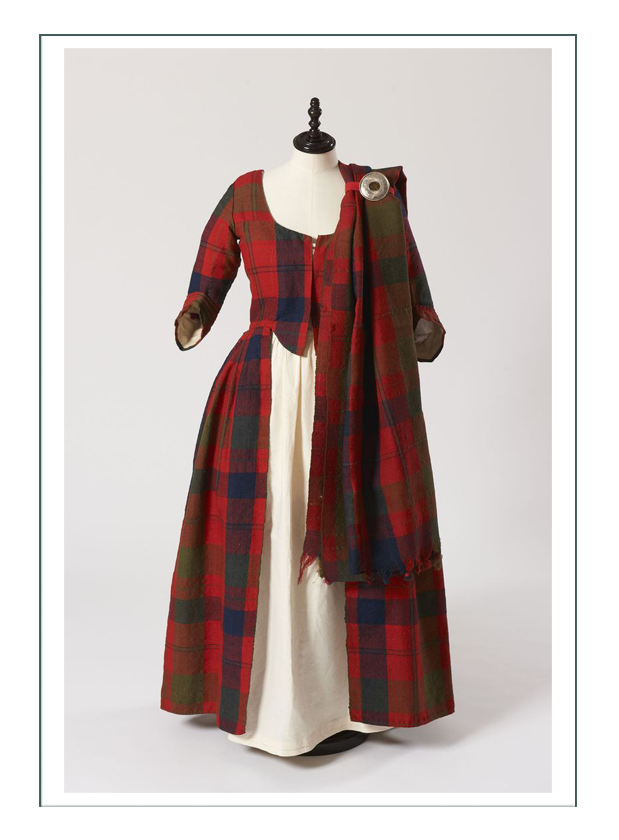
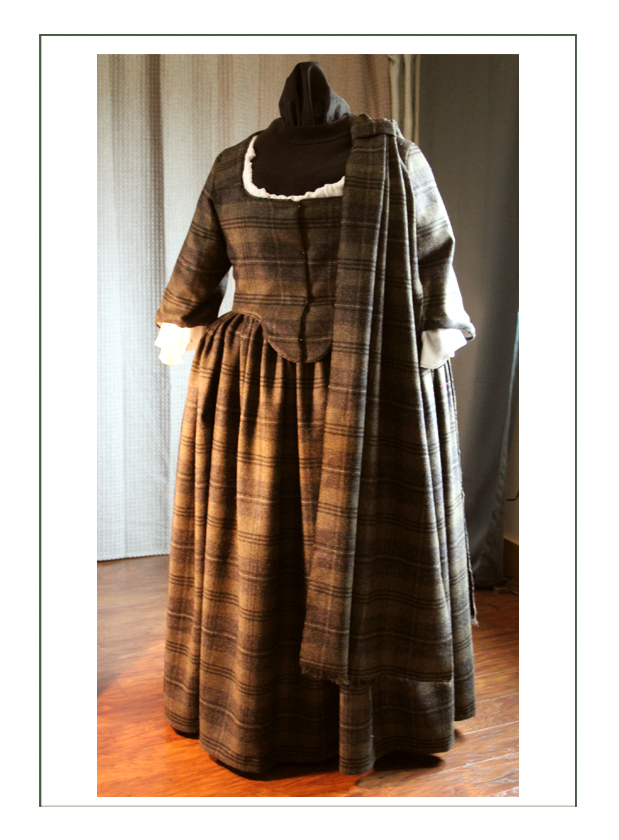
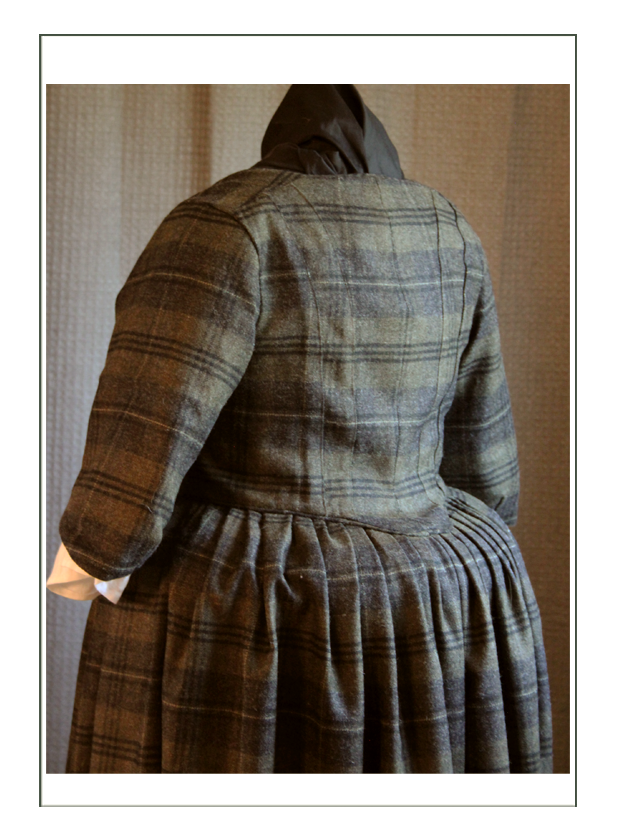
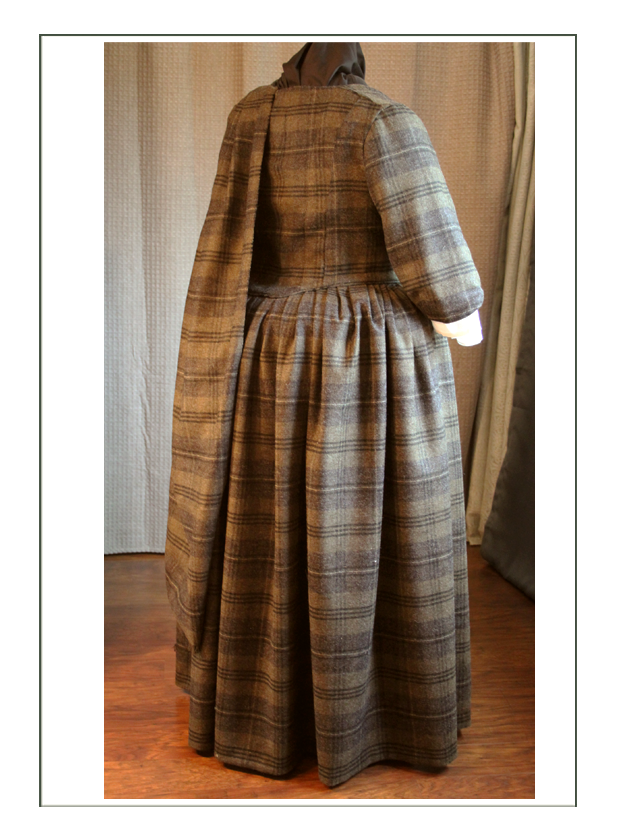
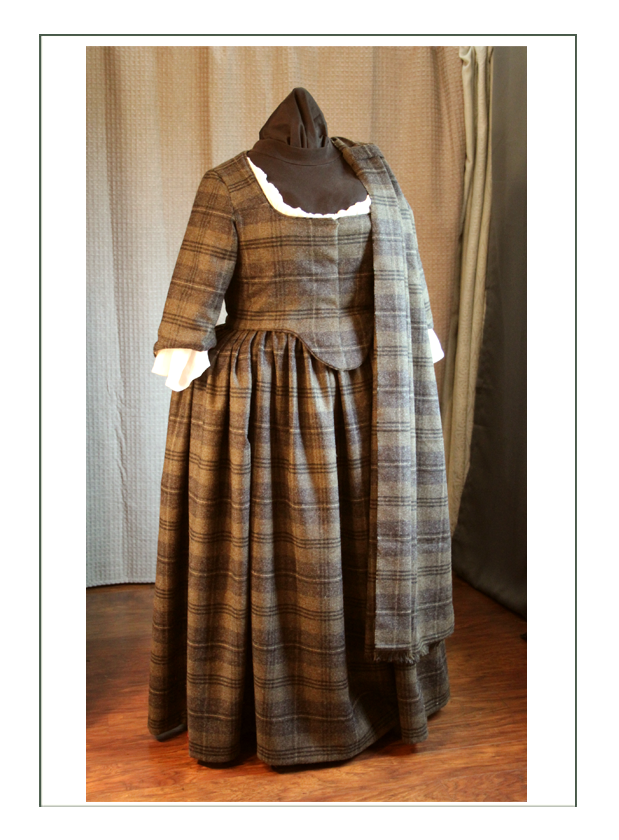
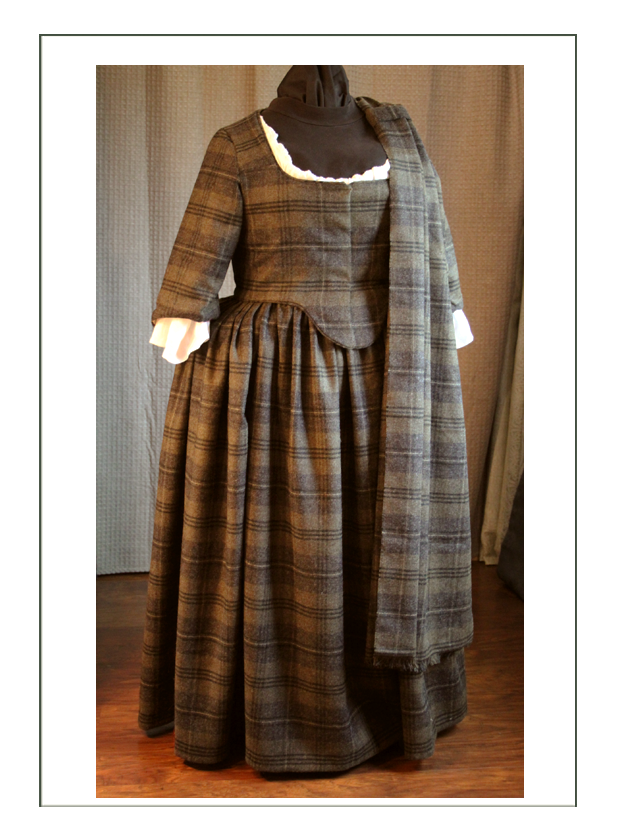
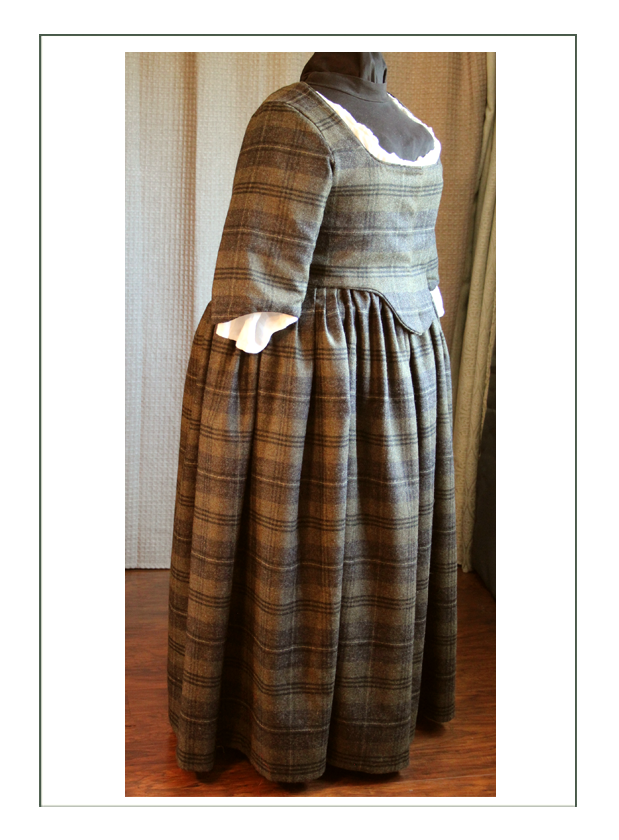
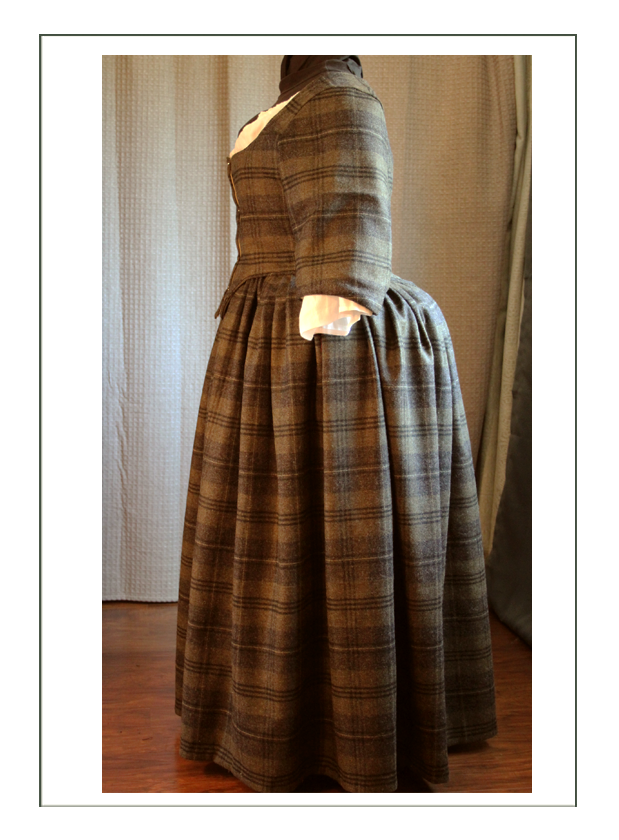
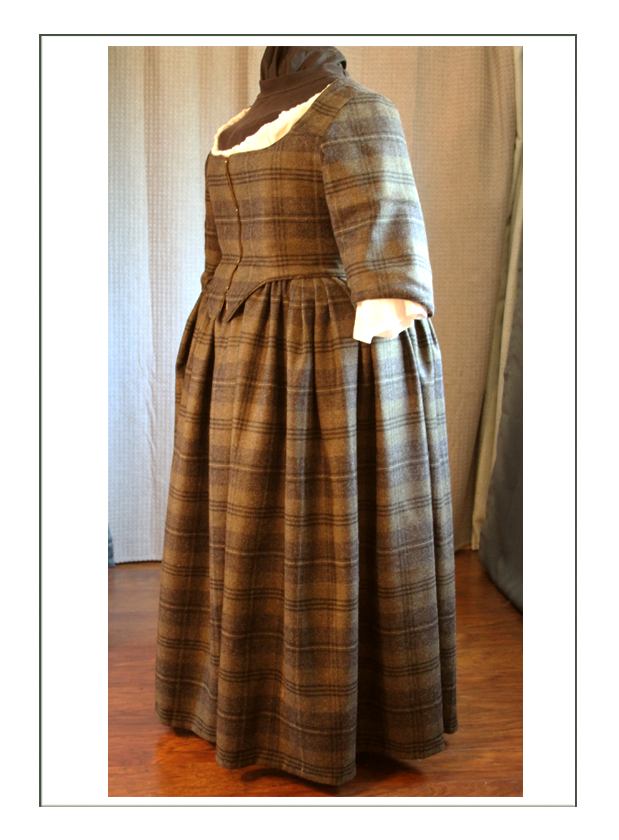
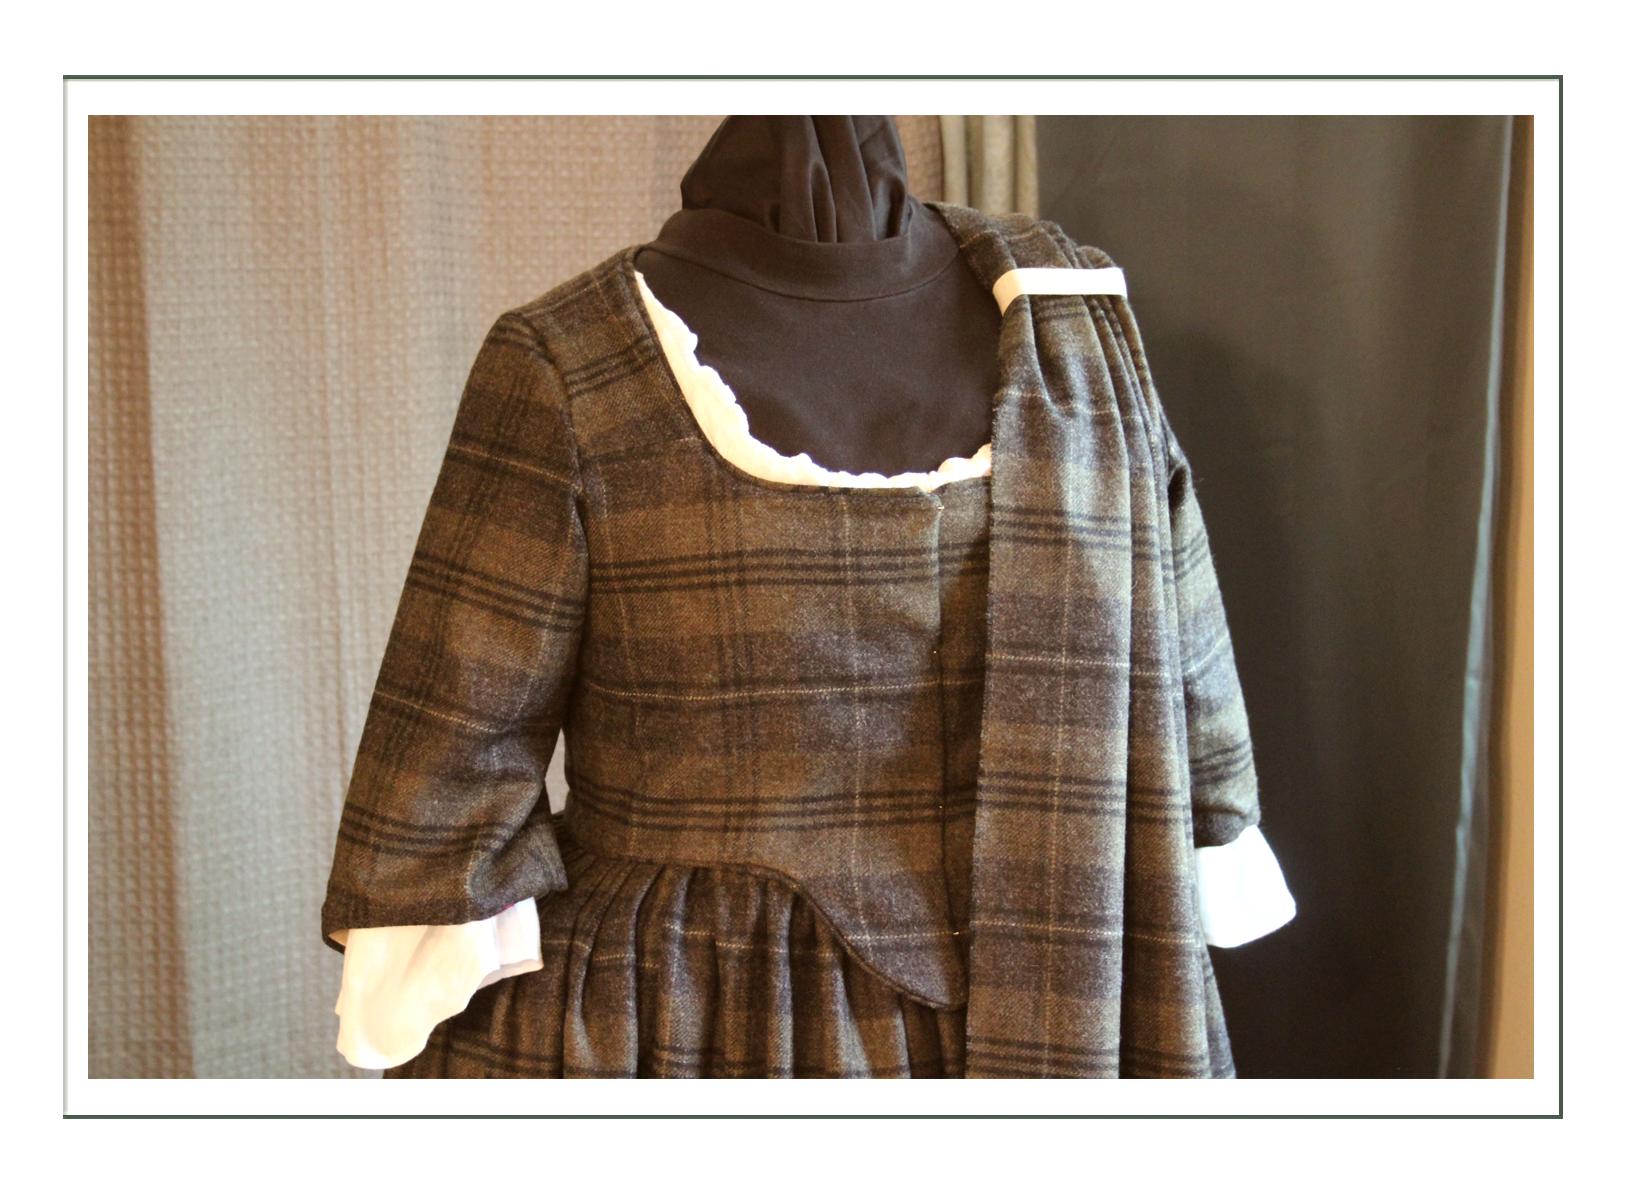
This project is based on the design, fit, and purpose of the MacTavish gown. Susan wanted this look for the extension of her character in the later days of her life when she settled at last in the new Colonies.
Scotland presently has as a national treasure, a prime example of textile, weave, pattern, and construction of a bridal gown that was created for the wedding of Isabelle MacTavish Fraser in 1785. The reason this is so important to the Scots is that it represents the culture at the time, as well as the economics and traditions that signify that point in their history.
The other reason it is important is that it is almost perfectly intact in every way, and thus available to study in depth.
Extensive study has been made on the gown itself, with assumptions made as to the reasons it is what it is. To summarize hours and hours of discussion, basically they believe it was:
- Made in a hurry with little time for fittings
- Possibly only had one fitting and then a final fitting, thus creating some mistakes in fitting
- Done or at least parts of it done by a novice without supervision (mistakes in construction)
- Directed by the bride to include 1760-70 back design and “modern” 1780’s front design; they still wonder why unless it was a matter of personal taste or a nod towards her family’s tradition; possibly what she felt would make her look good
- Made of local textile weaves representing the Clan Tartans and Plaids of the time that are still in use today
As with all our ensembles, we find that “What women wore depended on what they knew about, could get, could afford, and desired”. More extensively, this MacTavish gown is an example of all these factors relative to Scotland of 1785:

Click here to go to Susan’s Fashion History Page with the MacTavish Project & links to eras
Continue below to see the Finished Project


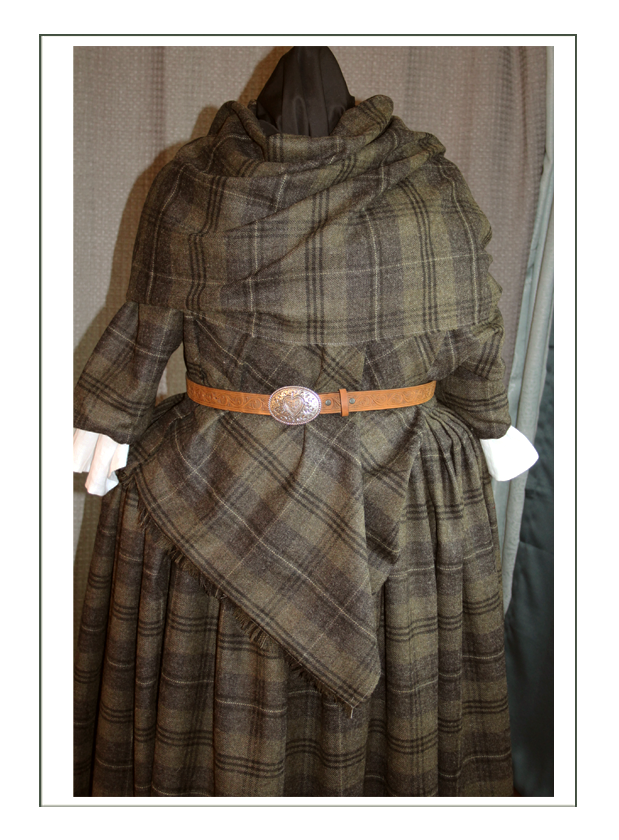


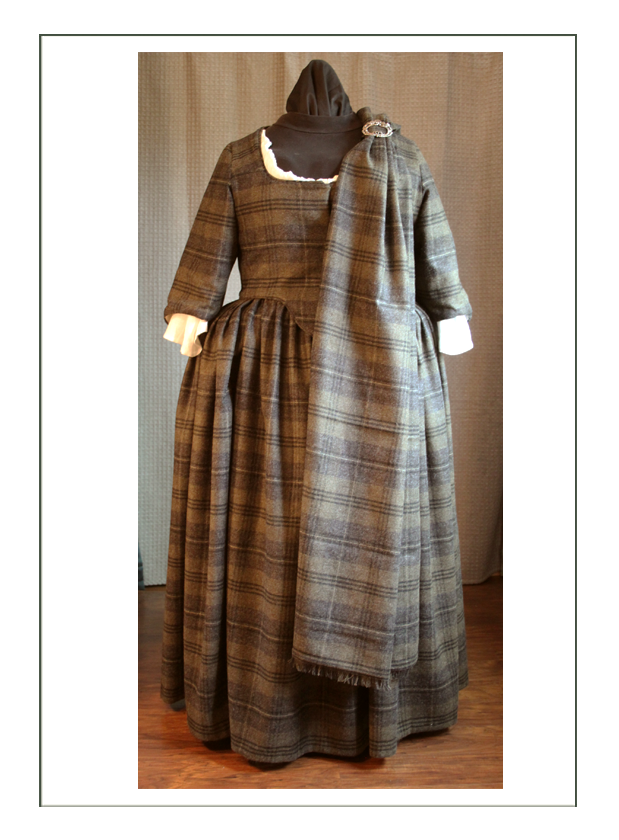
See videos on the Fashion History Page for how to wrap an arasaide.
Continue below for pinning bodice examples and a video showing “How to Dress for the 18th Century”
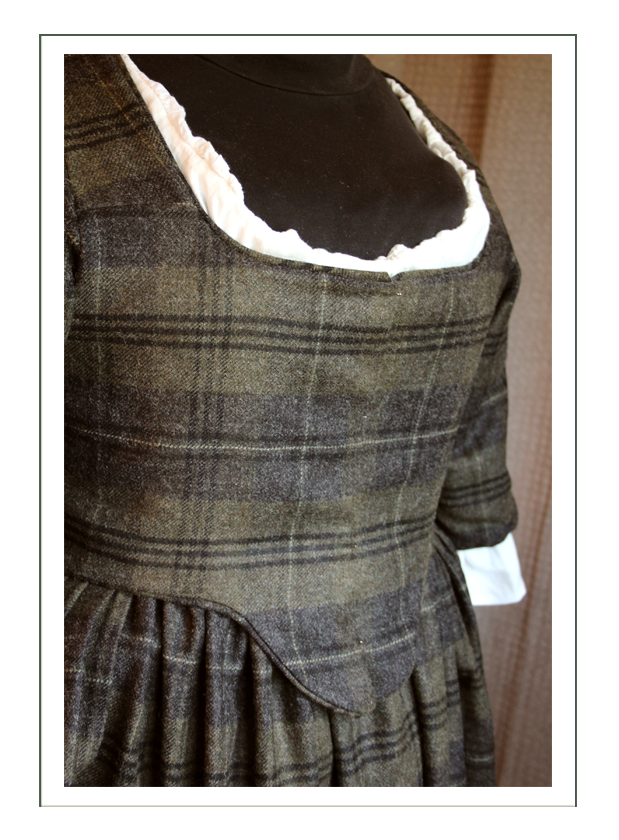
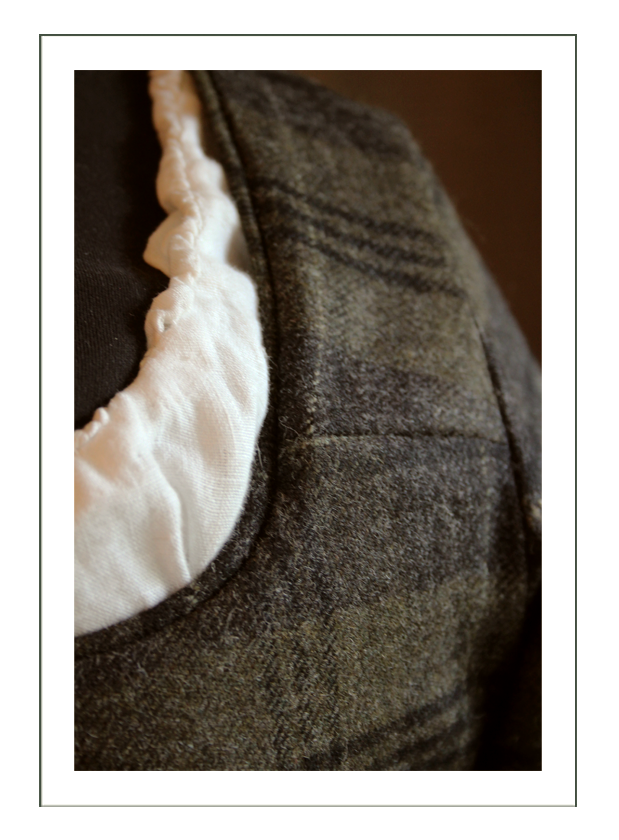
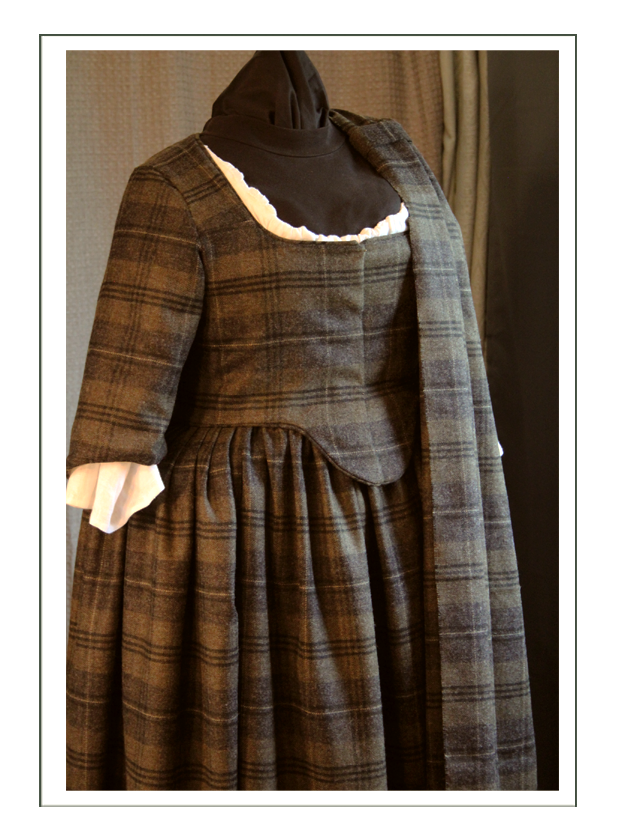
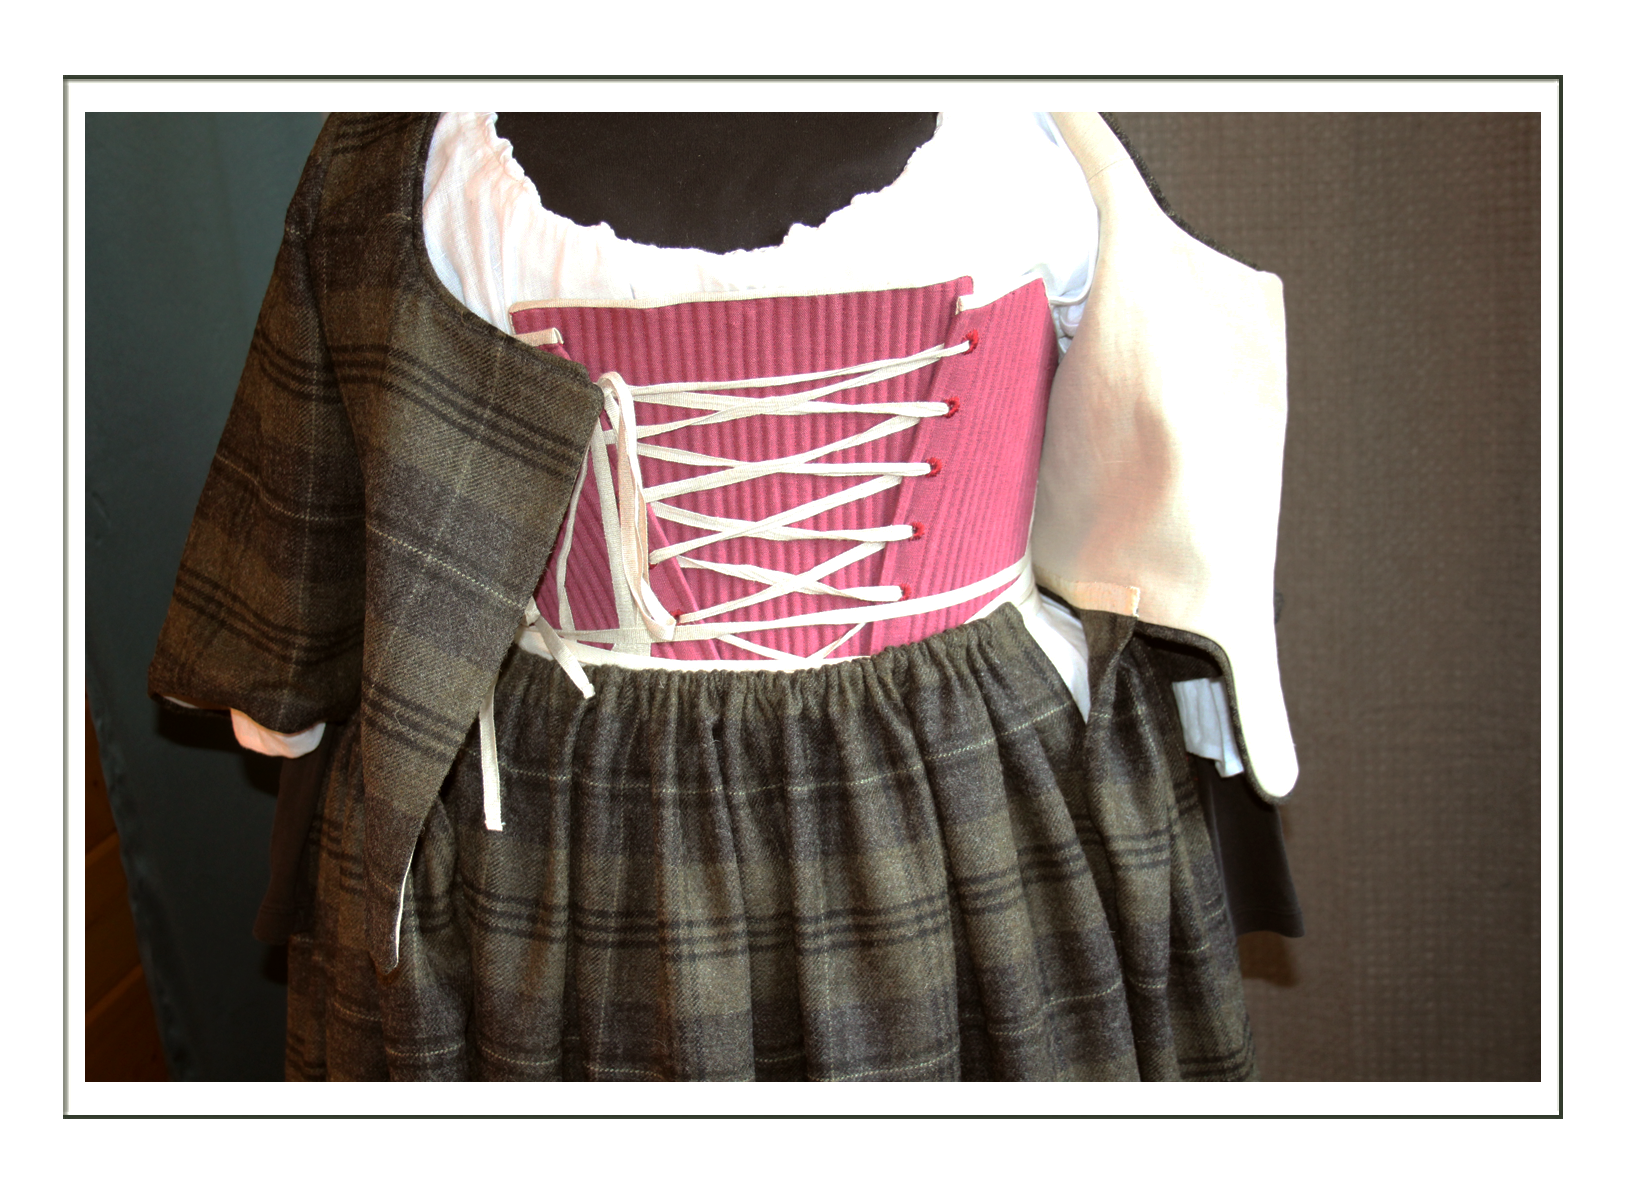
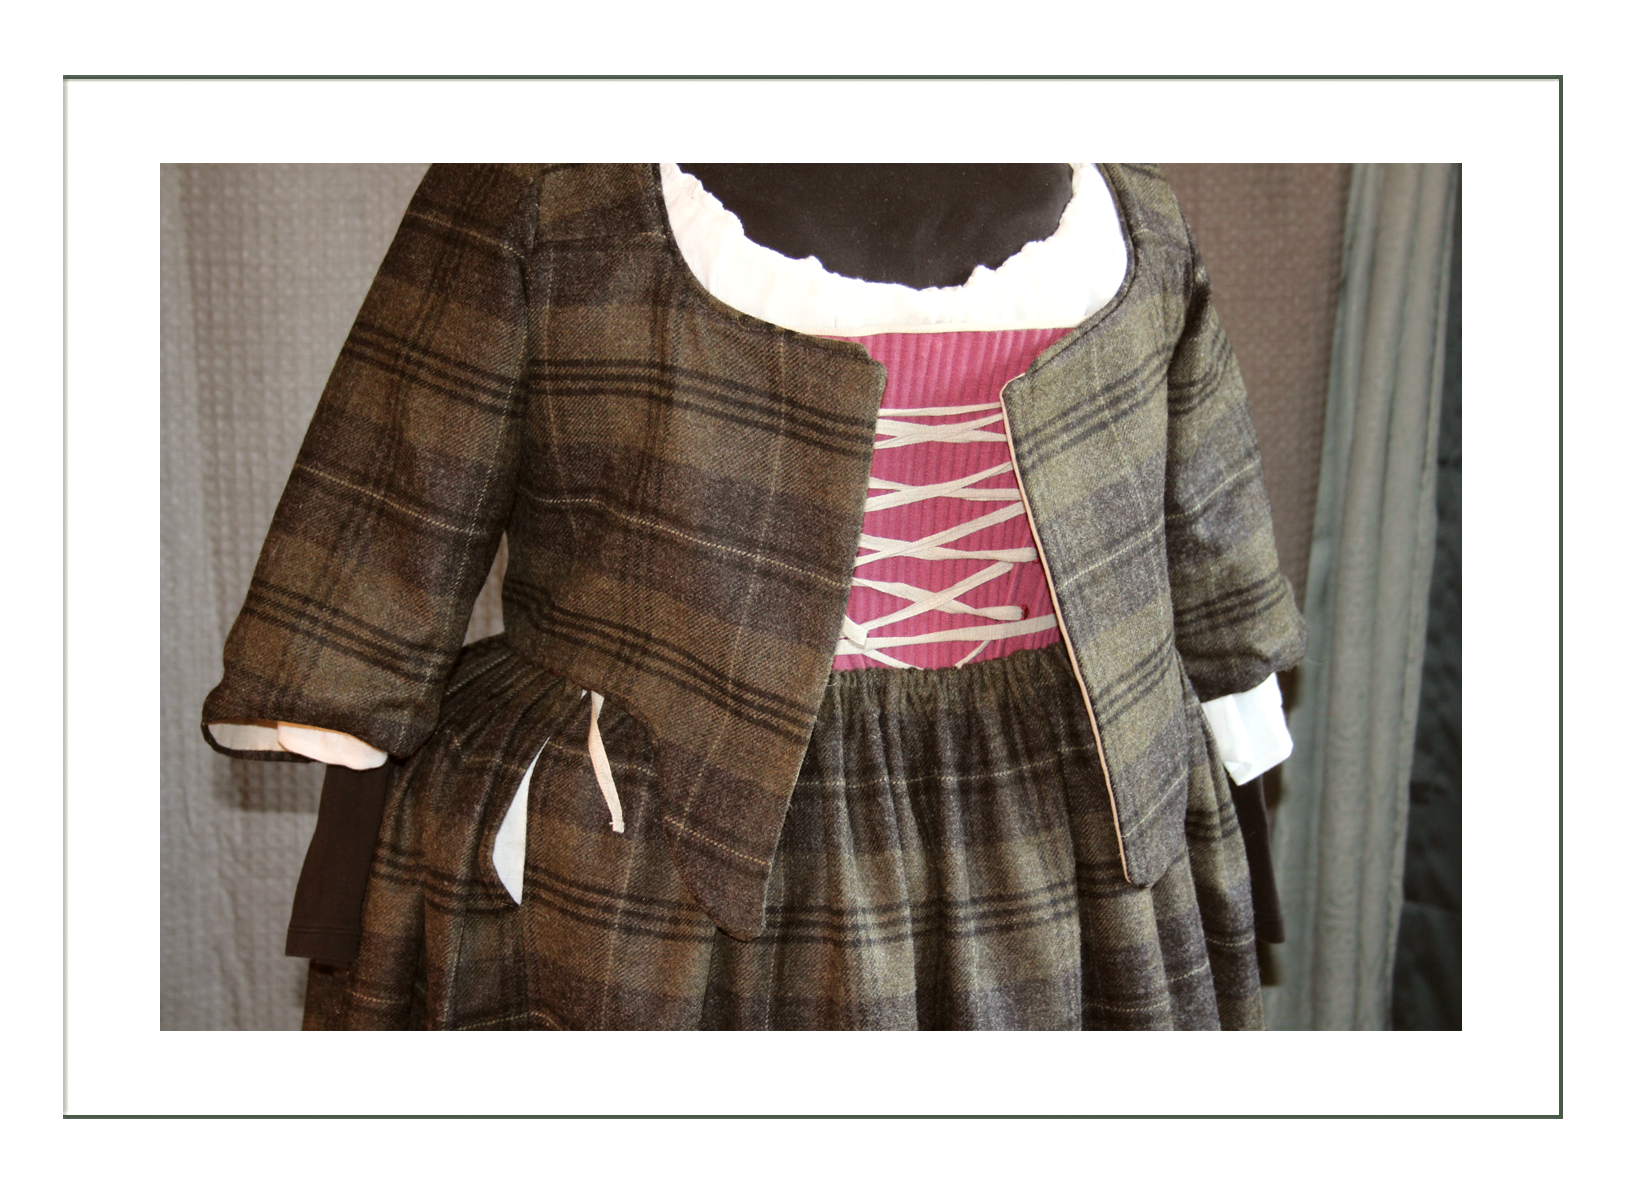
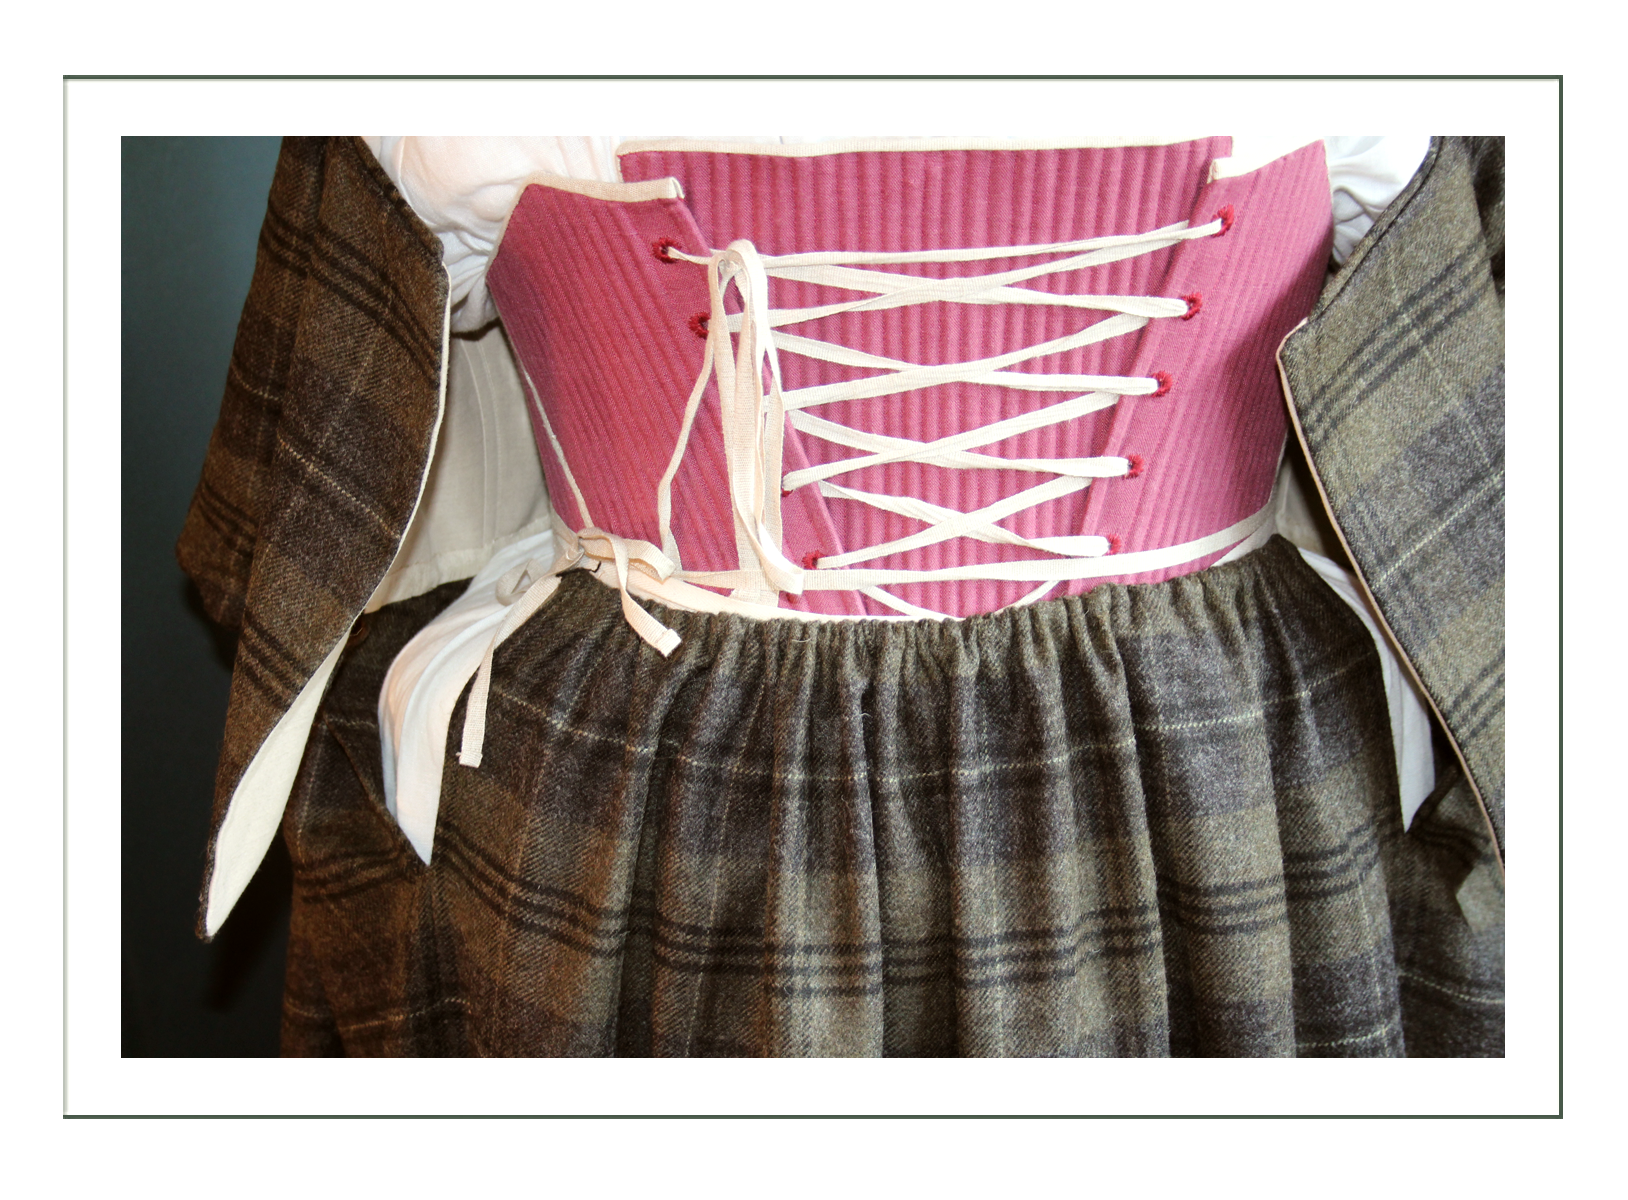
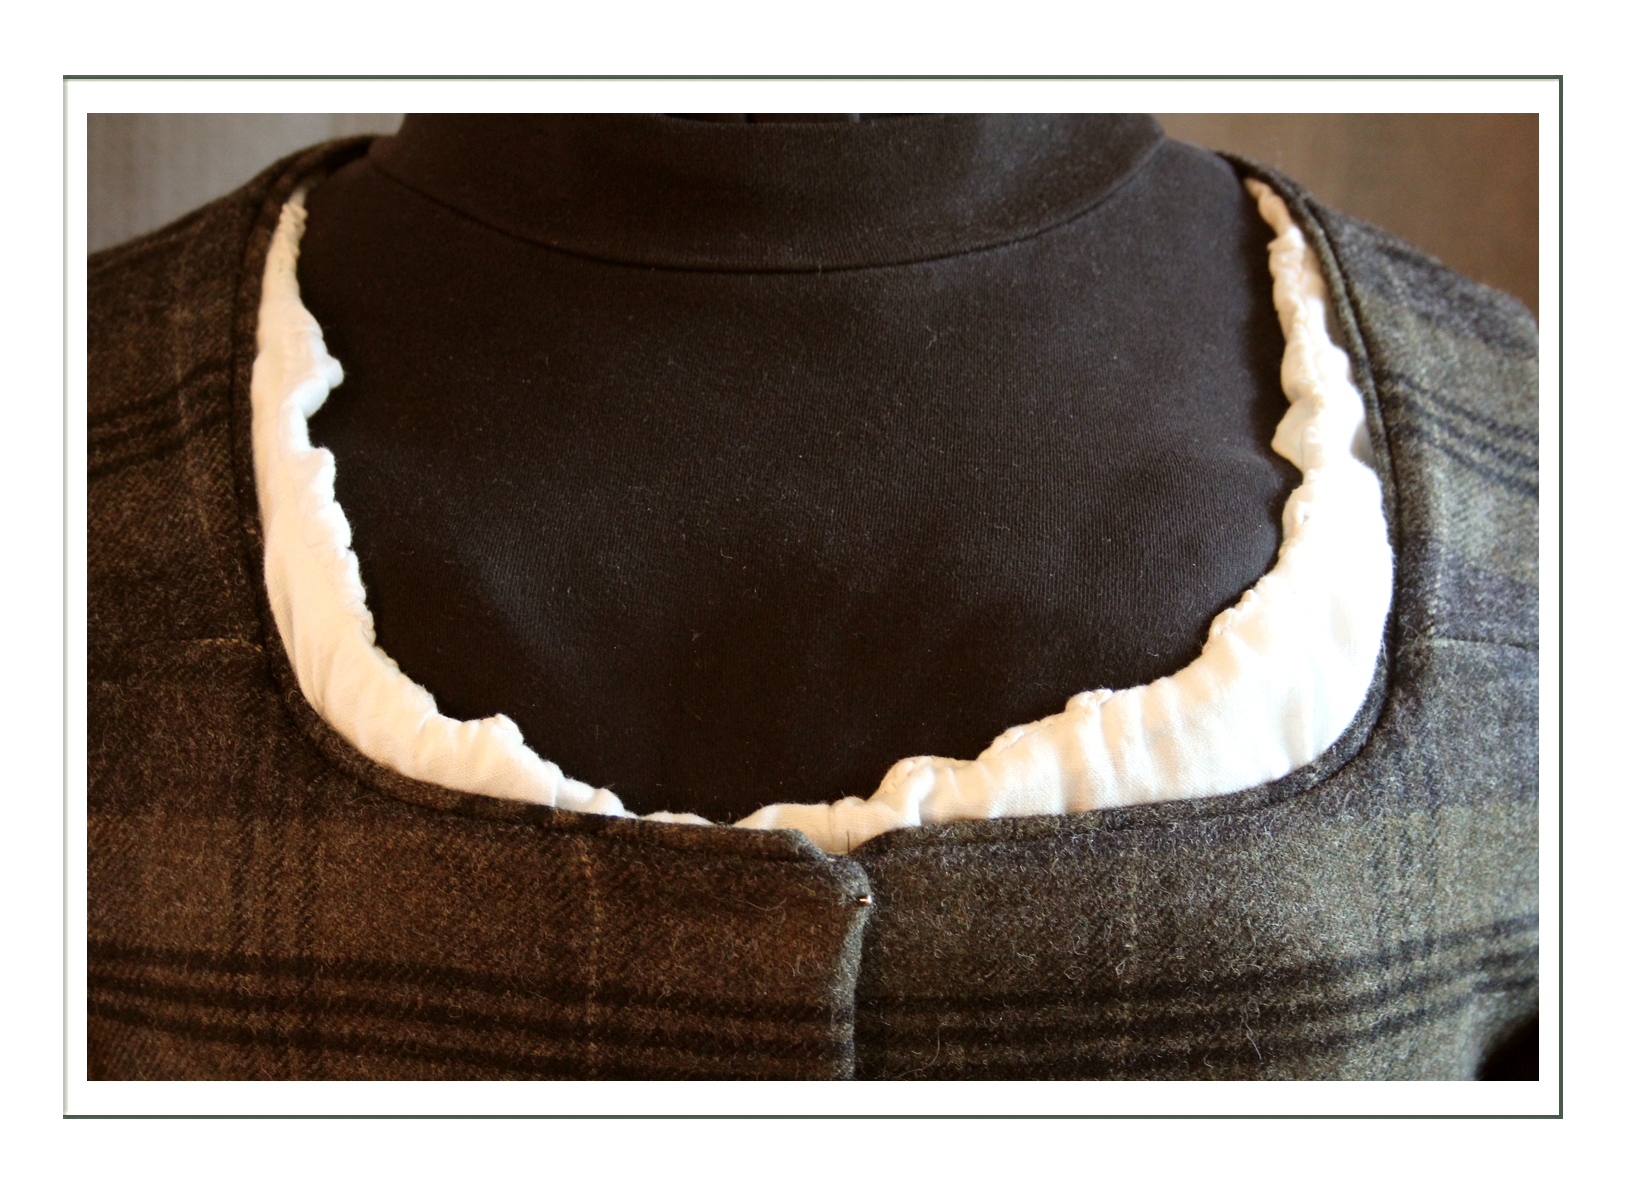
Note here the lacing settings for the stays and amount of gathers for the apron bib front:
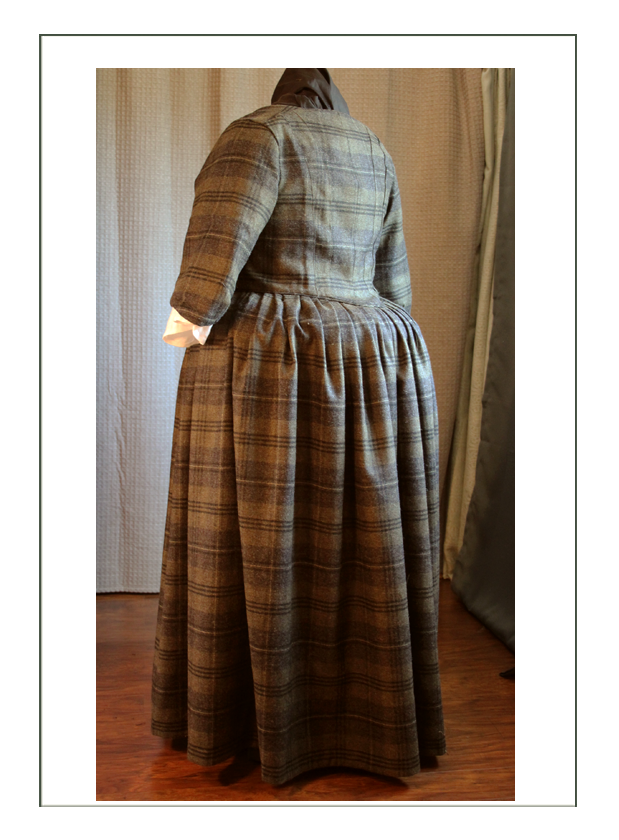
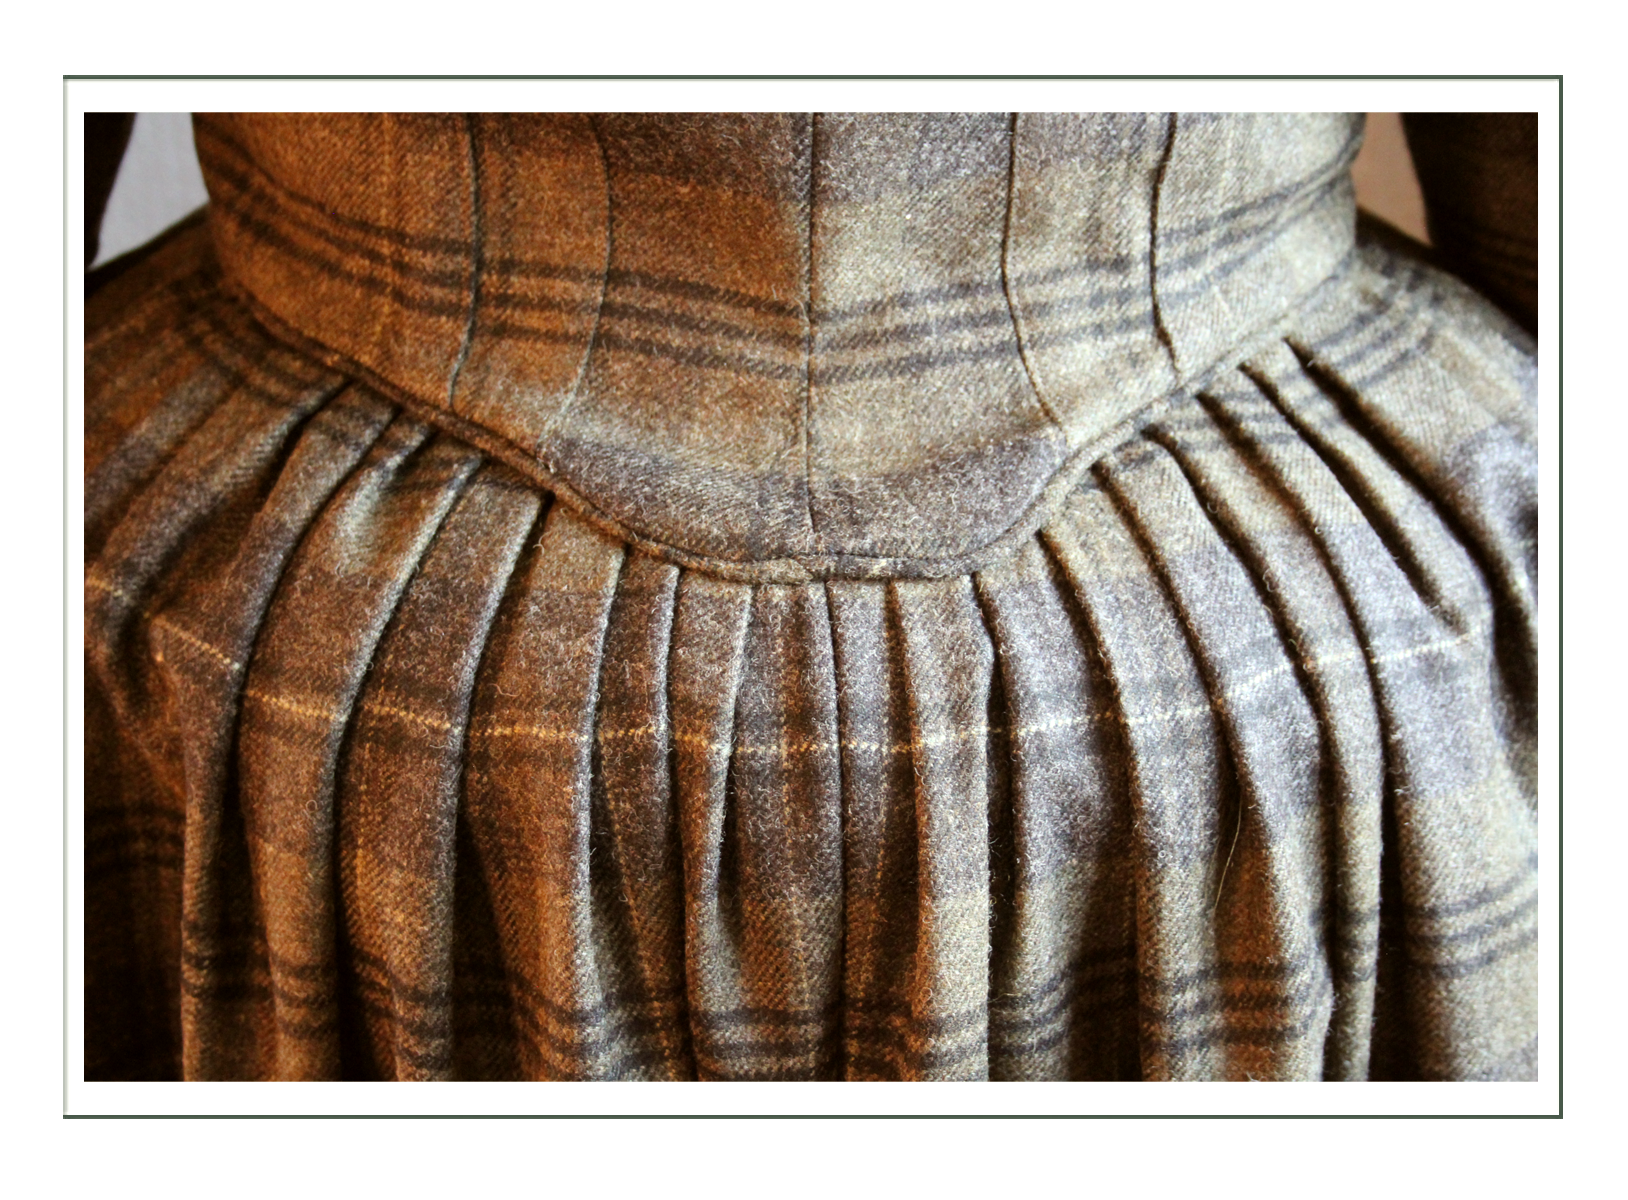
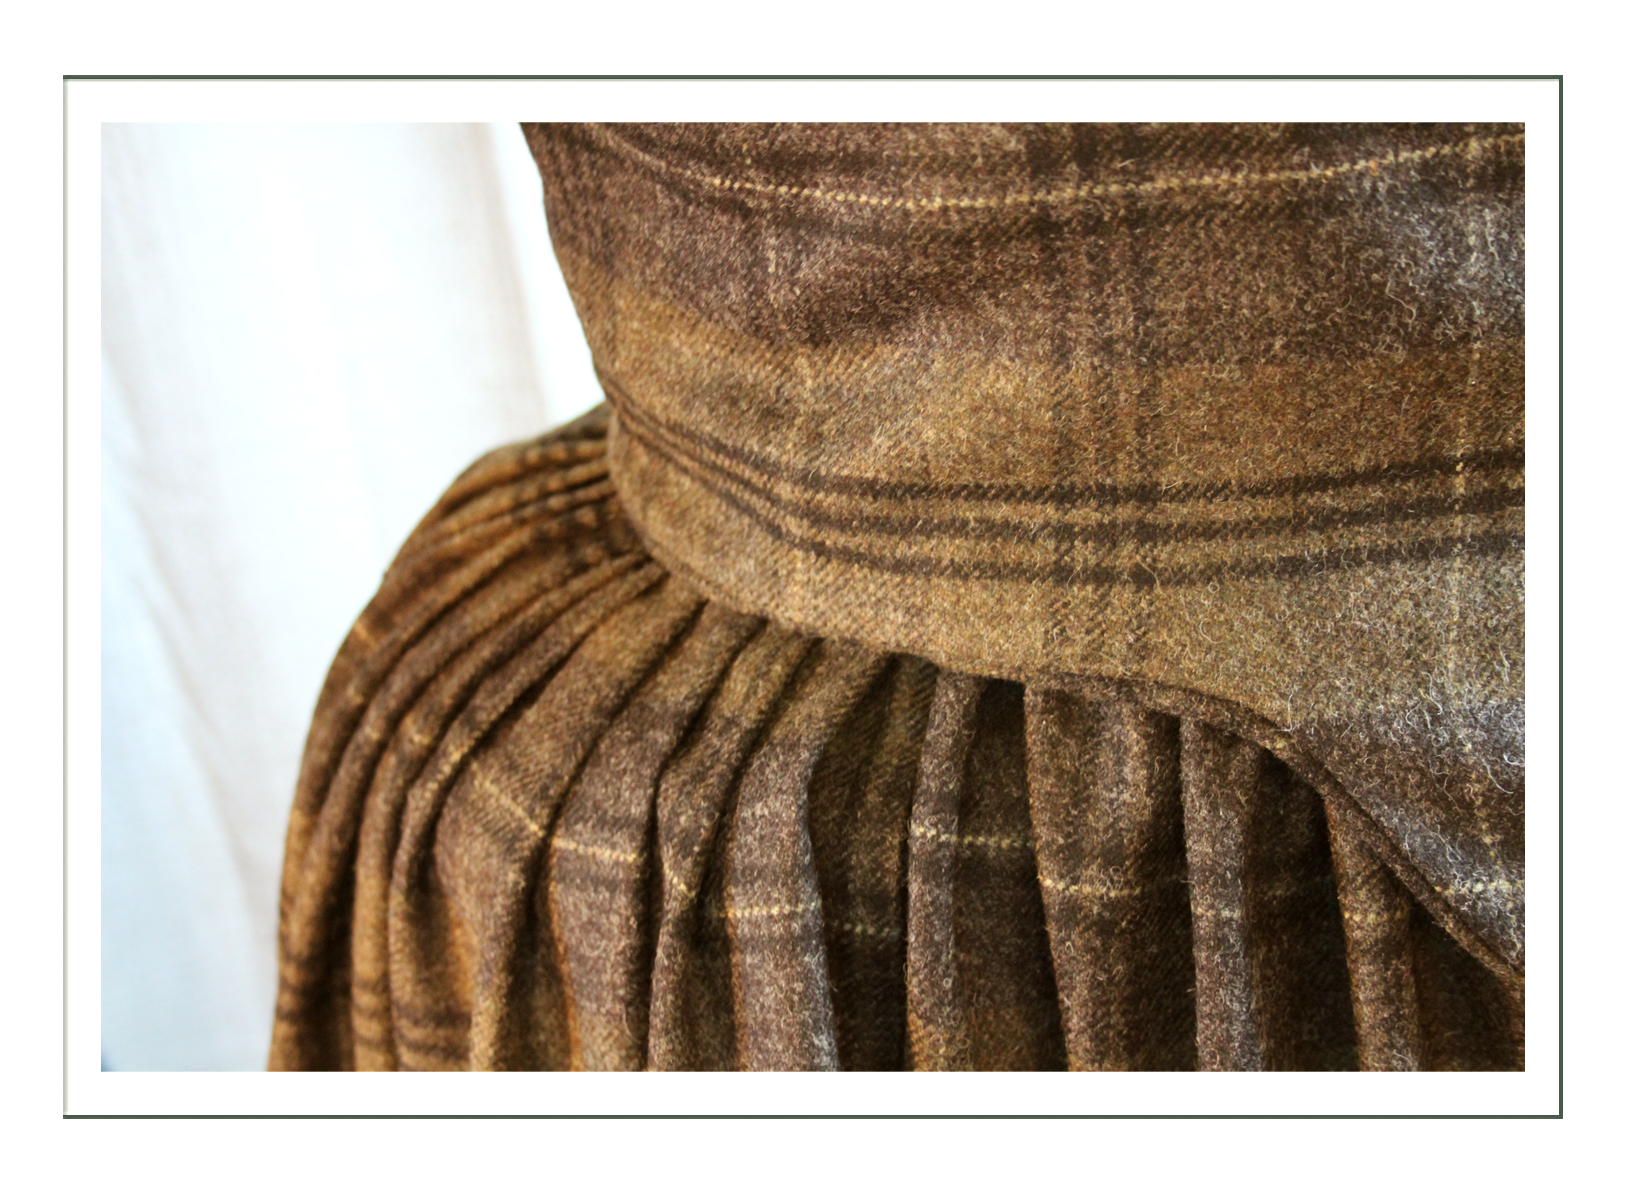
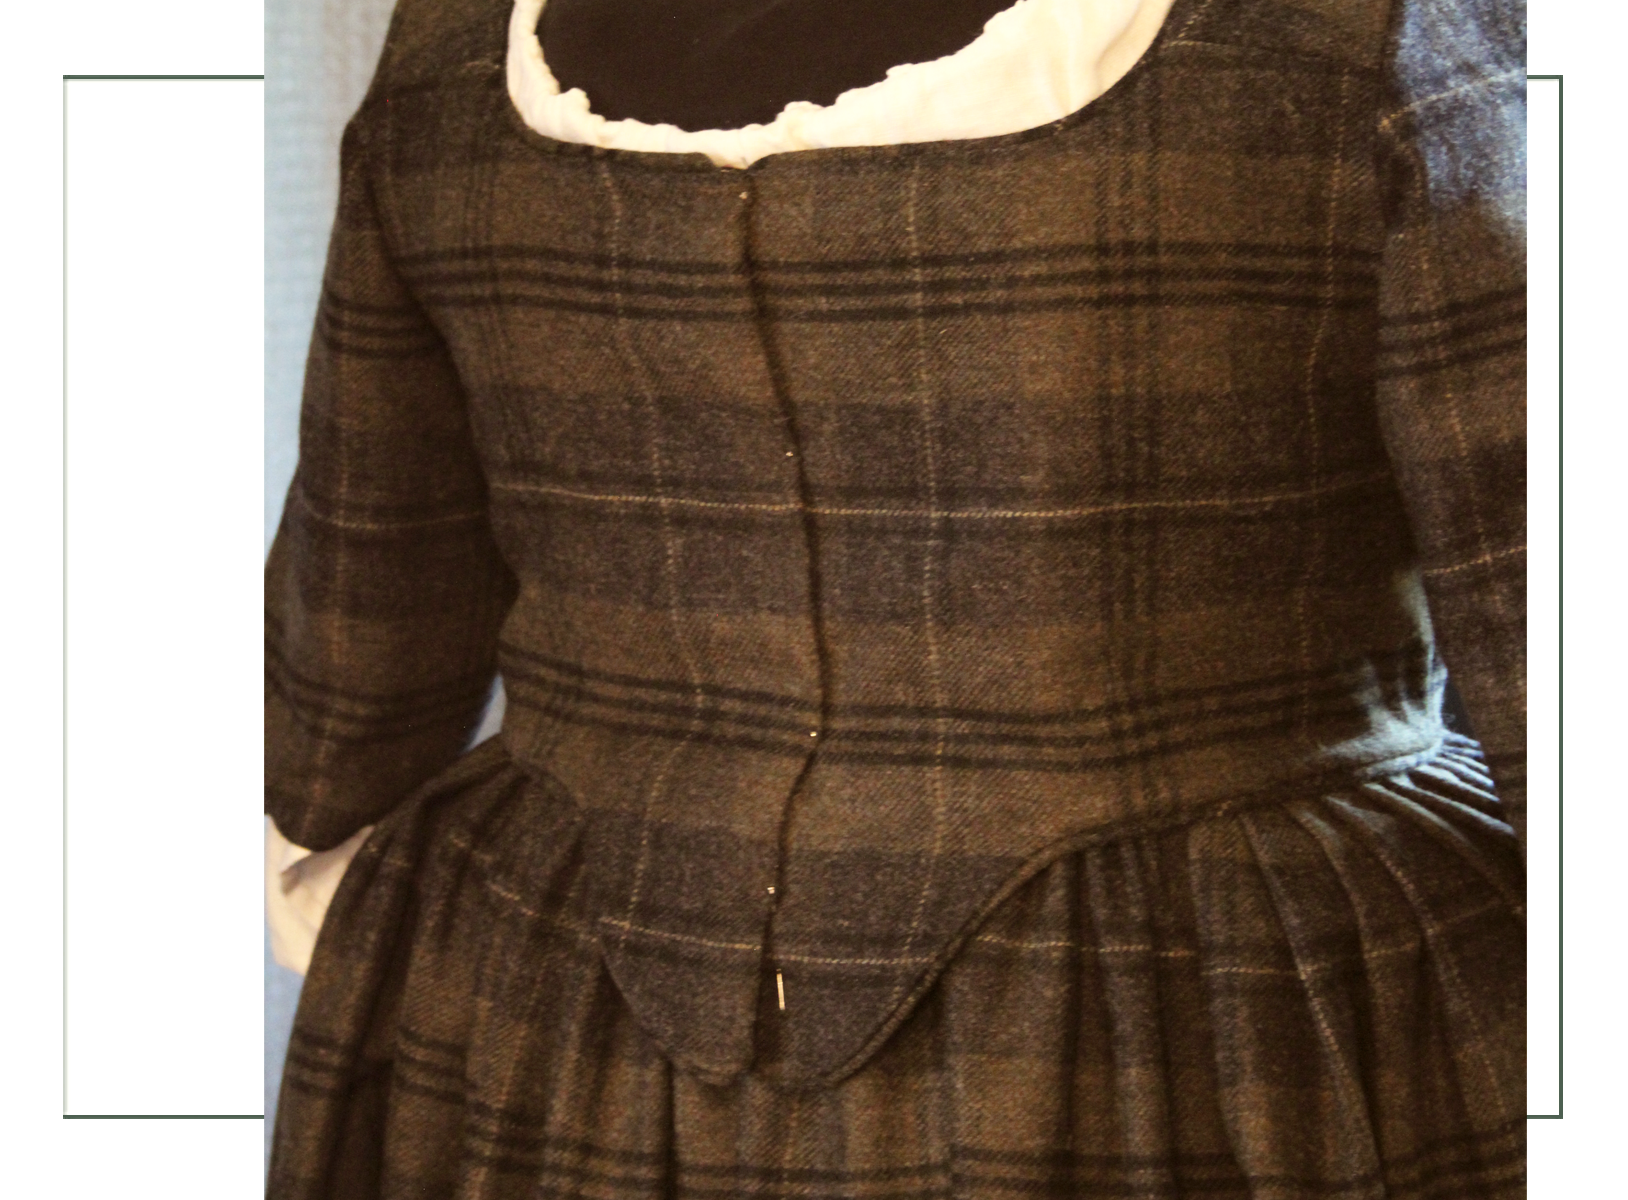
Notice here how to lay the pleating in back:
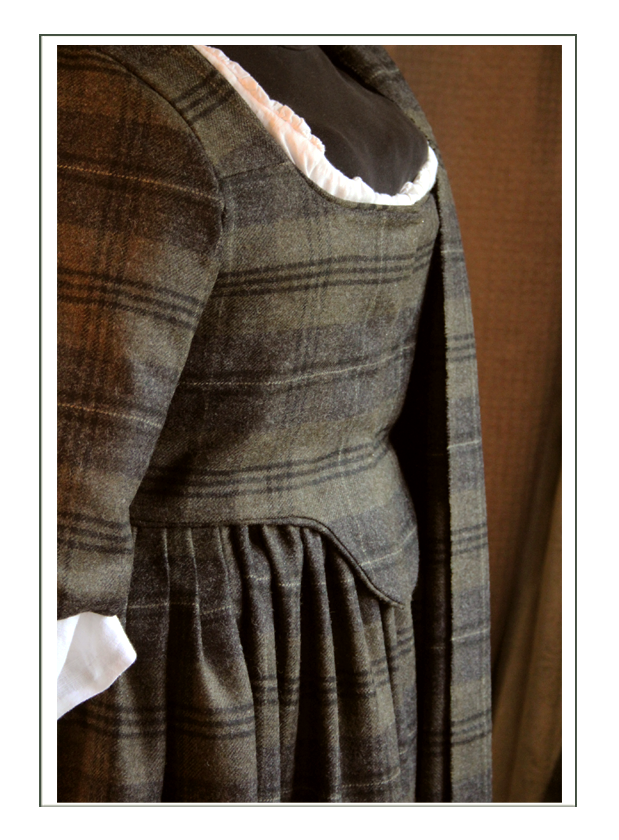
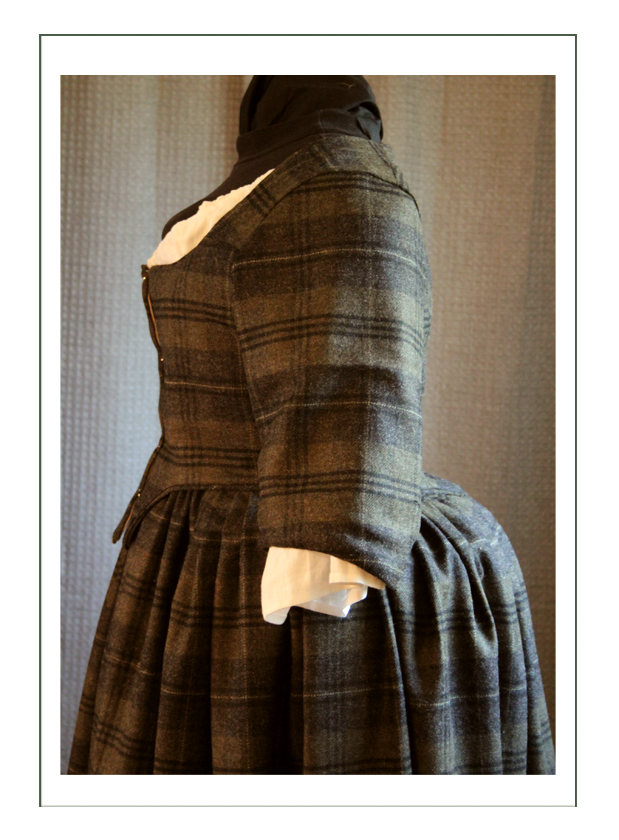
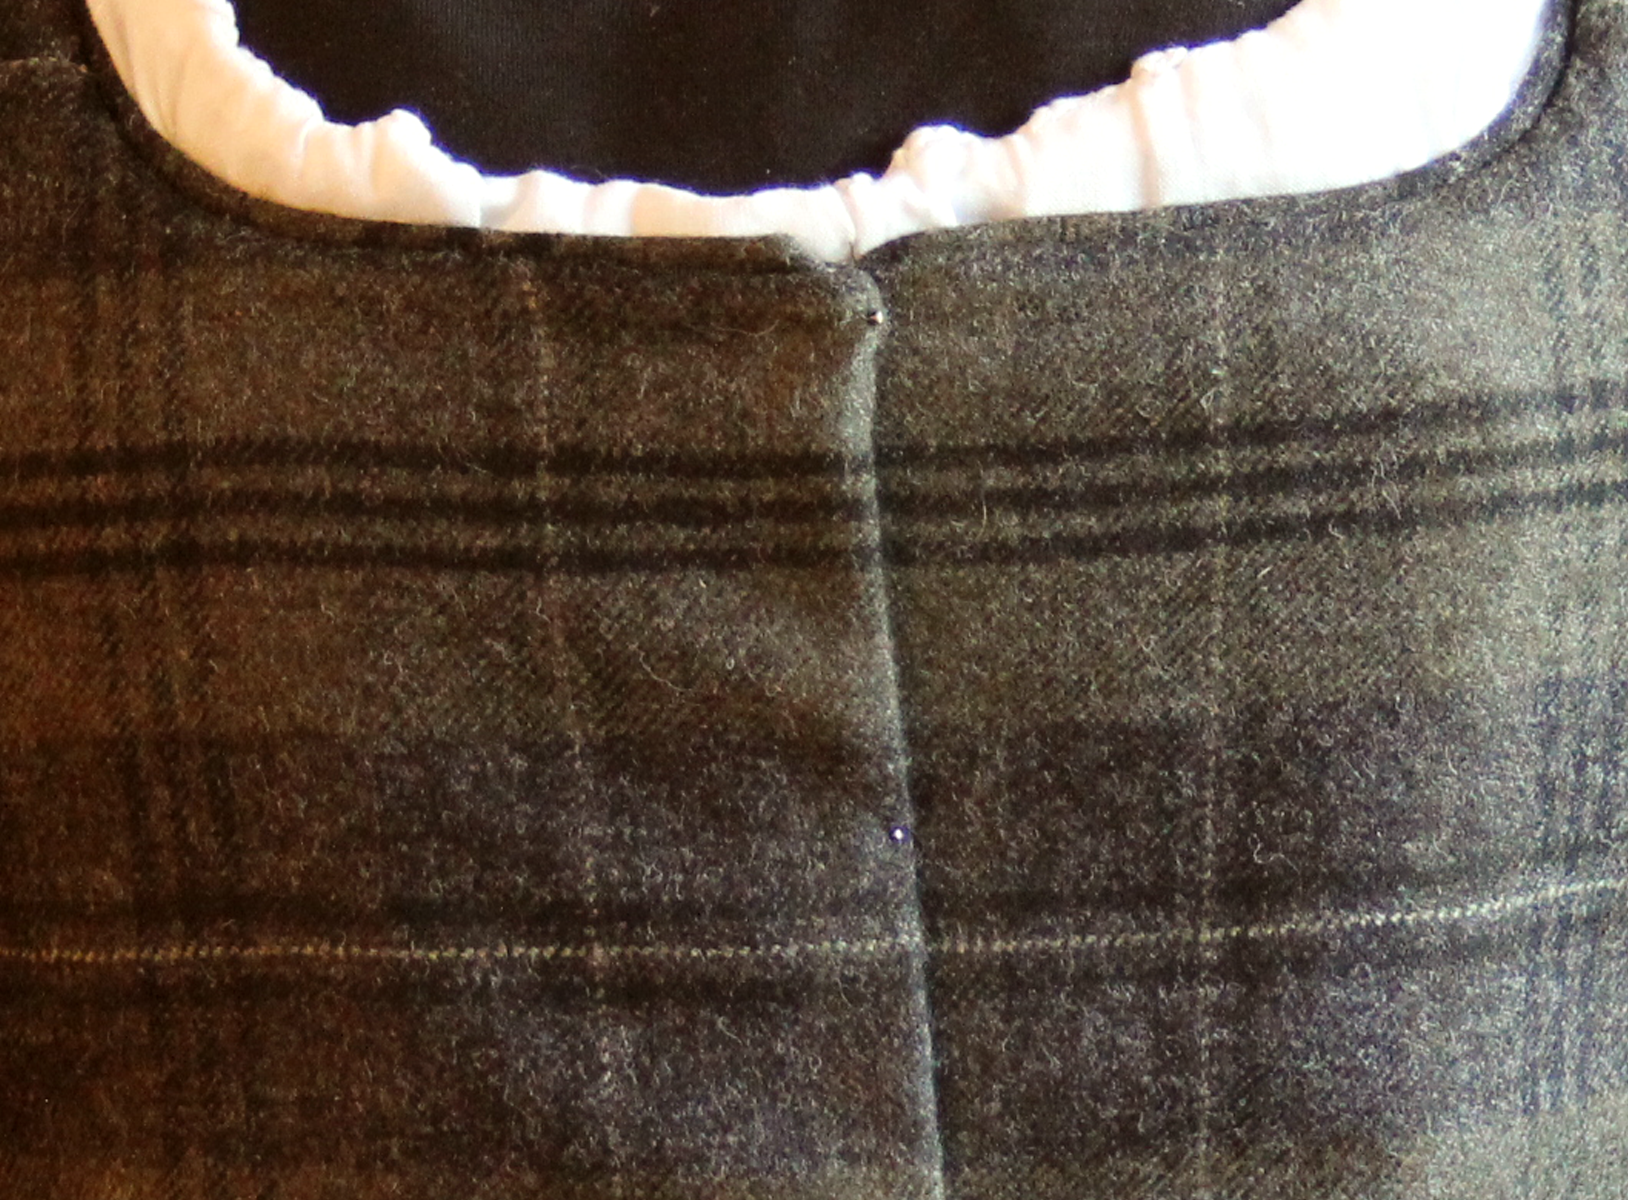
Note how the plaids match center front in BOTH directions. There is some leeway as to how far the flap overlaps. About 1 1/2″ is right if you want the plaid symmetrical. That puts the piping at top and bottom next to each other. It’s OK for the bottom curved section to open up a bit, but the top of the bodice needs to be straight, strongly pulled forward, and firmly pinned with at least 6 pins; maybe 8. We show only 4 pins:
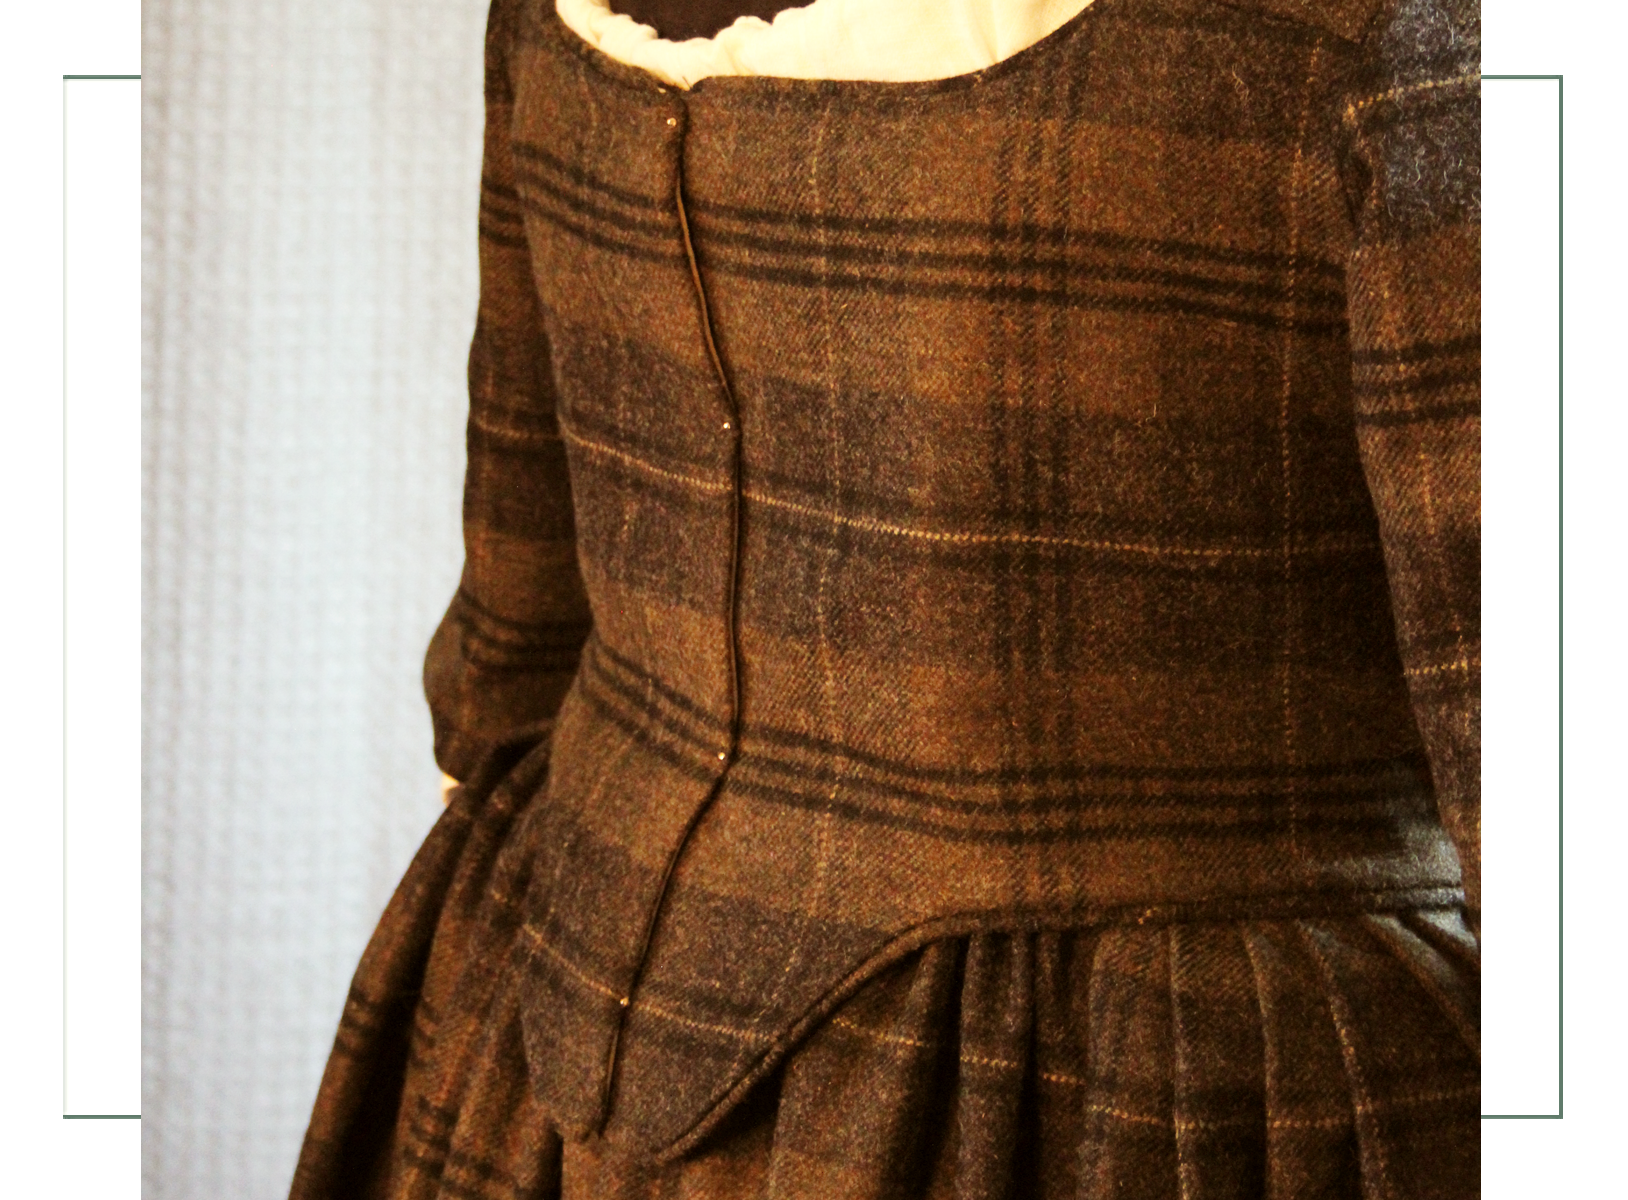
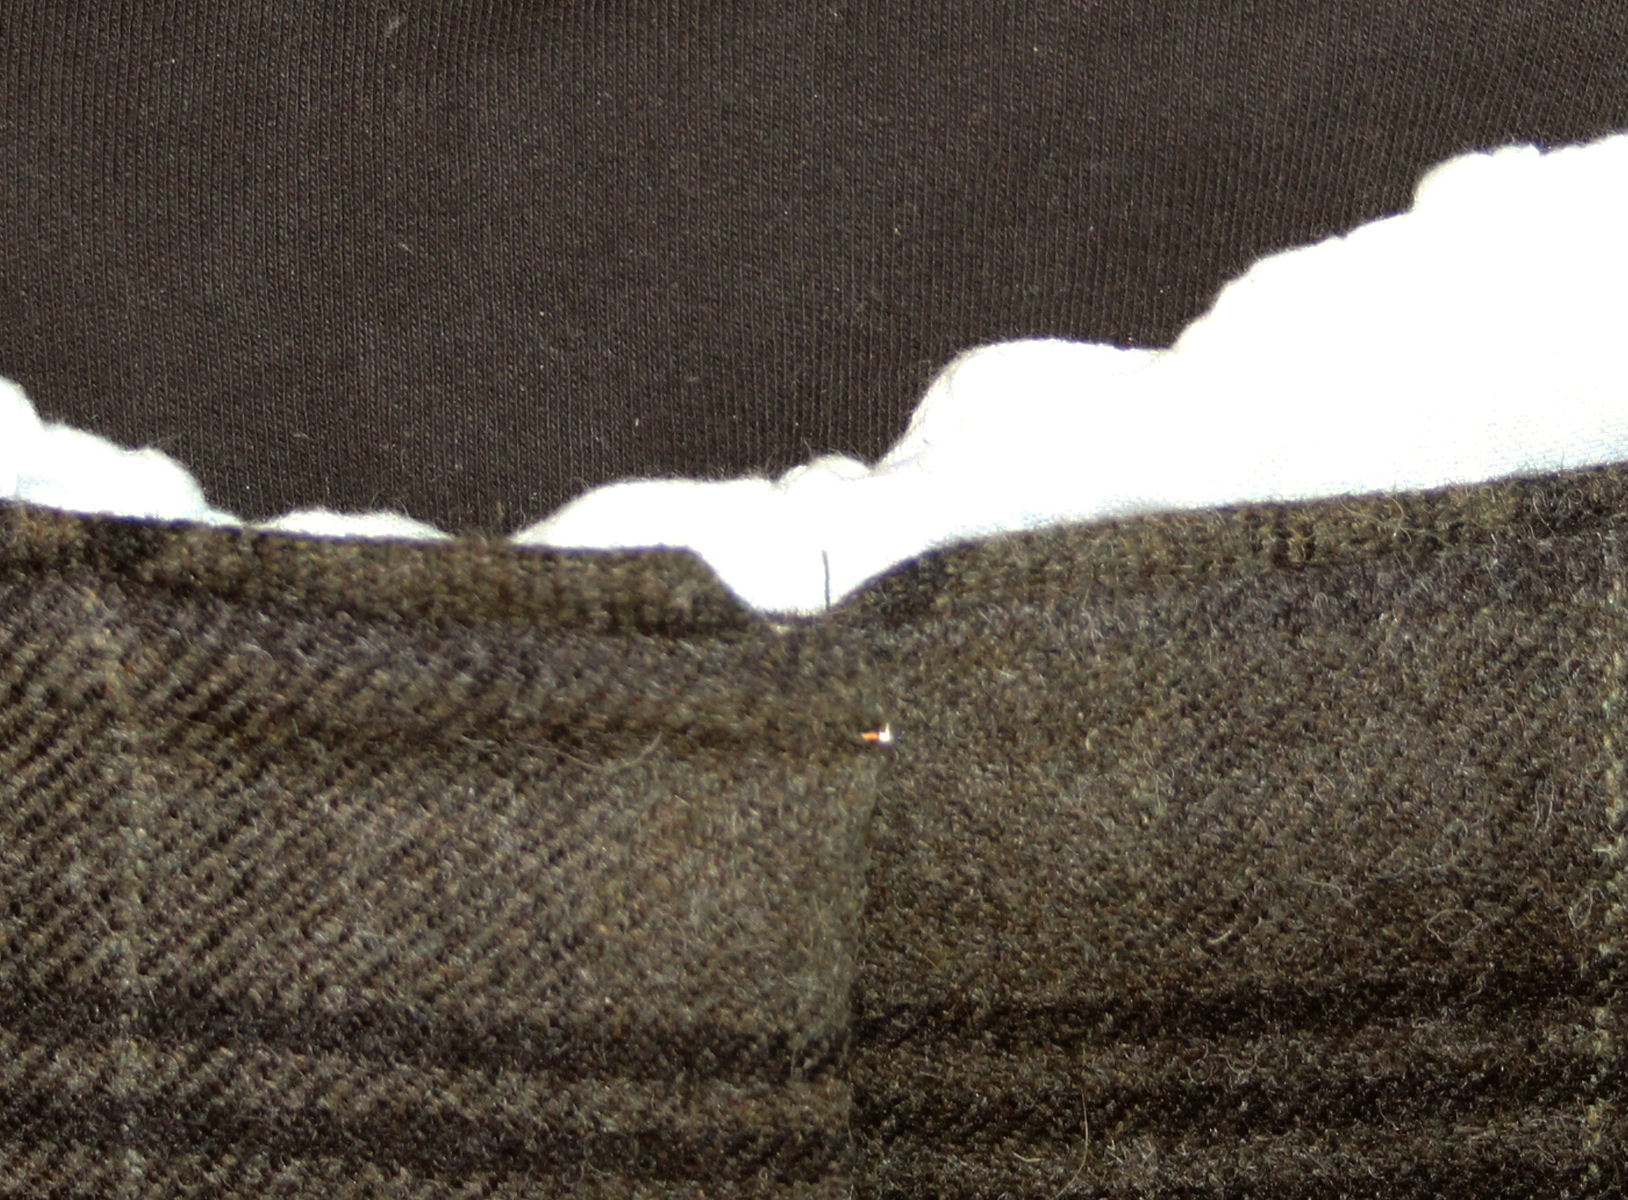
In the photo below, we have the lower pin going up and down or parallel to the edge. It really should be pinned like the others unless there is a gap, in which case, just don’t pin it!
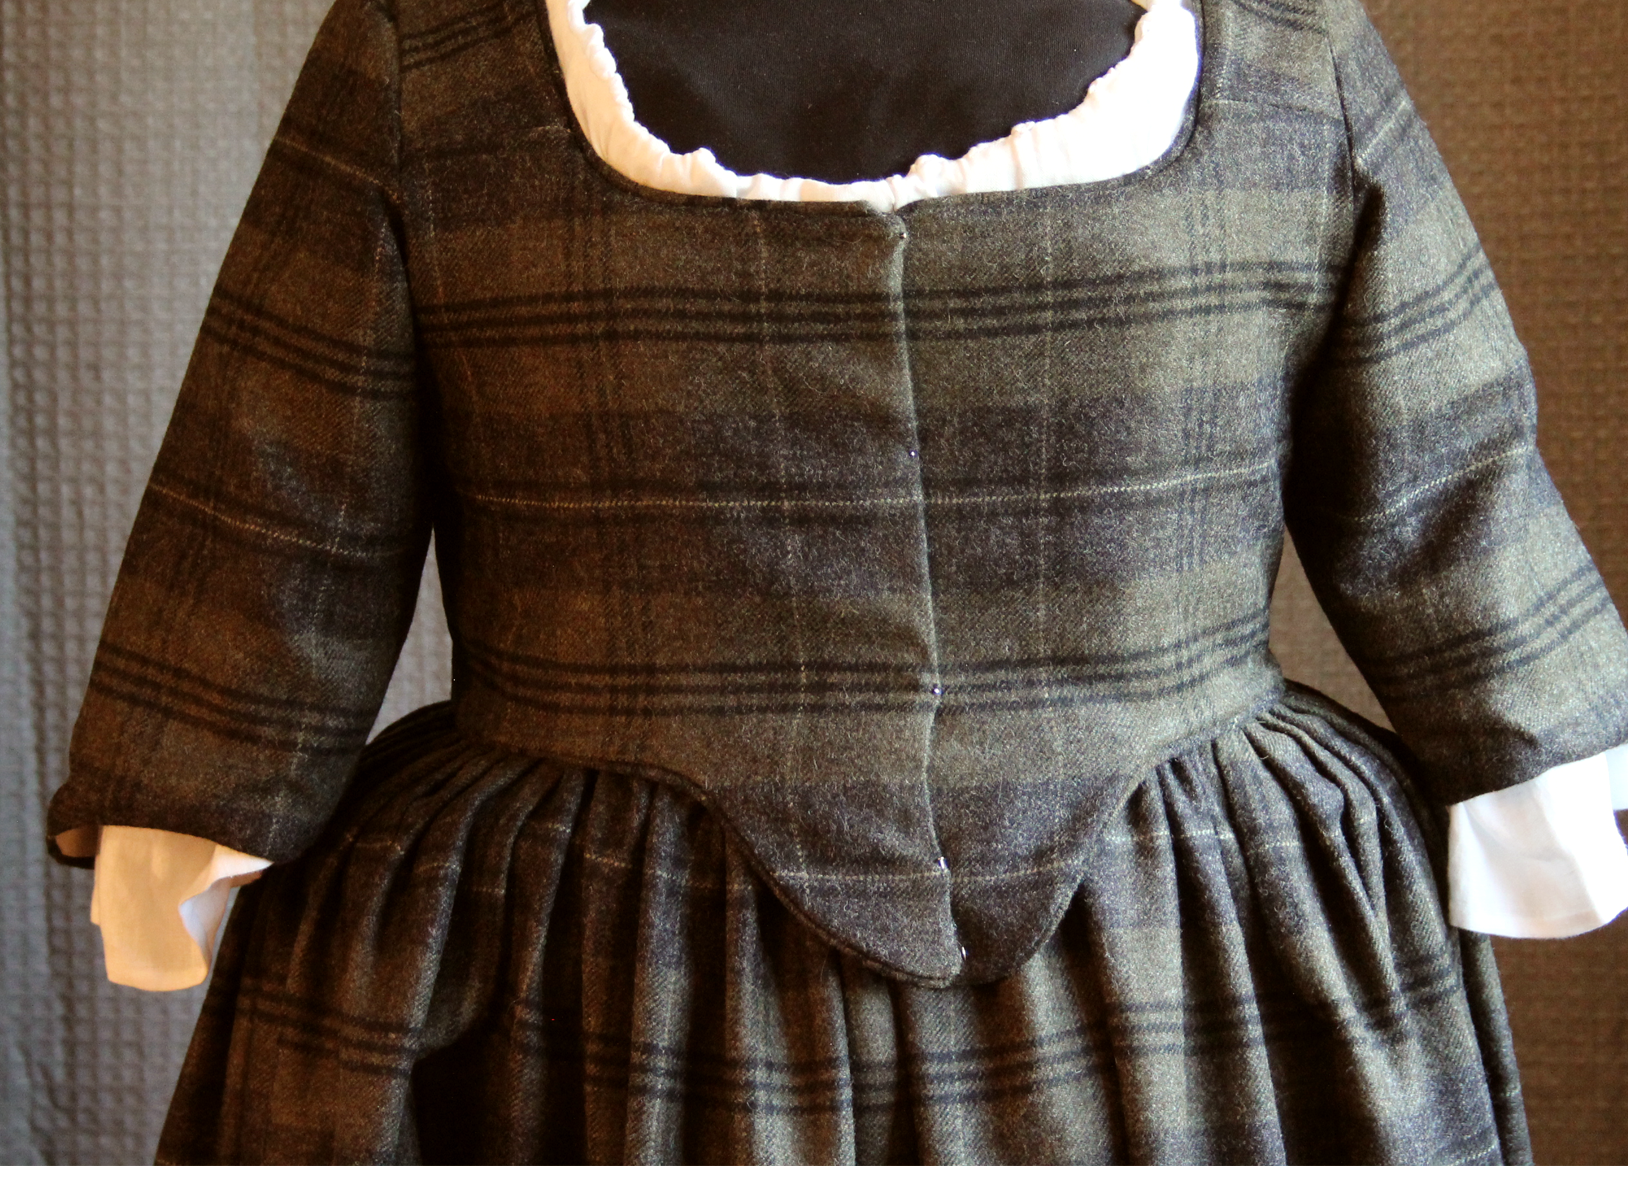
Note how the reproduction hammered pin, which is about 1 1/4″ long and much heavier and stiffer than a modern day dressmaker’s pin, but much more thin than a nail, ends up with the head showing at the edge while the body of the pin is stuck into the bodice AND the stays beneath.
To do this:
- stick the pin into the top bodice edge with the pin perpendicular to the edge and the pin head towards the arm pit
- make sure the pin is firmly into the inner linen facing and seam
- “flip” the pin so the head is now facing the opposite armpit, still being perpendicular to the edge
This has to be done while holding your hands flat and splayed to keep both panels pulled taut. See the video below at the last 2 minutes for a good way to hold it while pinning.
At the end of the first video, she shows how to pin a bodice similar to Susan’s. (We don’t have the inner bodice lacing panel as shown).

Coming soon!
Please click here to go to Susan’s Historical Context and General Fashion History Page
Click here to go to Susan’s Fashion History Page with the MacTavish project