
Objectives Changed
The end result was to be a booklet with “hands on” activities and construction projects that would lead to the children, with the help of the multi-disciplinary teaching staff, would build. We would then provide instruction and examples for how the ensembles could be completed by each student using only “found objects” – commonly found items from most any home, and with no cost to the families. We also wanted to provide options for families to buy either the patterns if someone at home had the skills and wanted to build more complex garments, or if they wanted Silhouettes to make all the items.
It ended up the teachers were not able to implement ANY of the program or activities. Silhouettes donated the following prototypes that were to have been used as teaching tools and examples at the front of the classroom so kids could see the end result and understand the intructions and illustrations better.
What happened was, the children just wore these. We asked for the complex and costly prototypes to come back to Silhouettes to use for other school demonstrations.
The objectives of the project changed from all-disciplines and construction of projects with activities inside the school, to Silhouettes provided at teacher’s highly reduced cost, key items kids would not be able to find nor make, with kids scrambling to put together the remaining items. Some did; some didn’t.

Prototypes
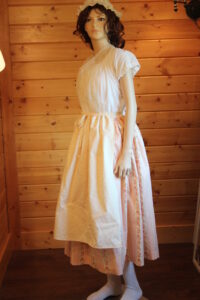
See photos on the main page of girls trying these on over their modern clothes. We did not get pictures of the finished projects.
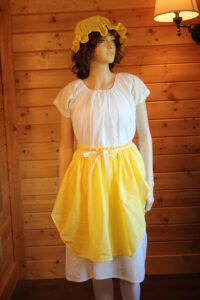
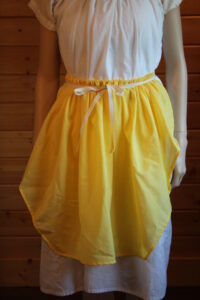
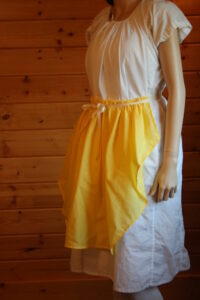
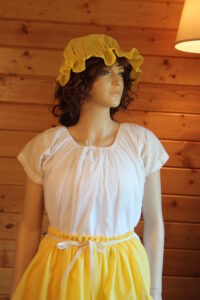
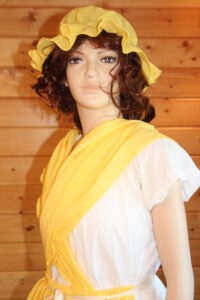
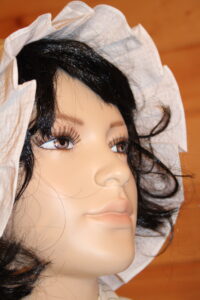
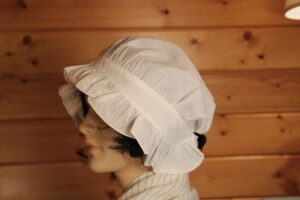
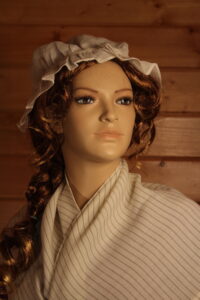
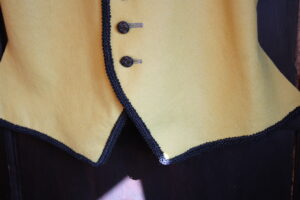
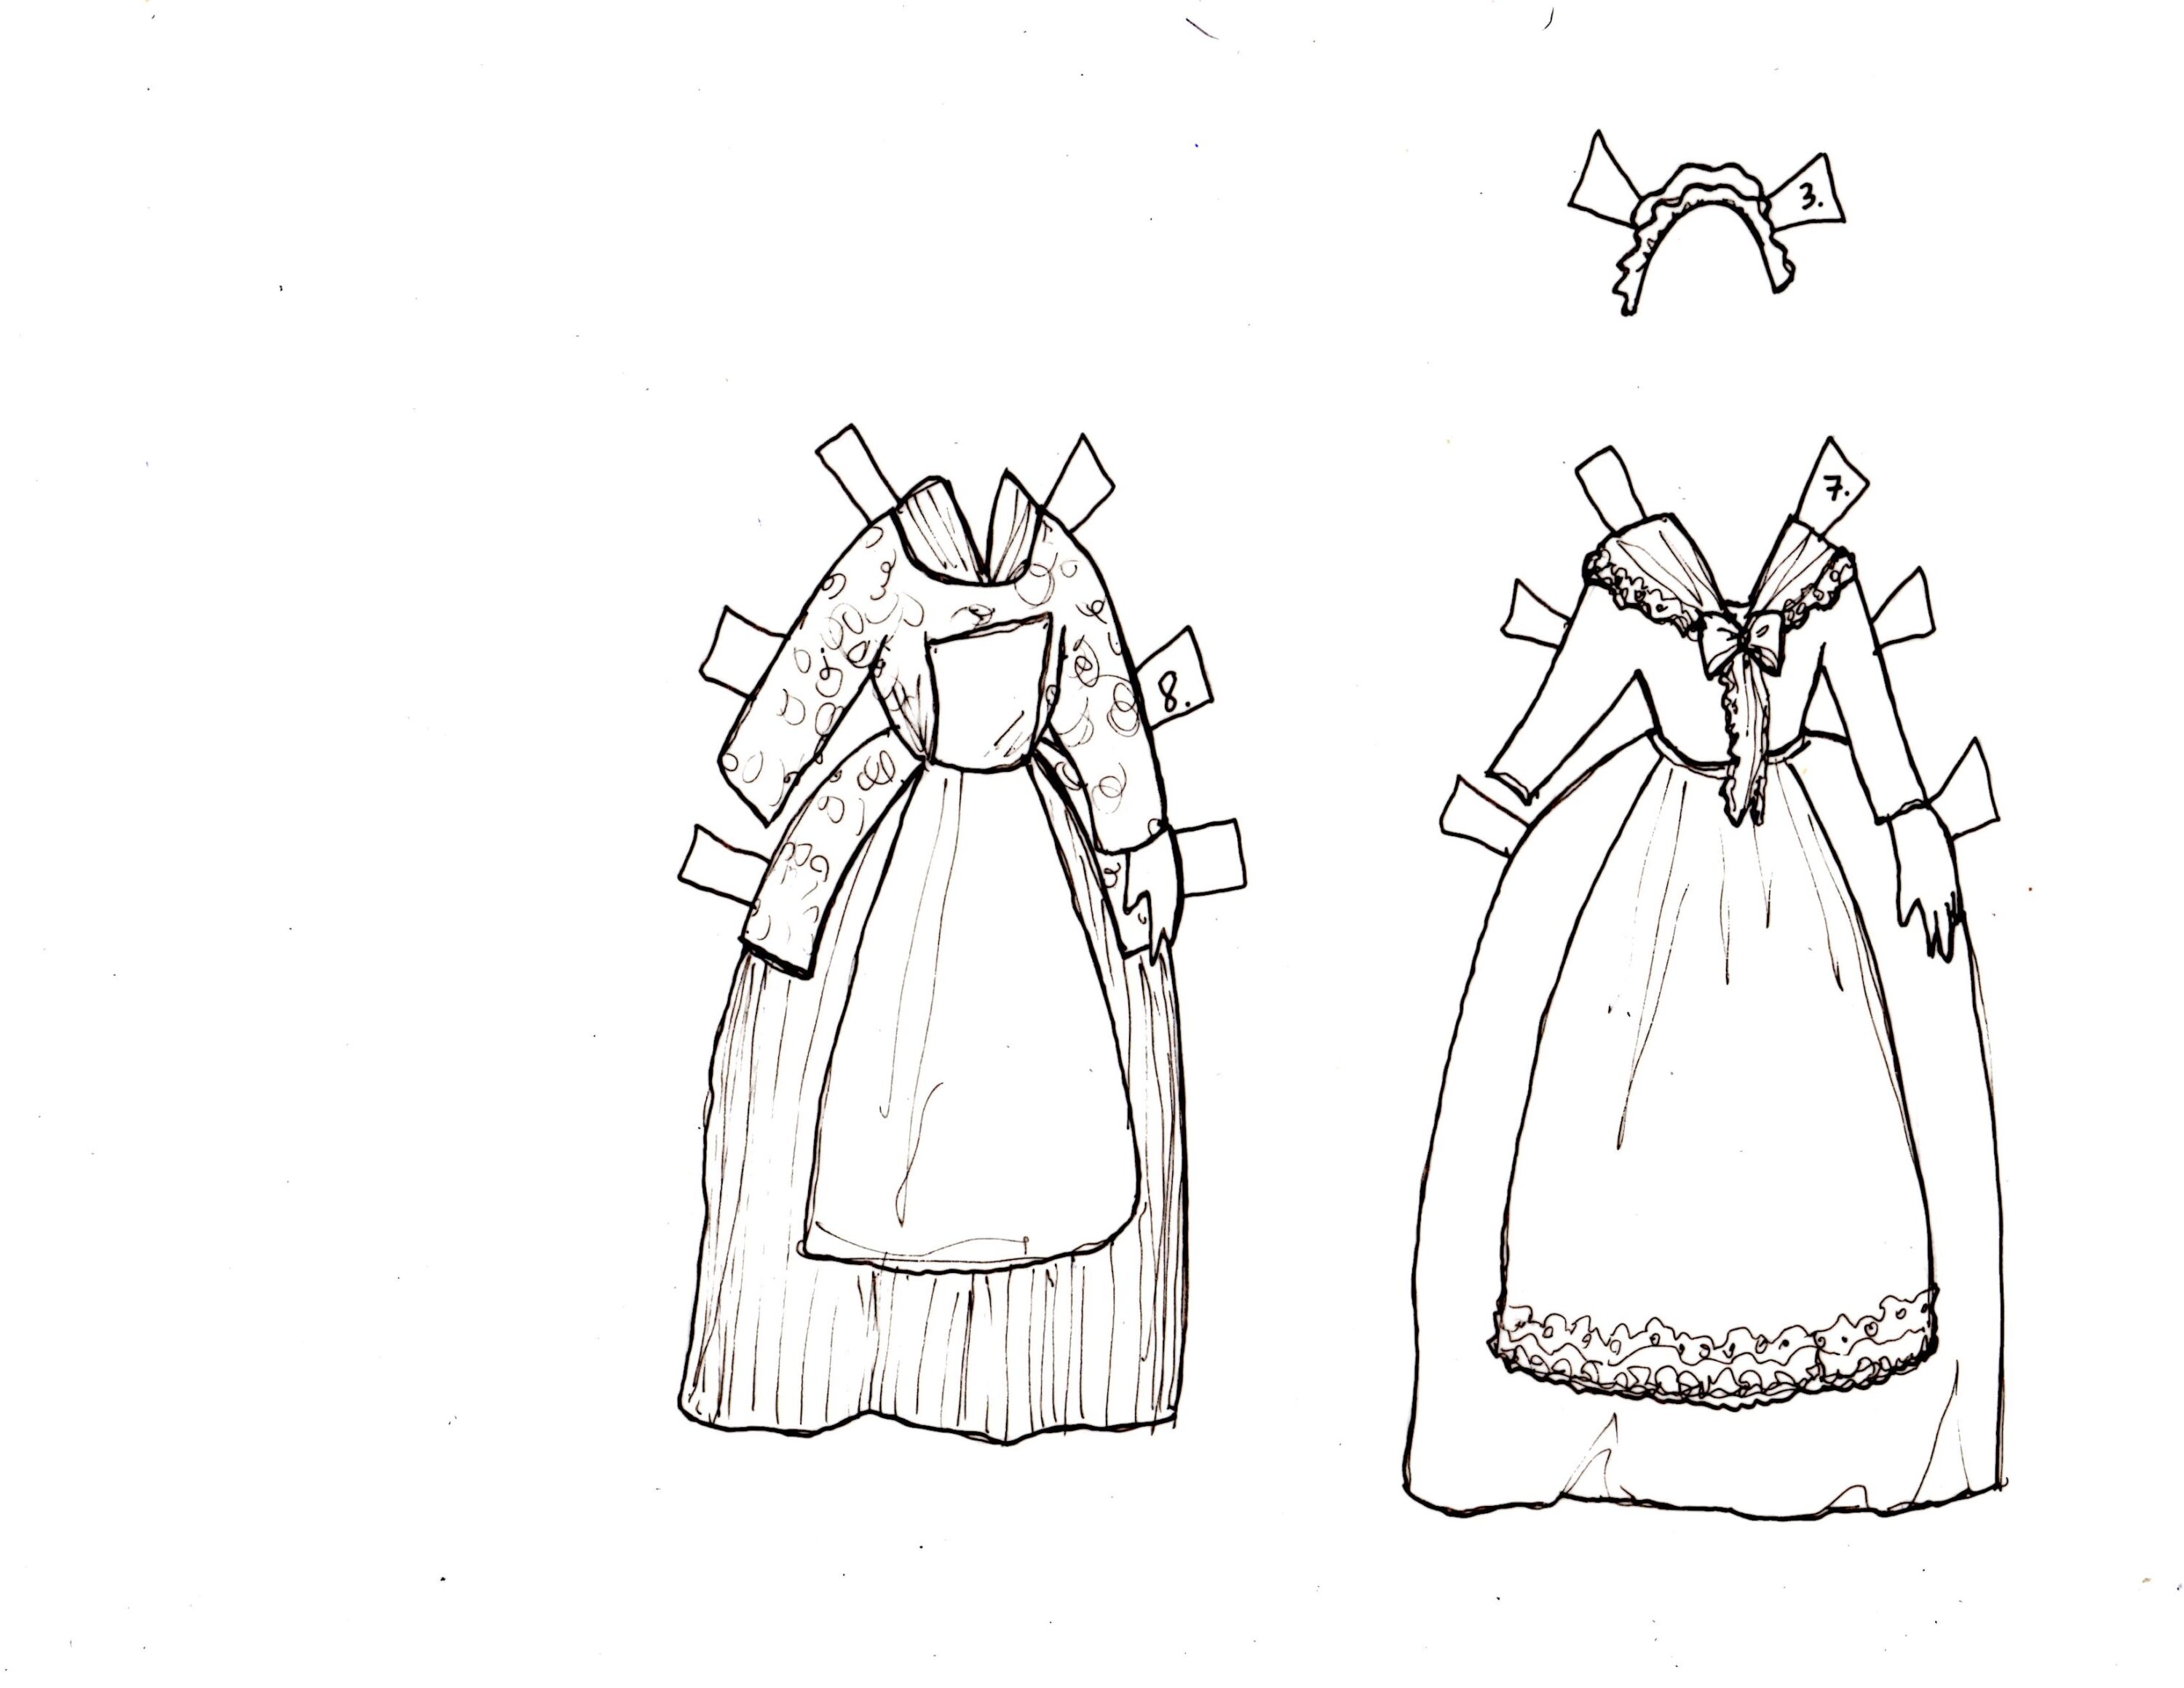
Basic Apron w/Matching simple (unfinished edge) Mobcap:
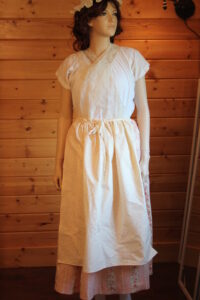
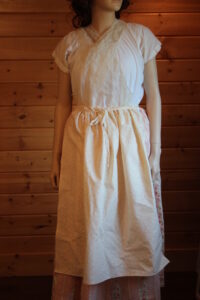
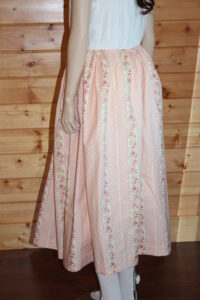
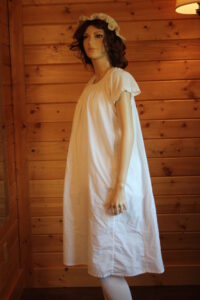
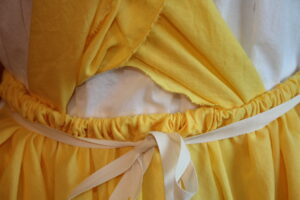
Cotton Petticoat w/casing waistband:
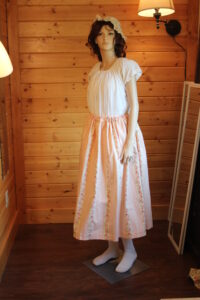
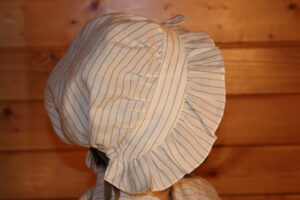
Linen Apron with finished mobcap:
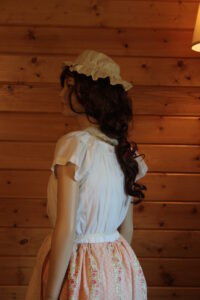
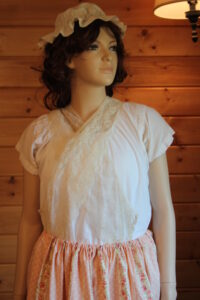
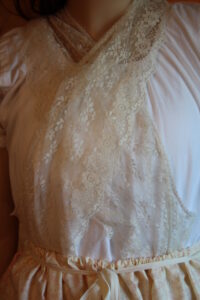
Cotton shift & Polyester lace fichu with small finished mobcap:

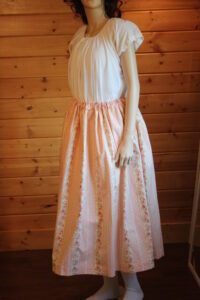
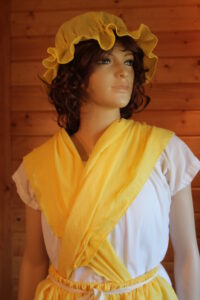
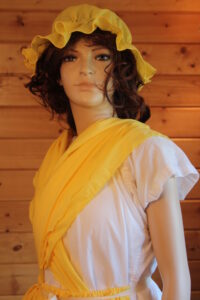
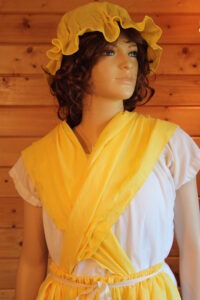
Fichu, Apron, Mobcap coordinating:
Details on simple Caps per instructions in booklet for kids to make:
Provided Finished Items
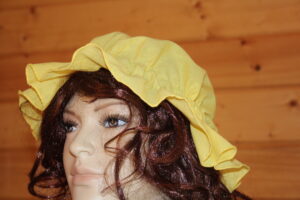
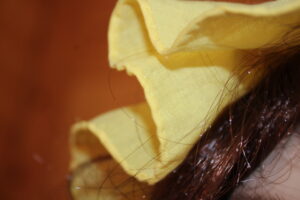
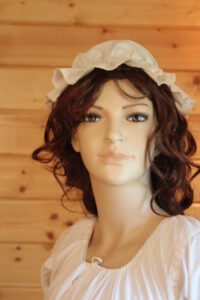
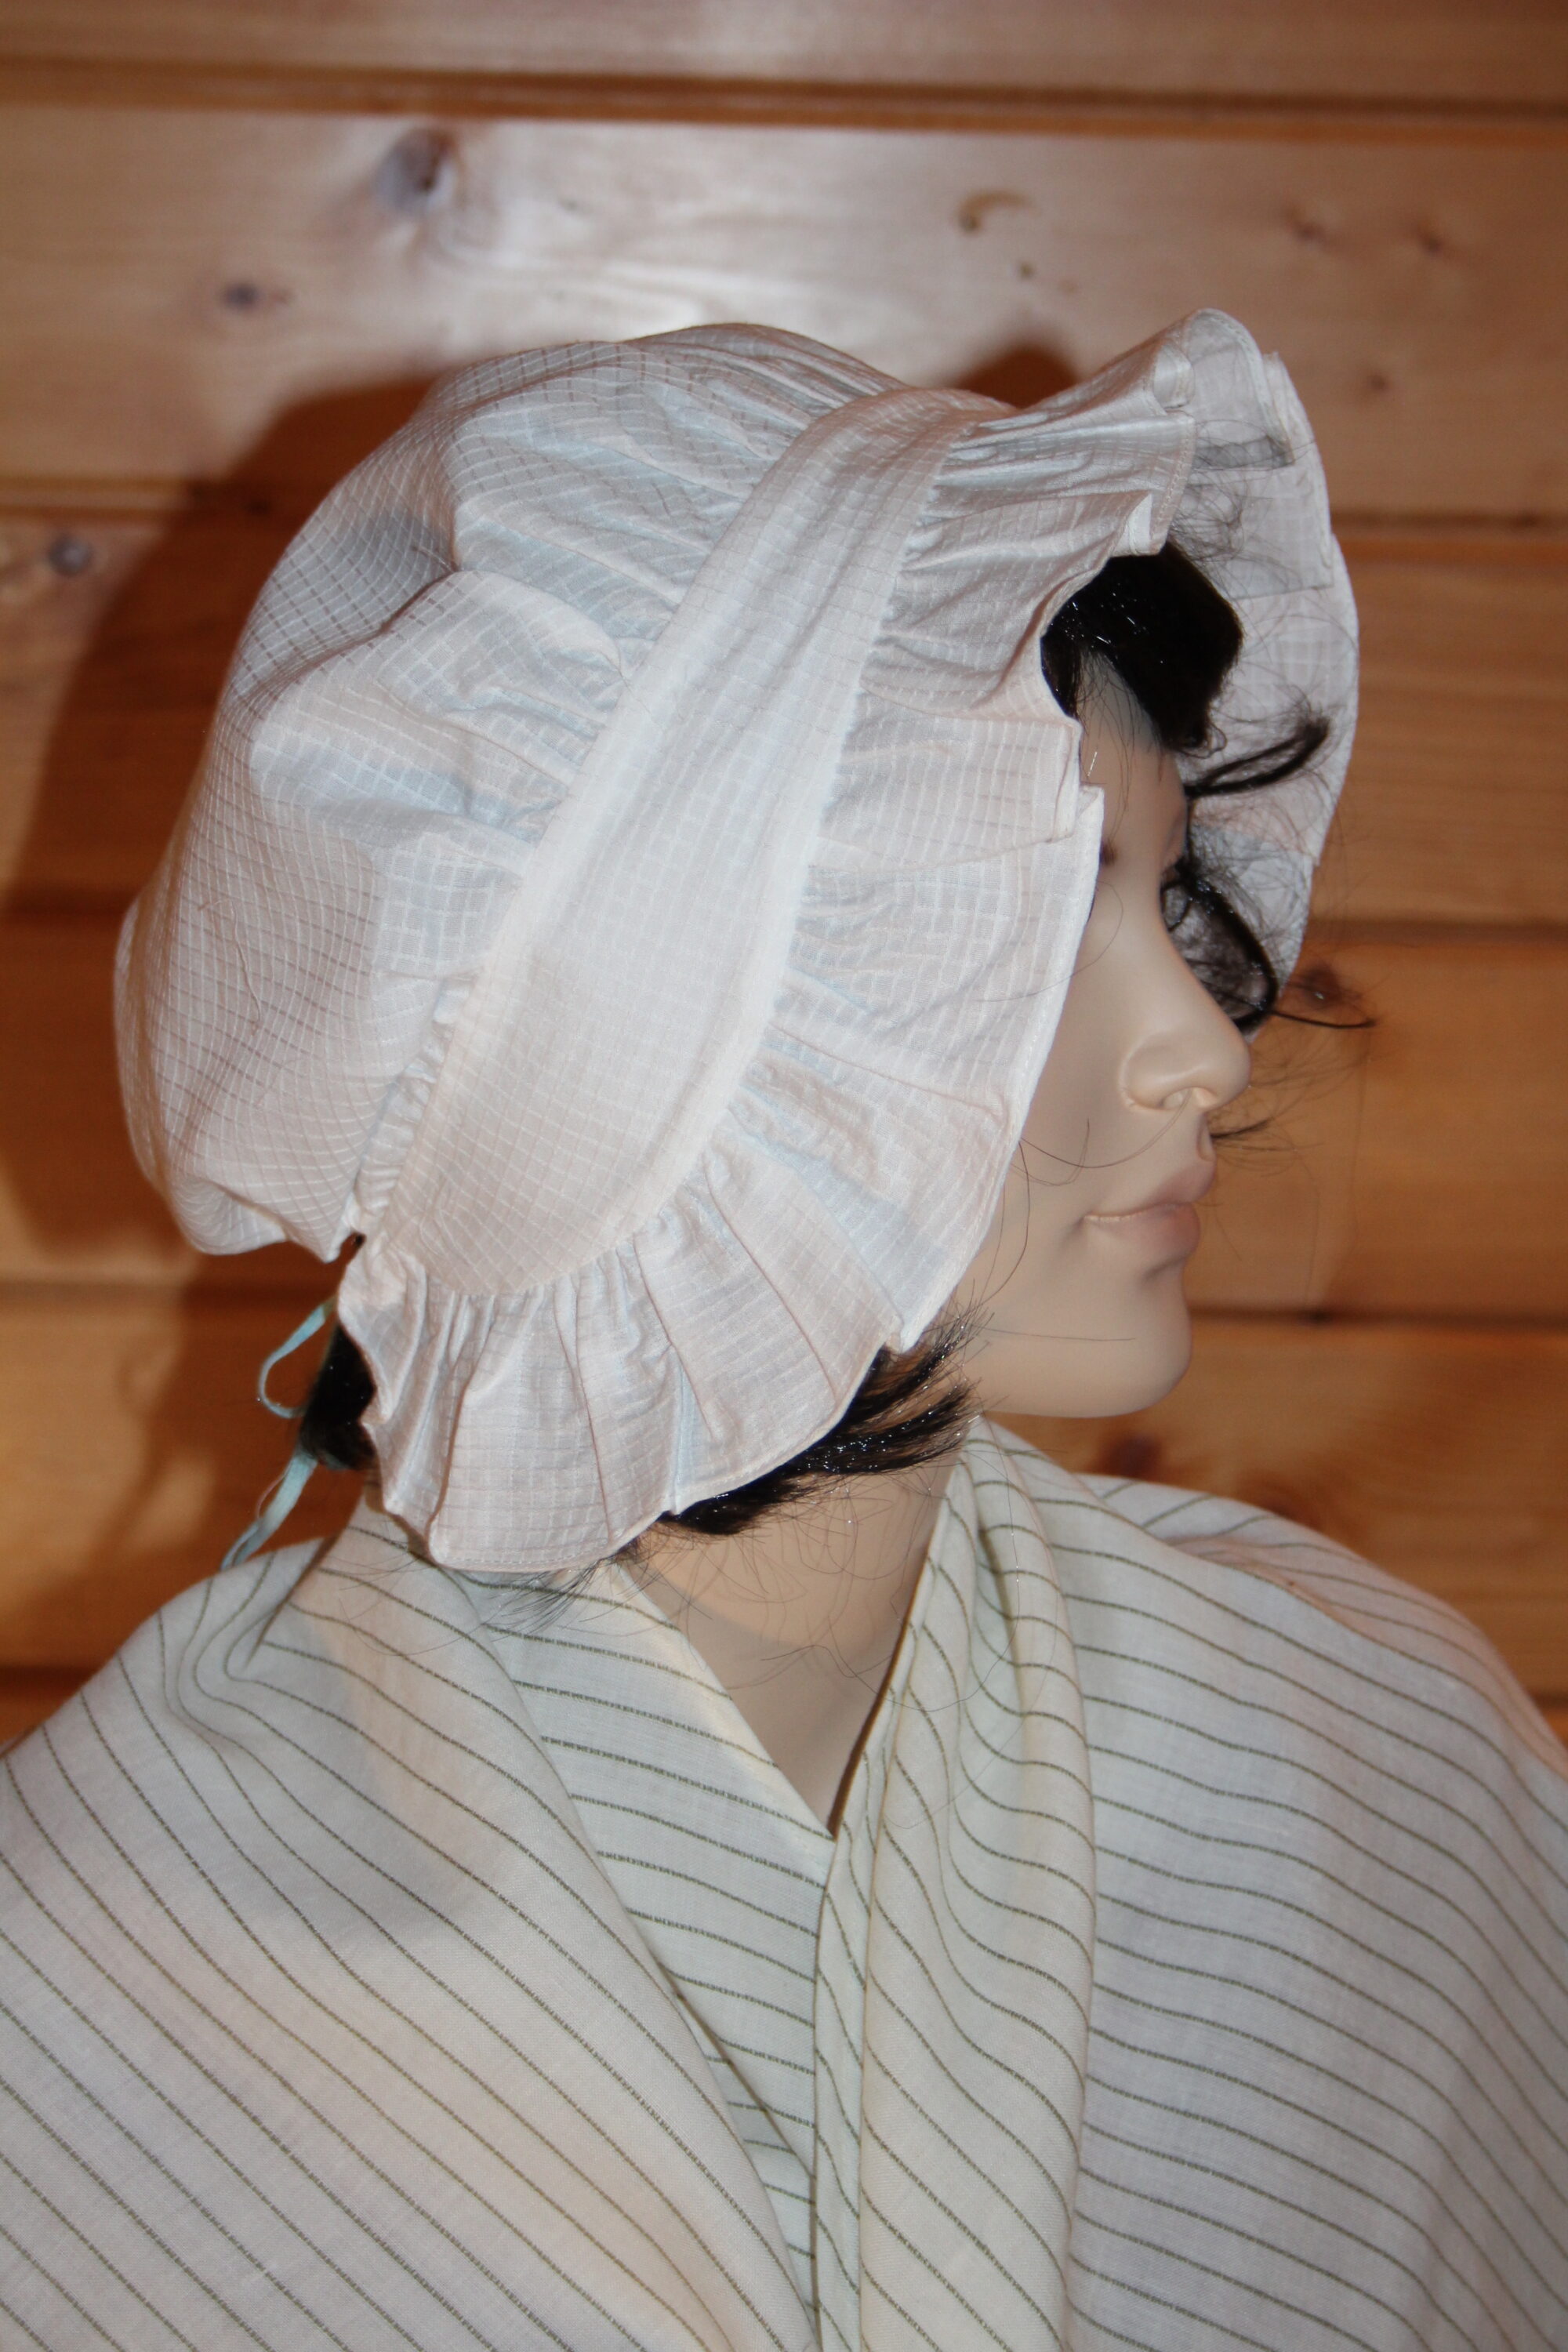
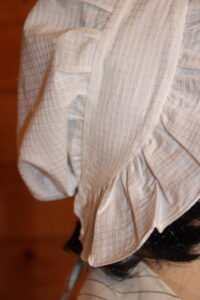
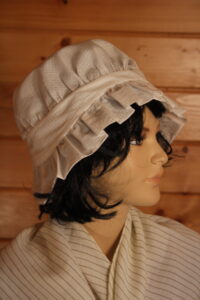
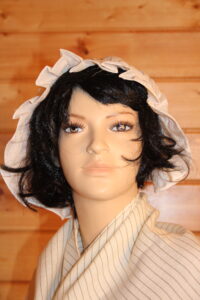
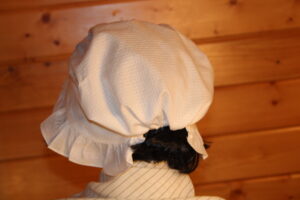
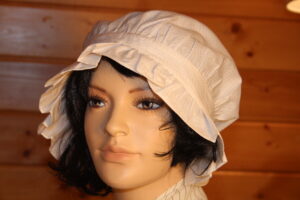
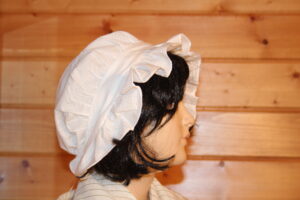
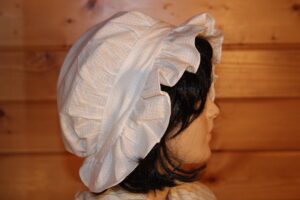
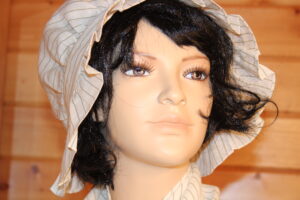
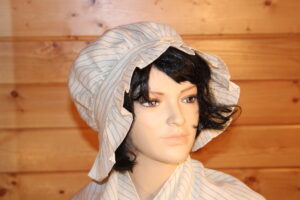
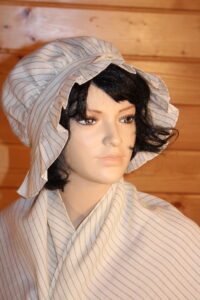
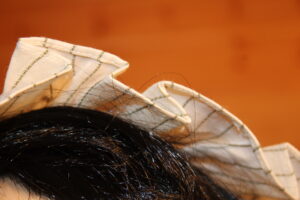
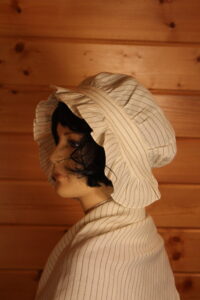
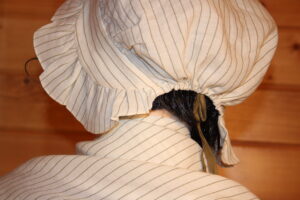
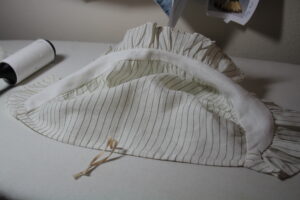
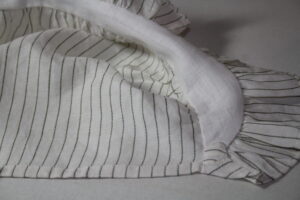
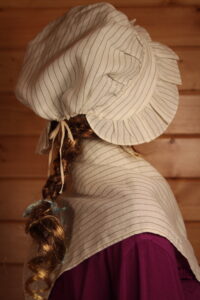
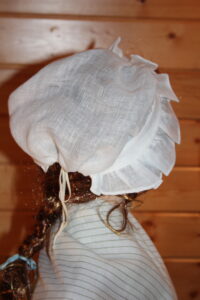
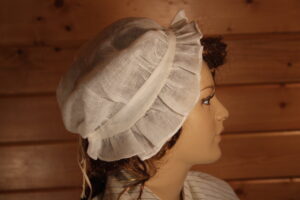
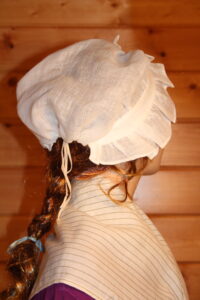
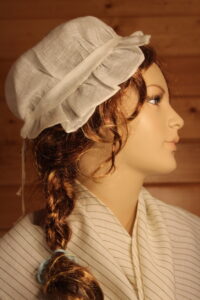
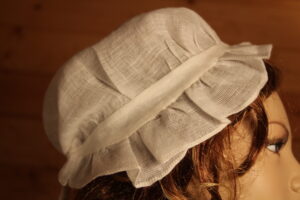
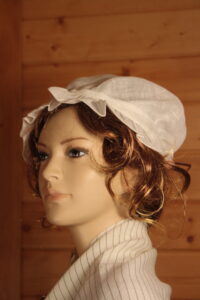
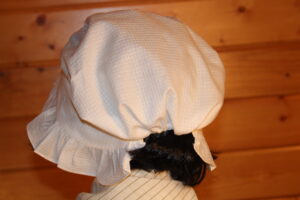
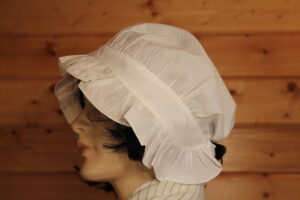
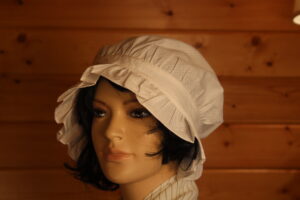
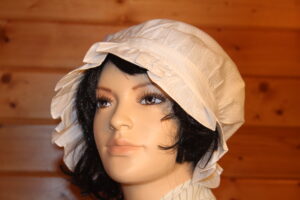
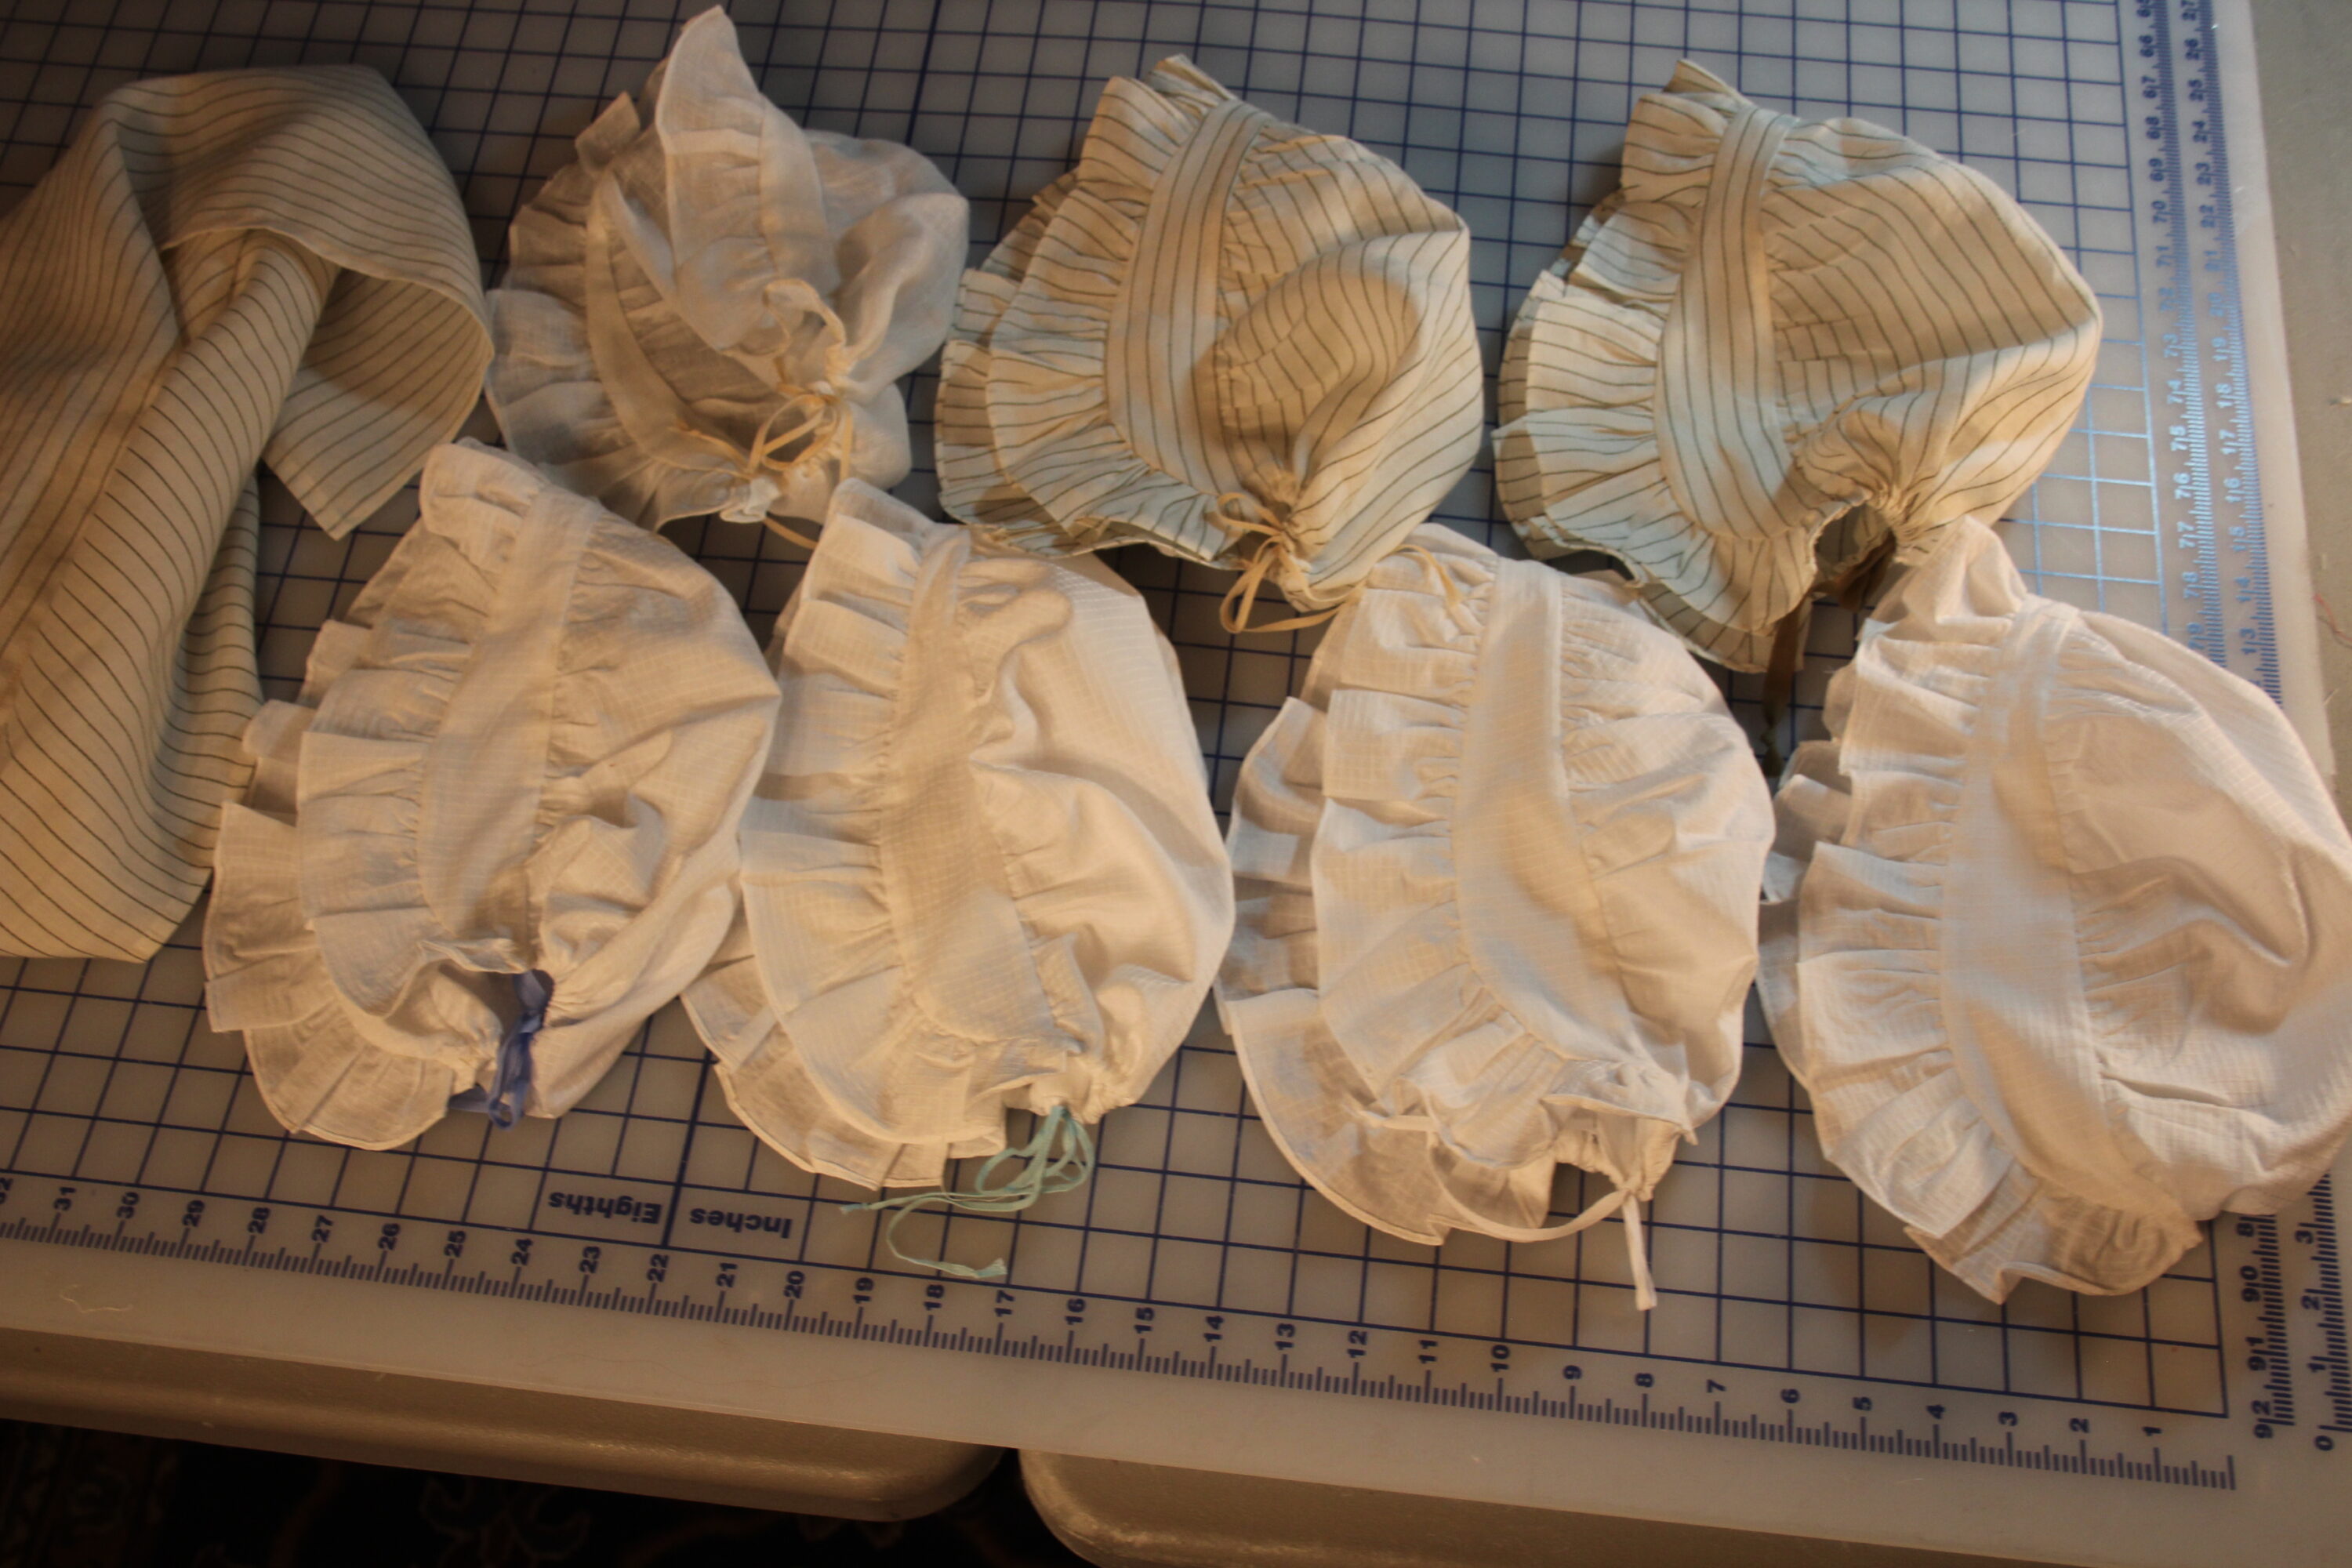
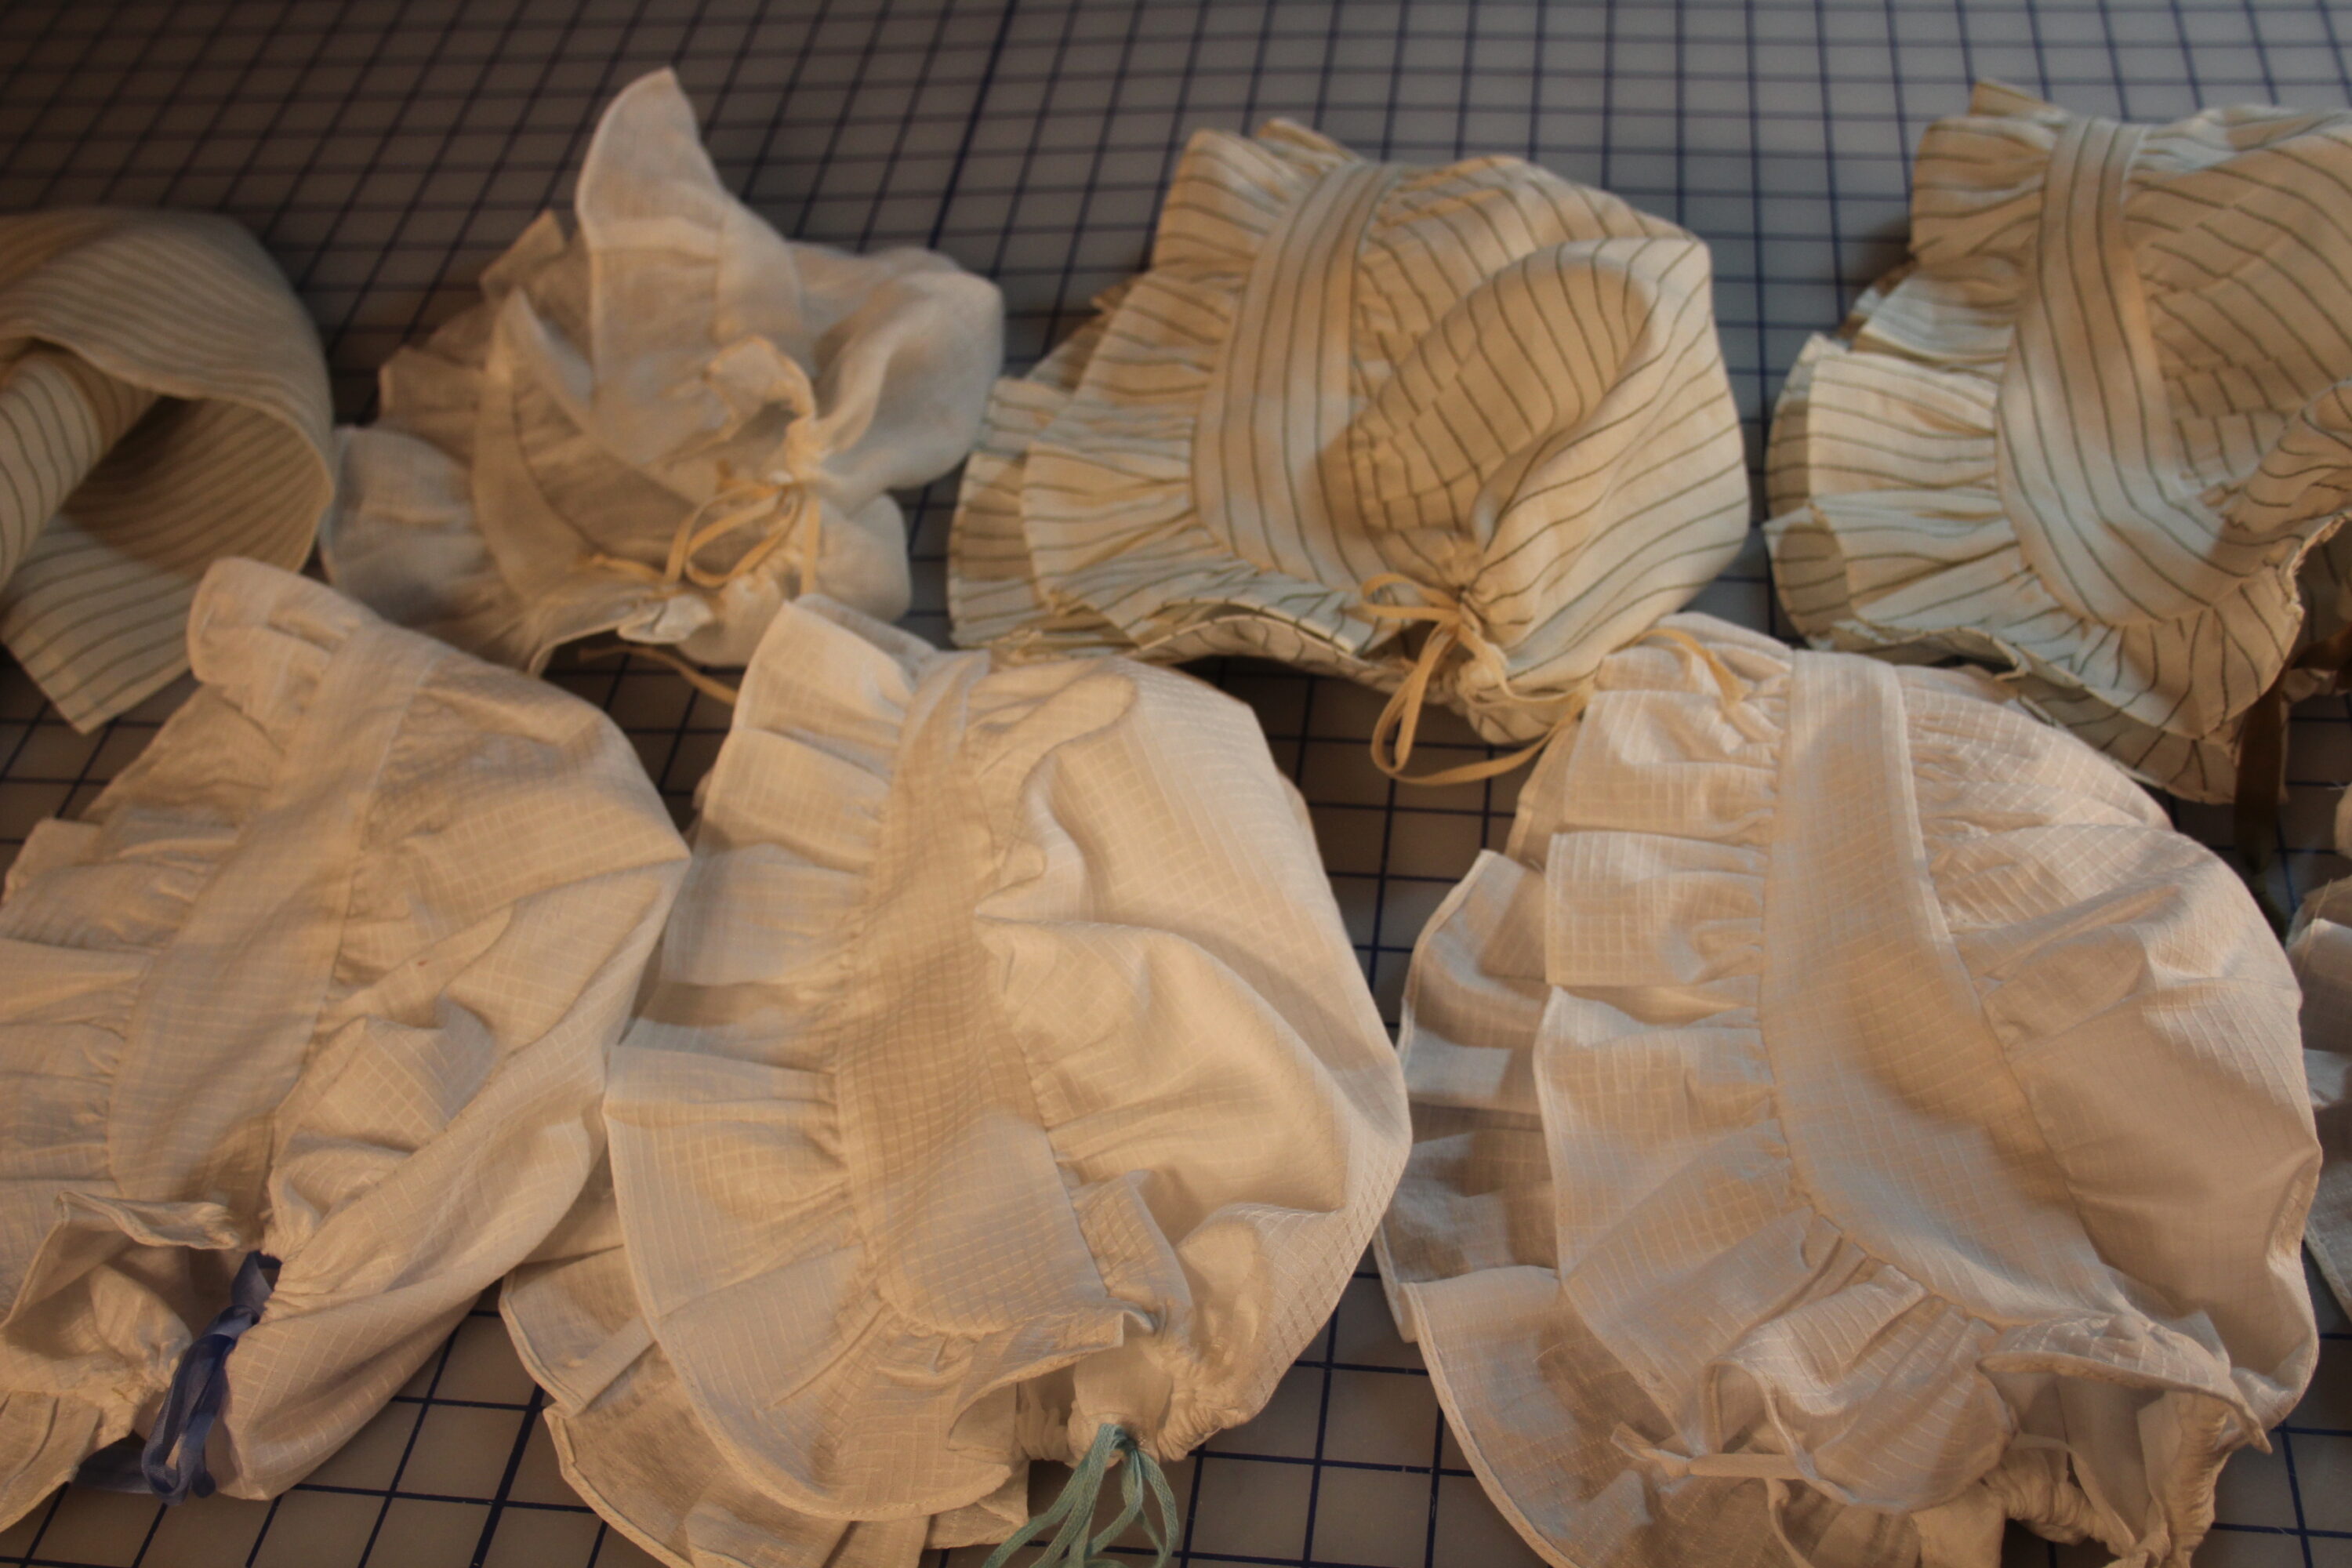
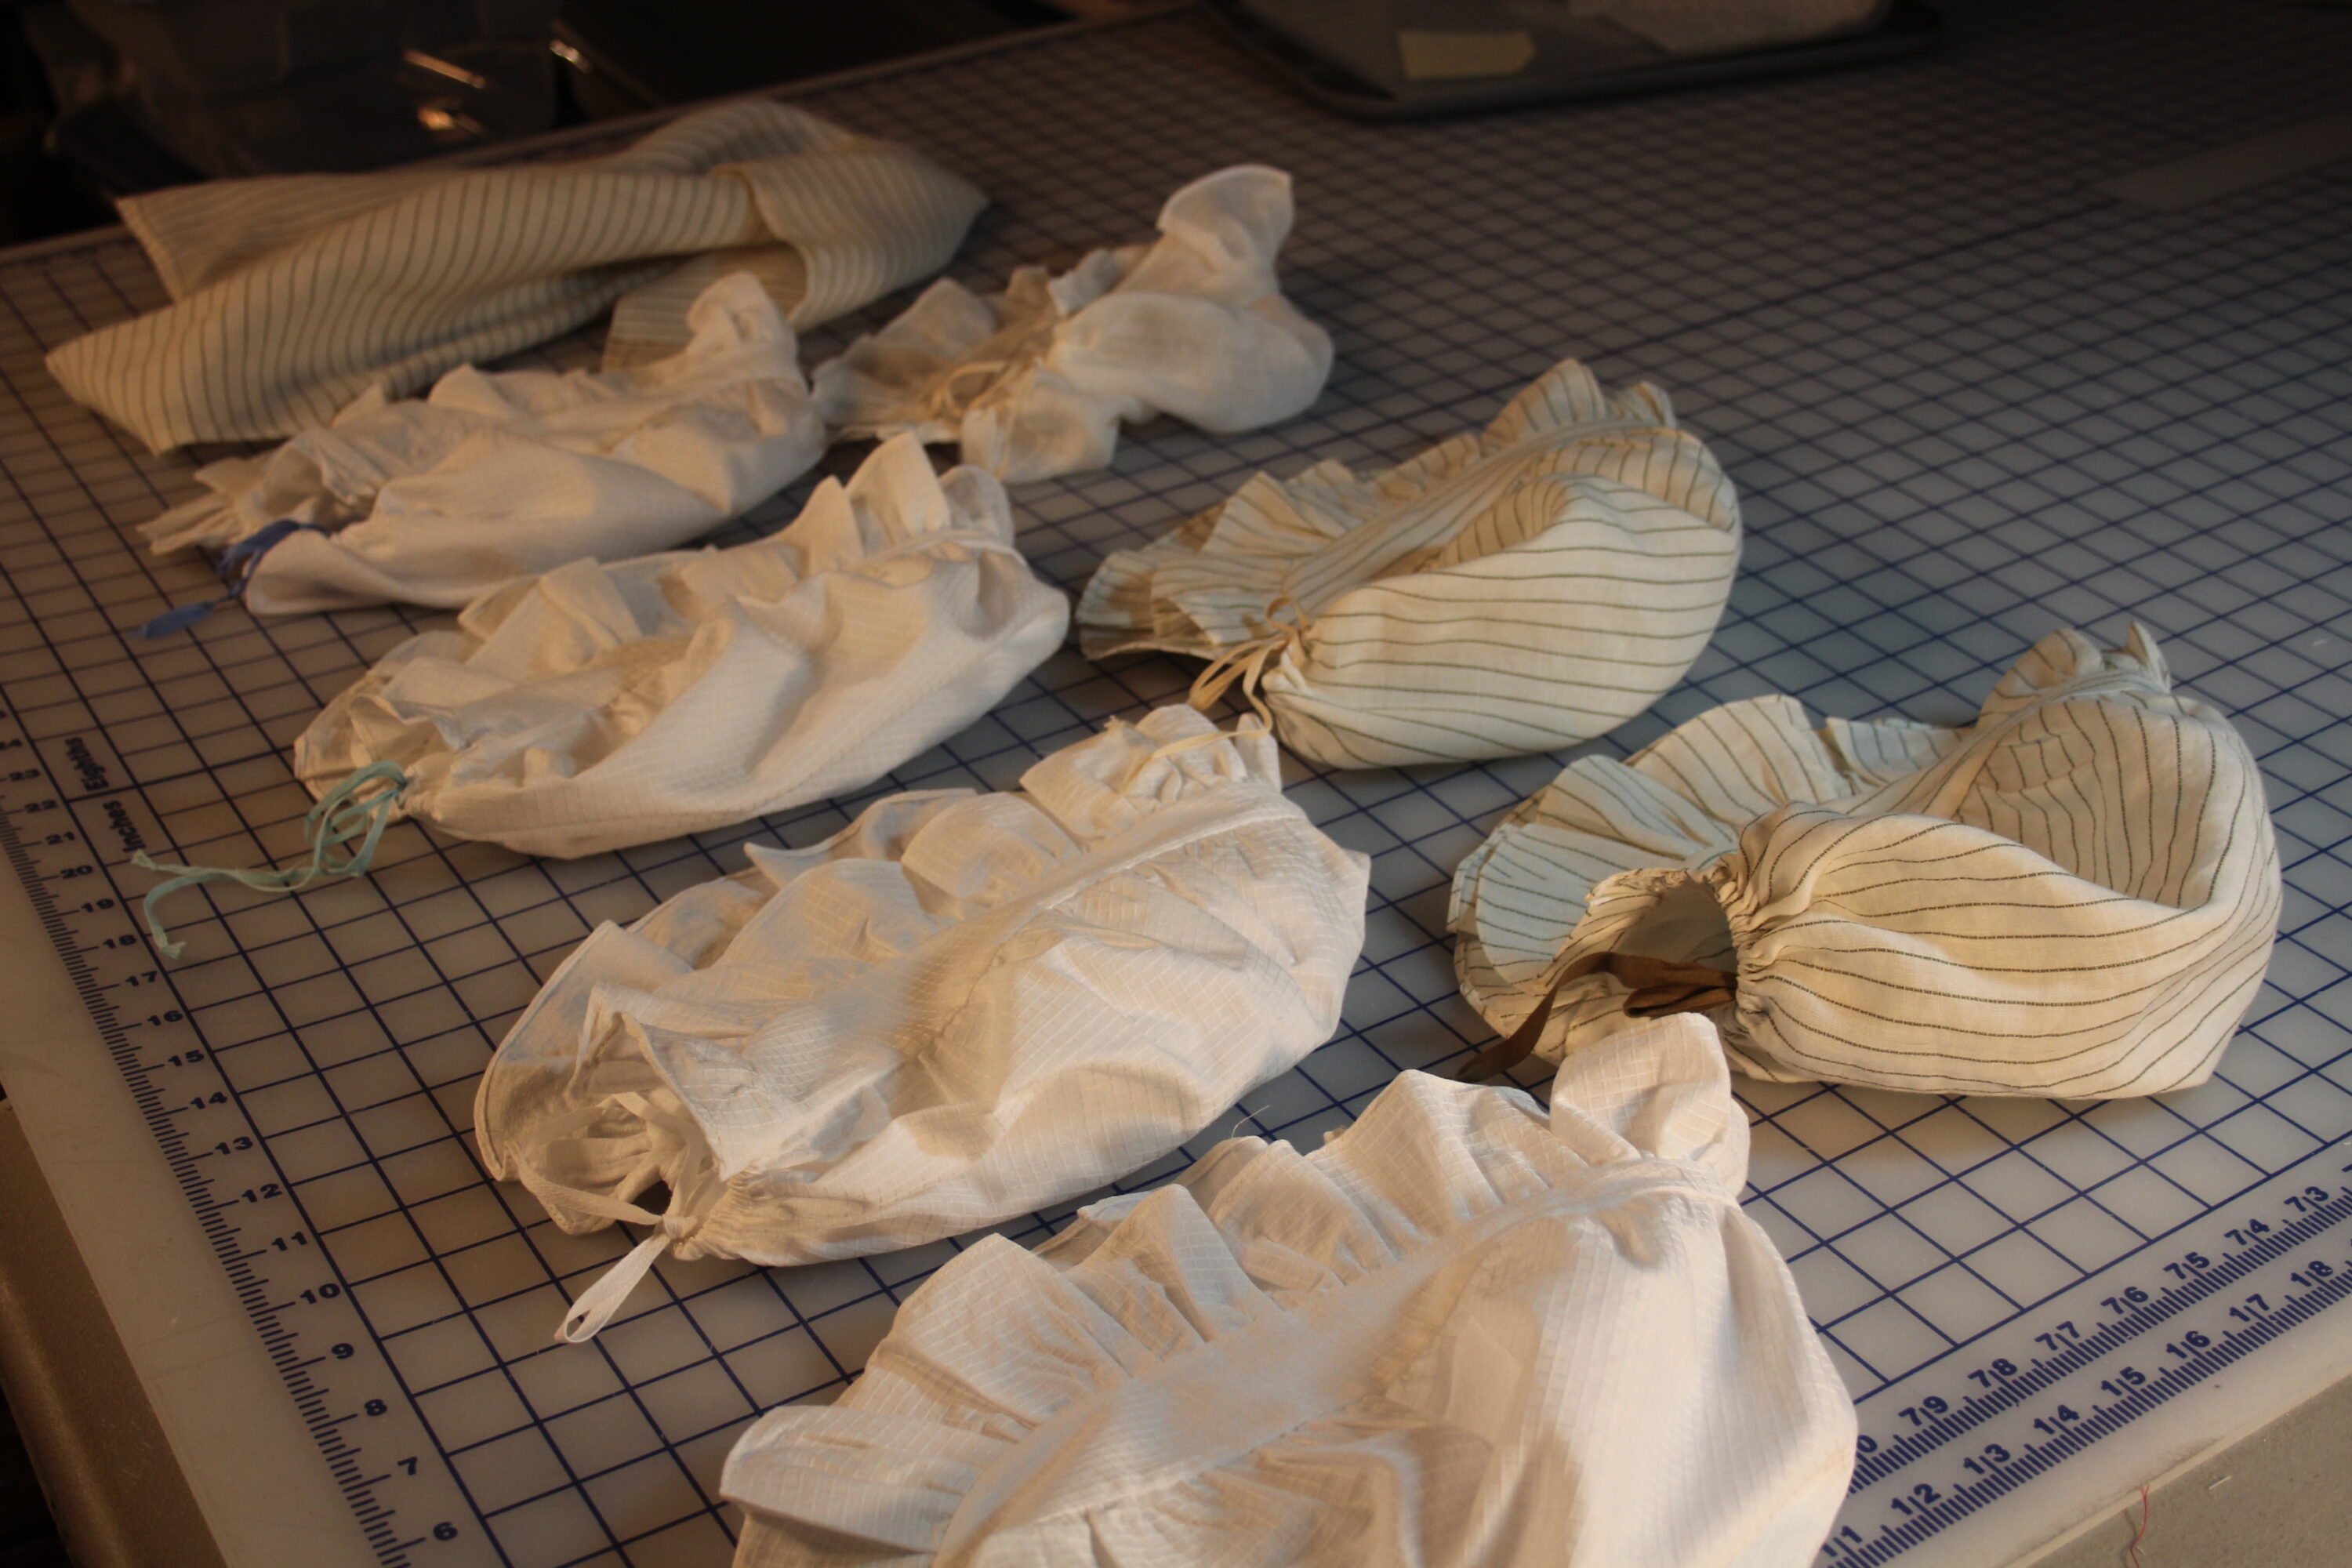
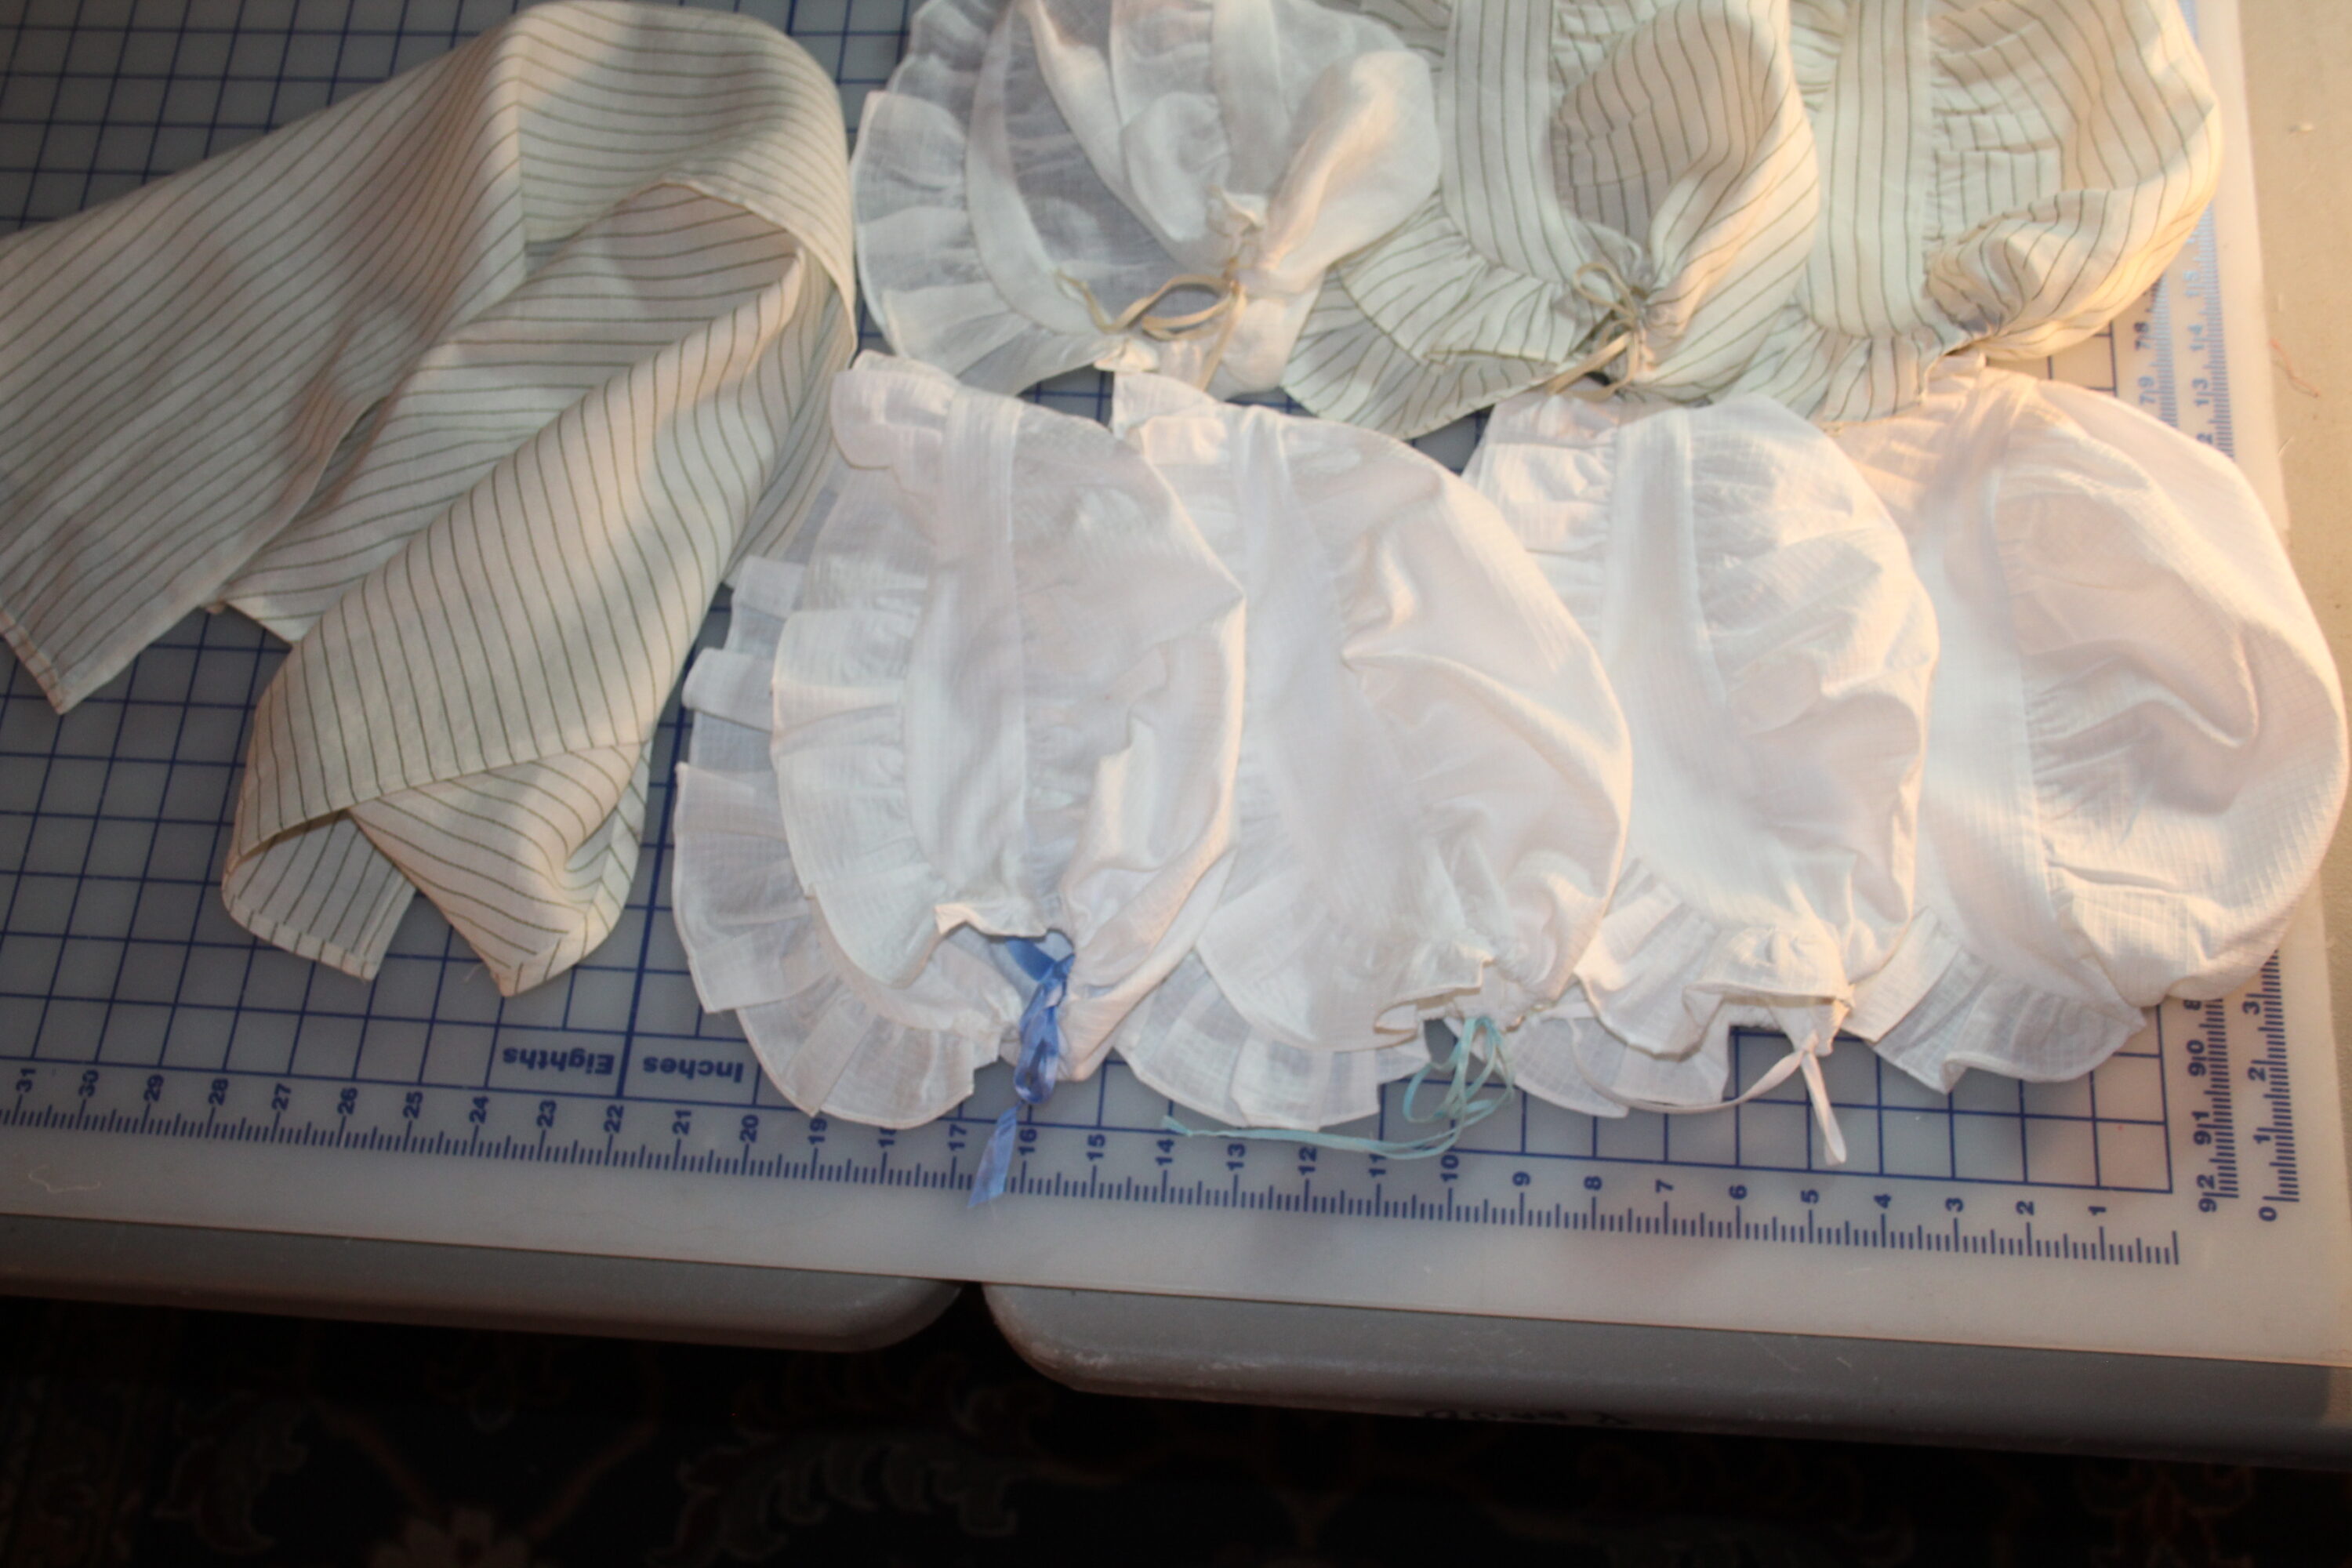
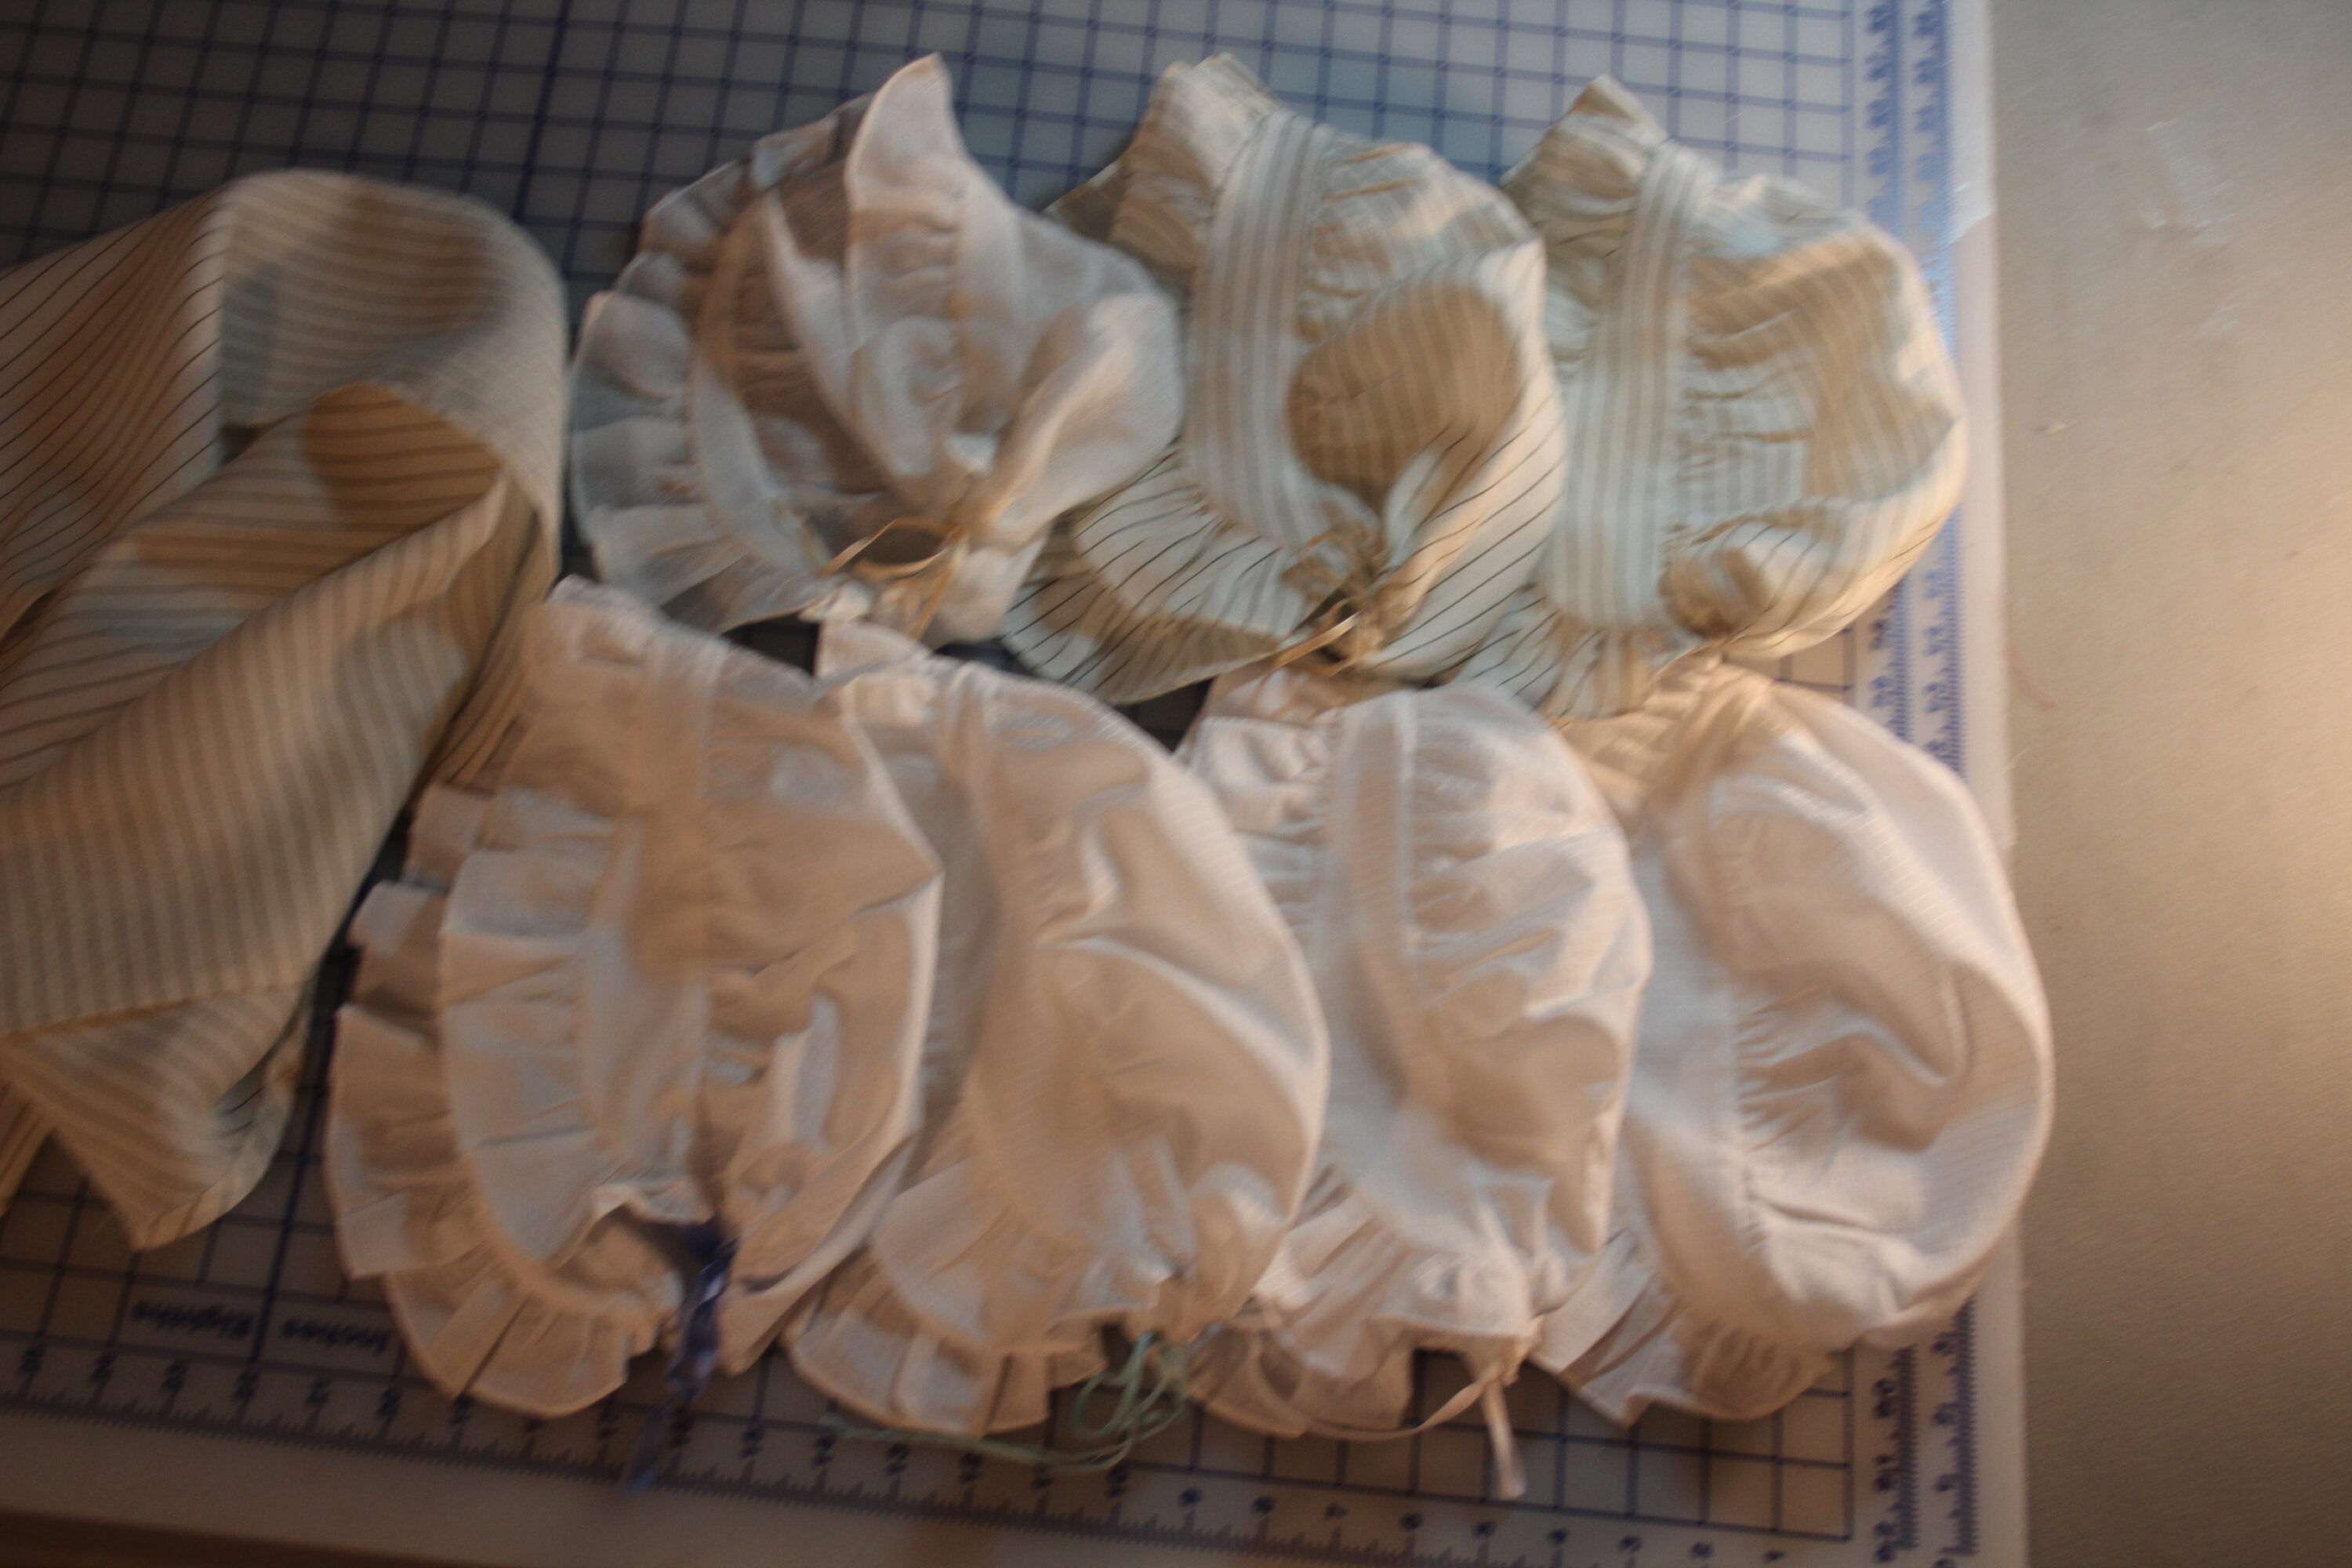
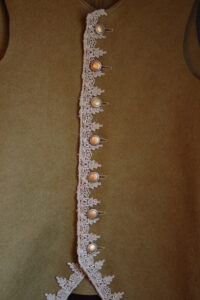
7 MobCaps
There were 2 handkerchief linen, 2 striped lightweight linen, and 3 cotton lawn mobcaps made. These were all adult sizes with adjustment strings in the back. They were COMPLETELY made by hand using authentic methods, taking approximately 4 hours/each just the sewing. The school got to keep the prototypes too.
(Apologies as we did not keep the 7 organized during photographing. You can see they are all the same design, but the fabrics change the way the ruffles stand, the crown poufs, and how big it is overall even with these being a bit mixed up).
You can see how the different adjustments to the string, fabric weave, and way it is placed and worn, makes it look like there are many more than 7.
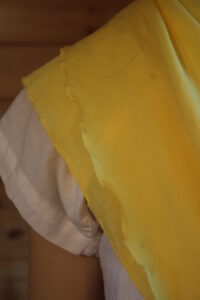
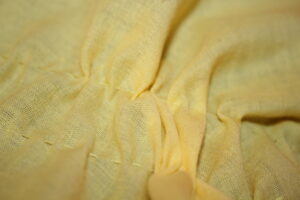
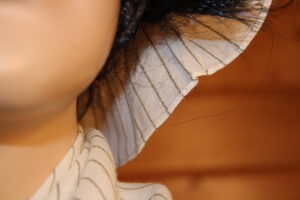
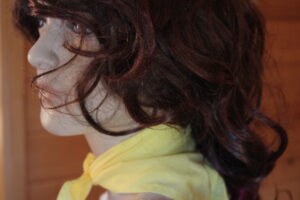
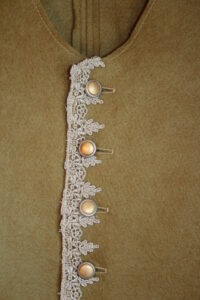
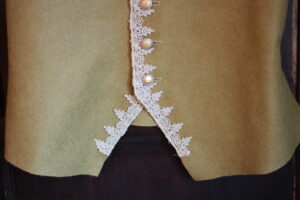
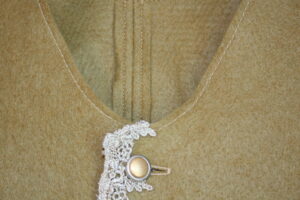
As per photo #1, we also donated a striped linen fichu. The lines are all flax based and authentic weaves. There were two types of cottons: a “waffle” textured weave, and a solid plain.


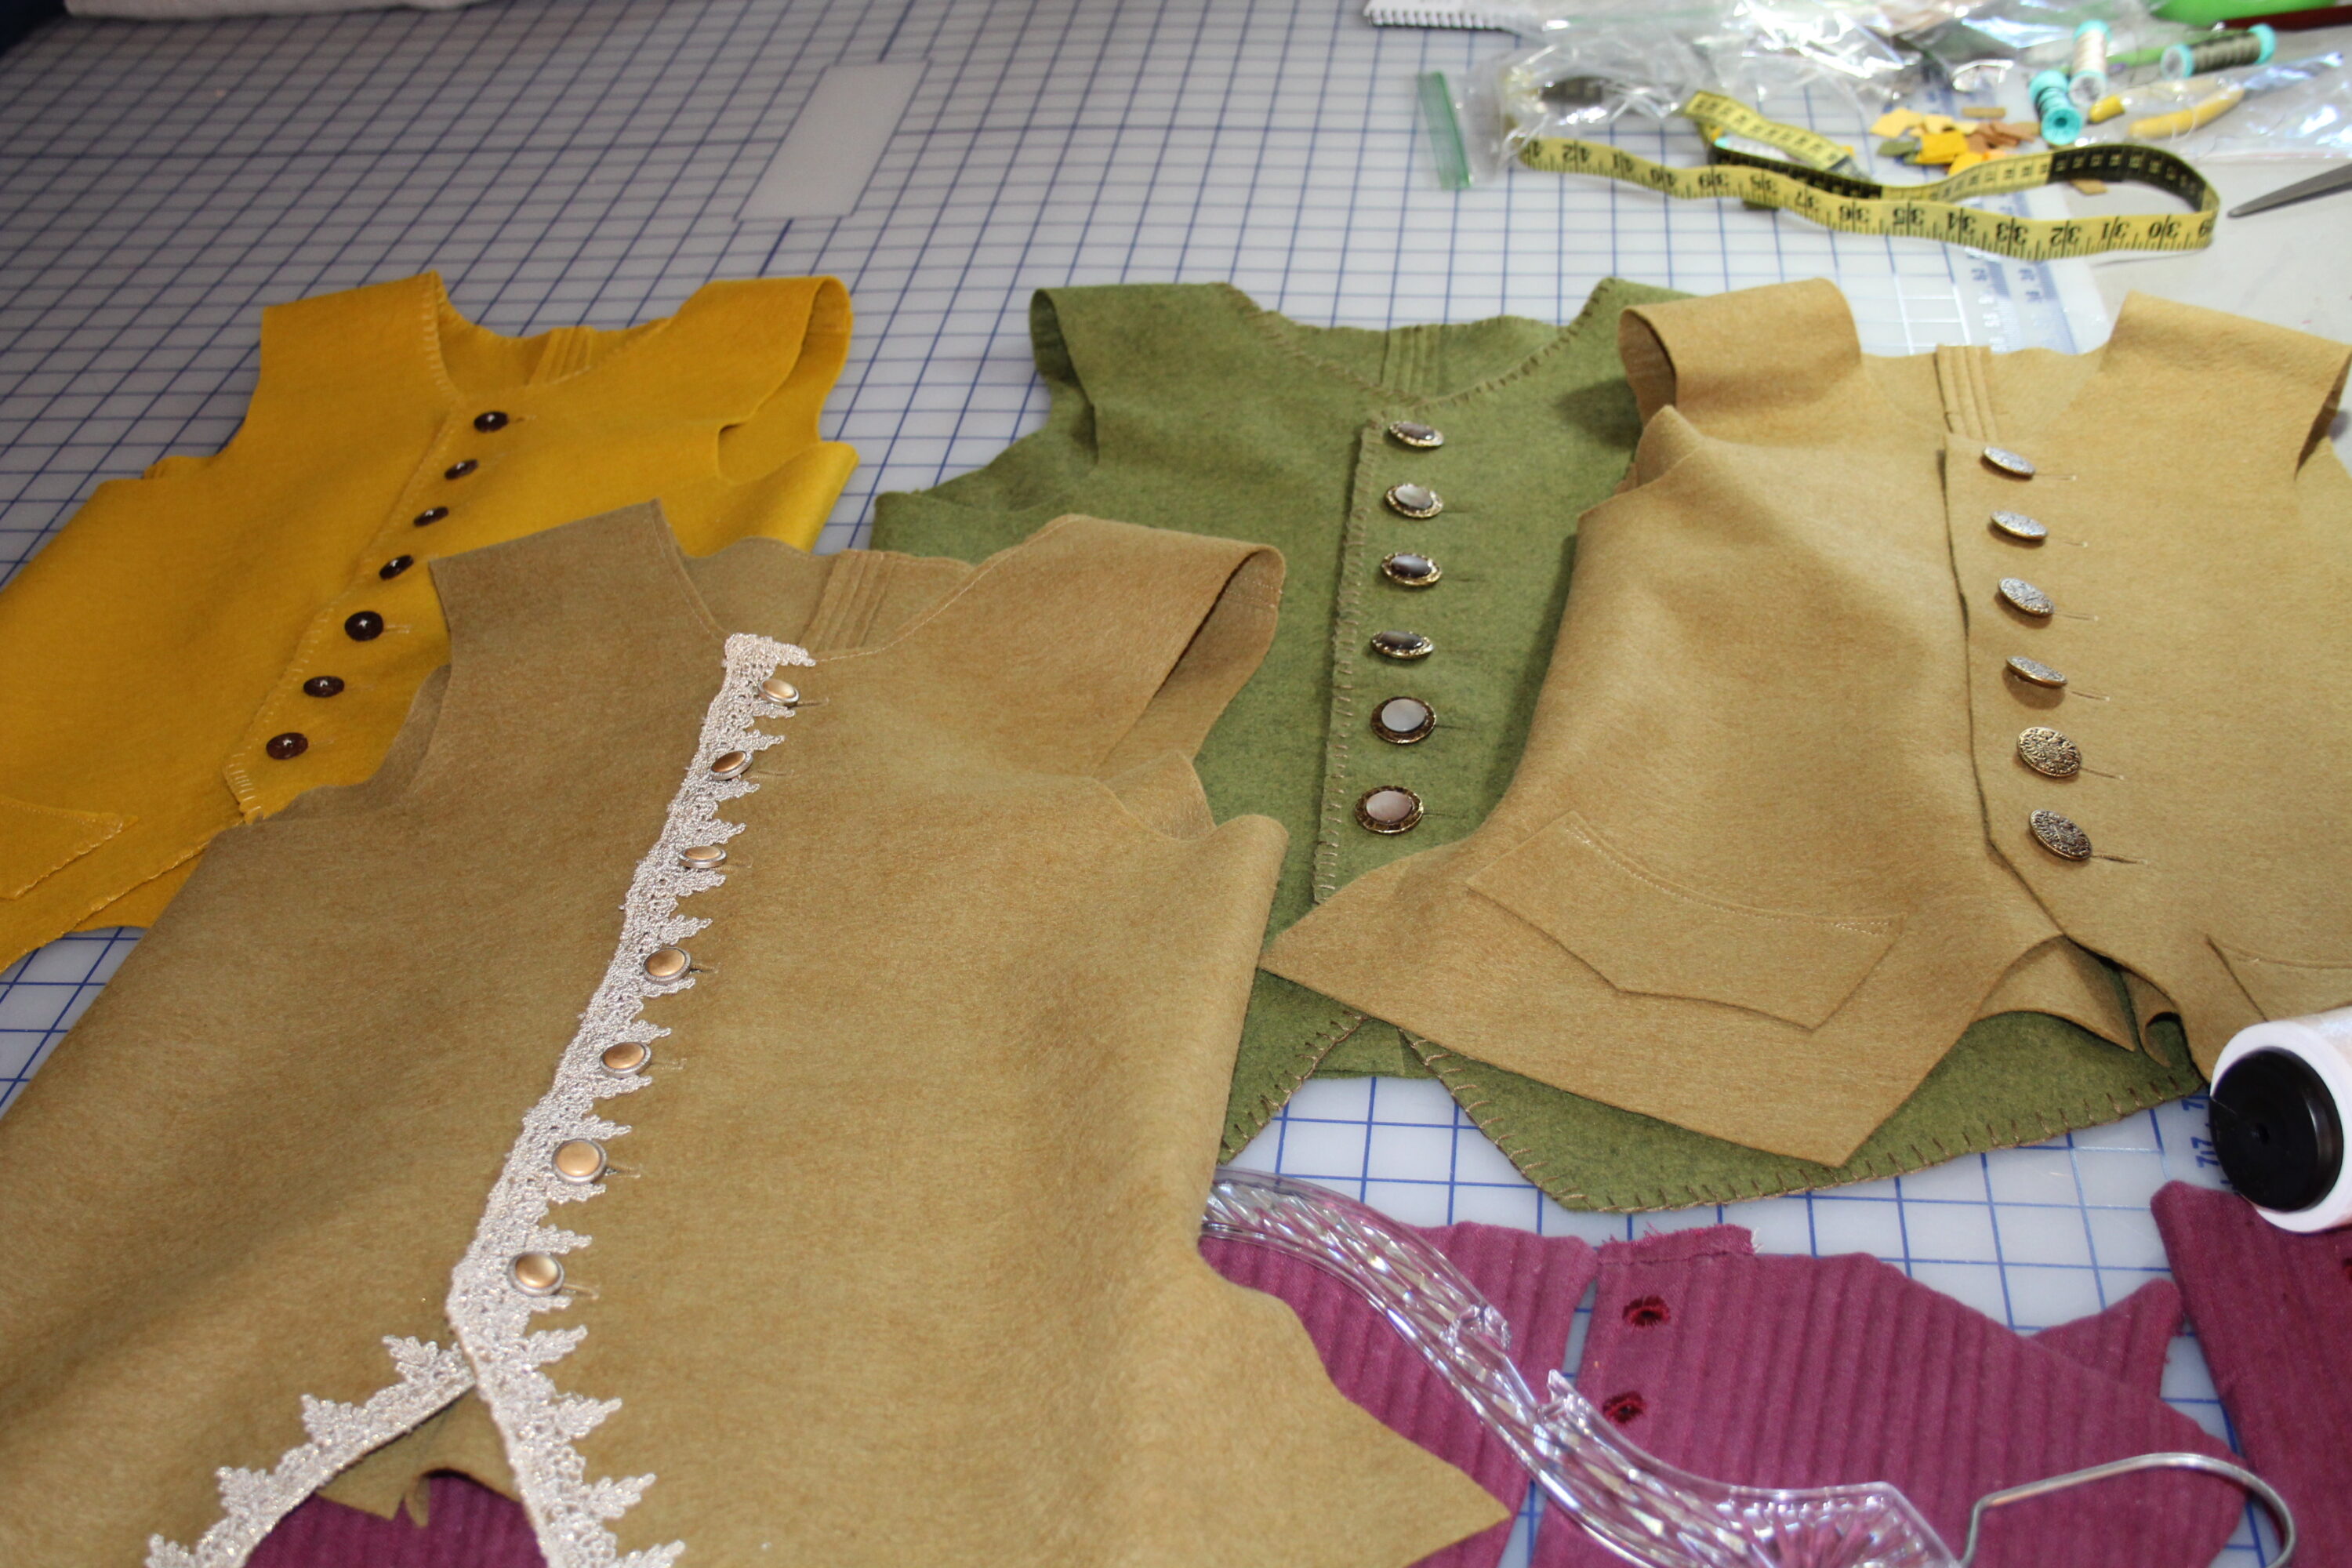
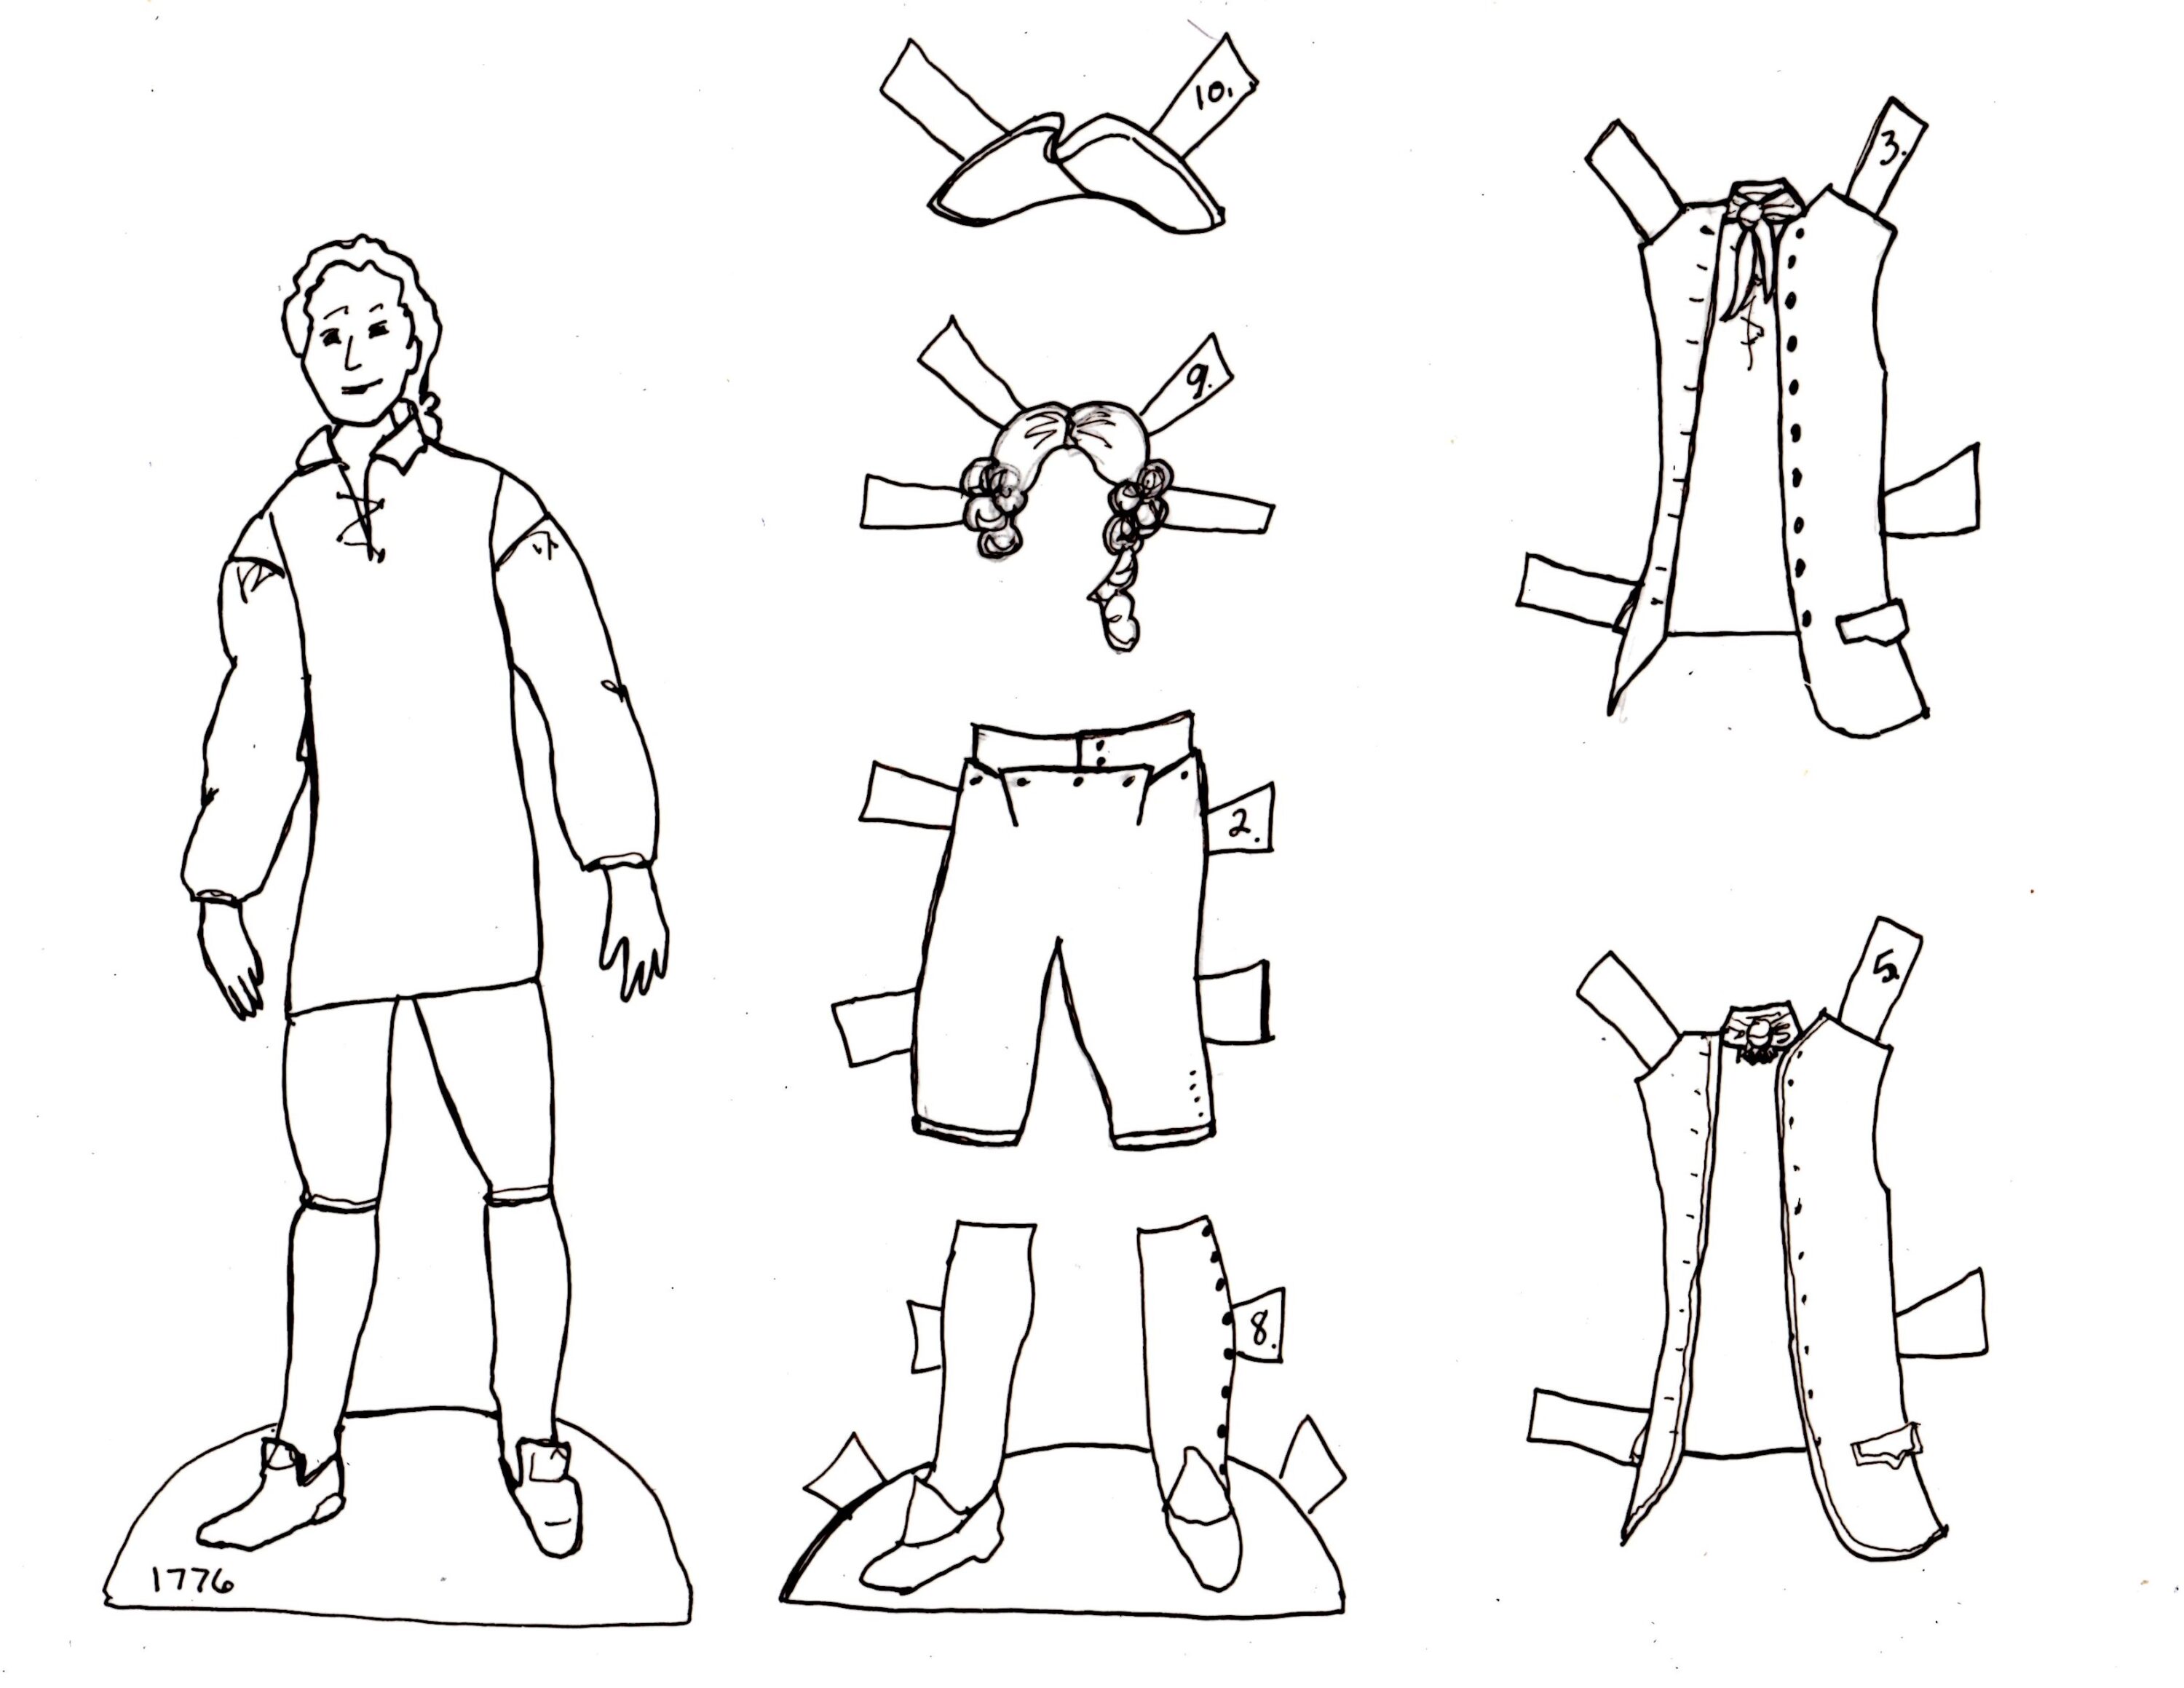
Prototypes
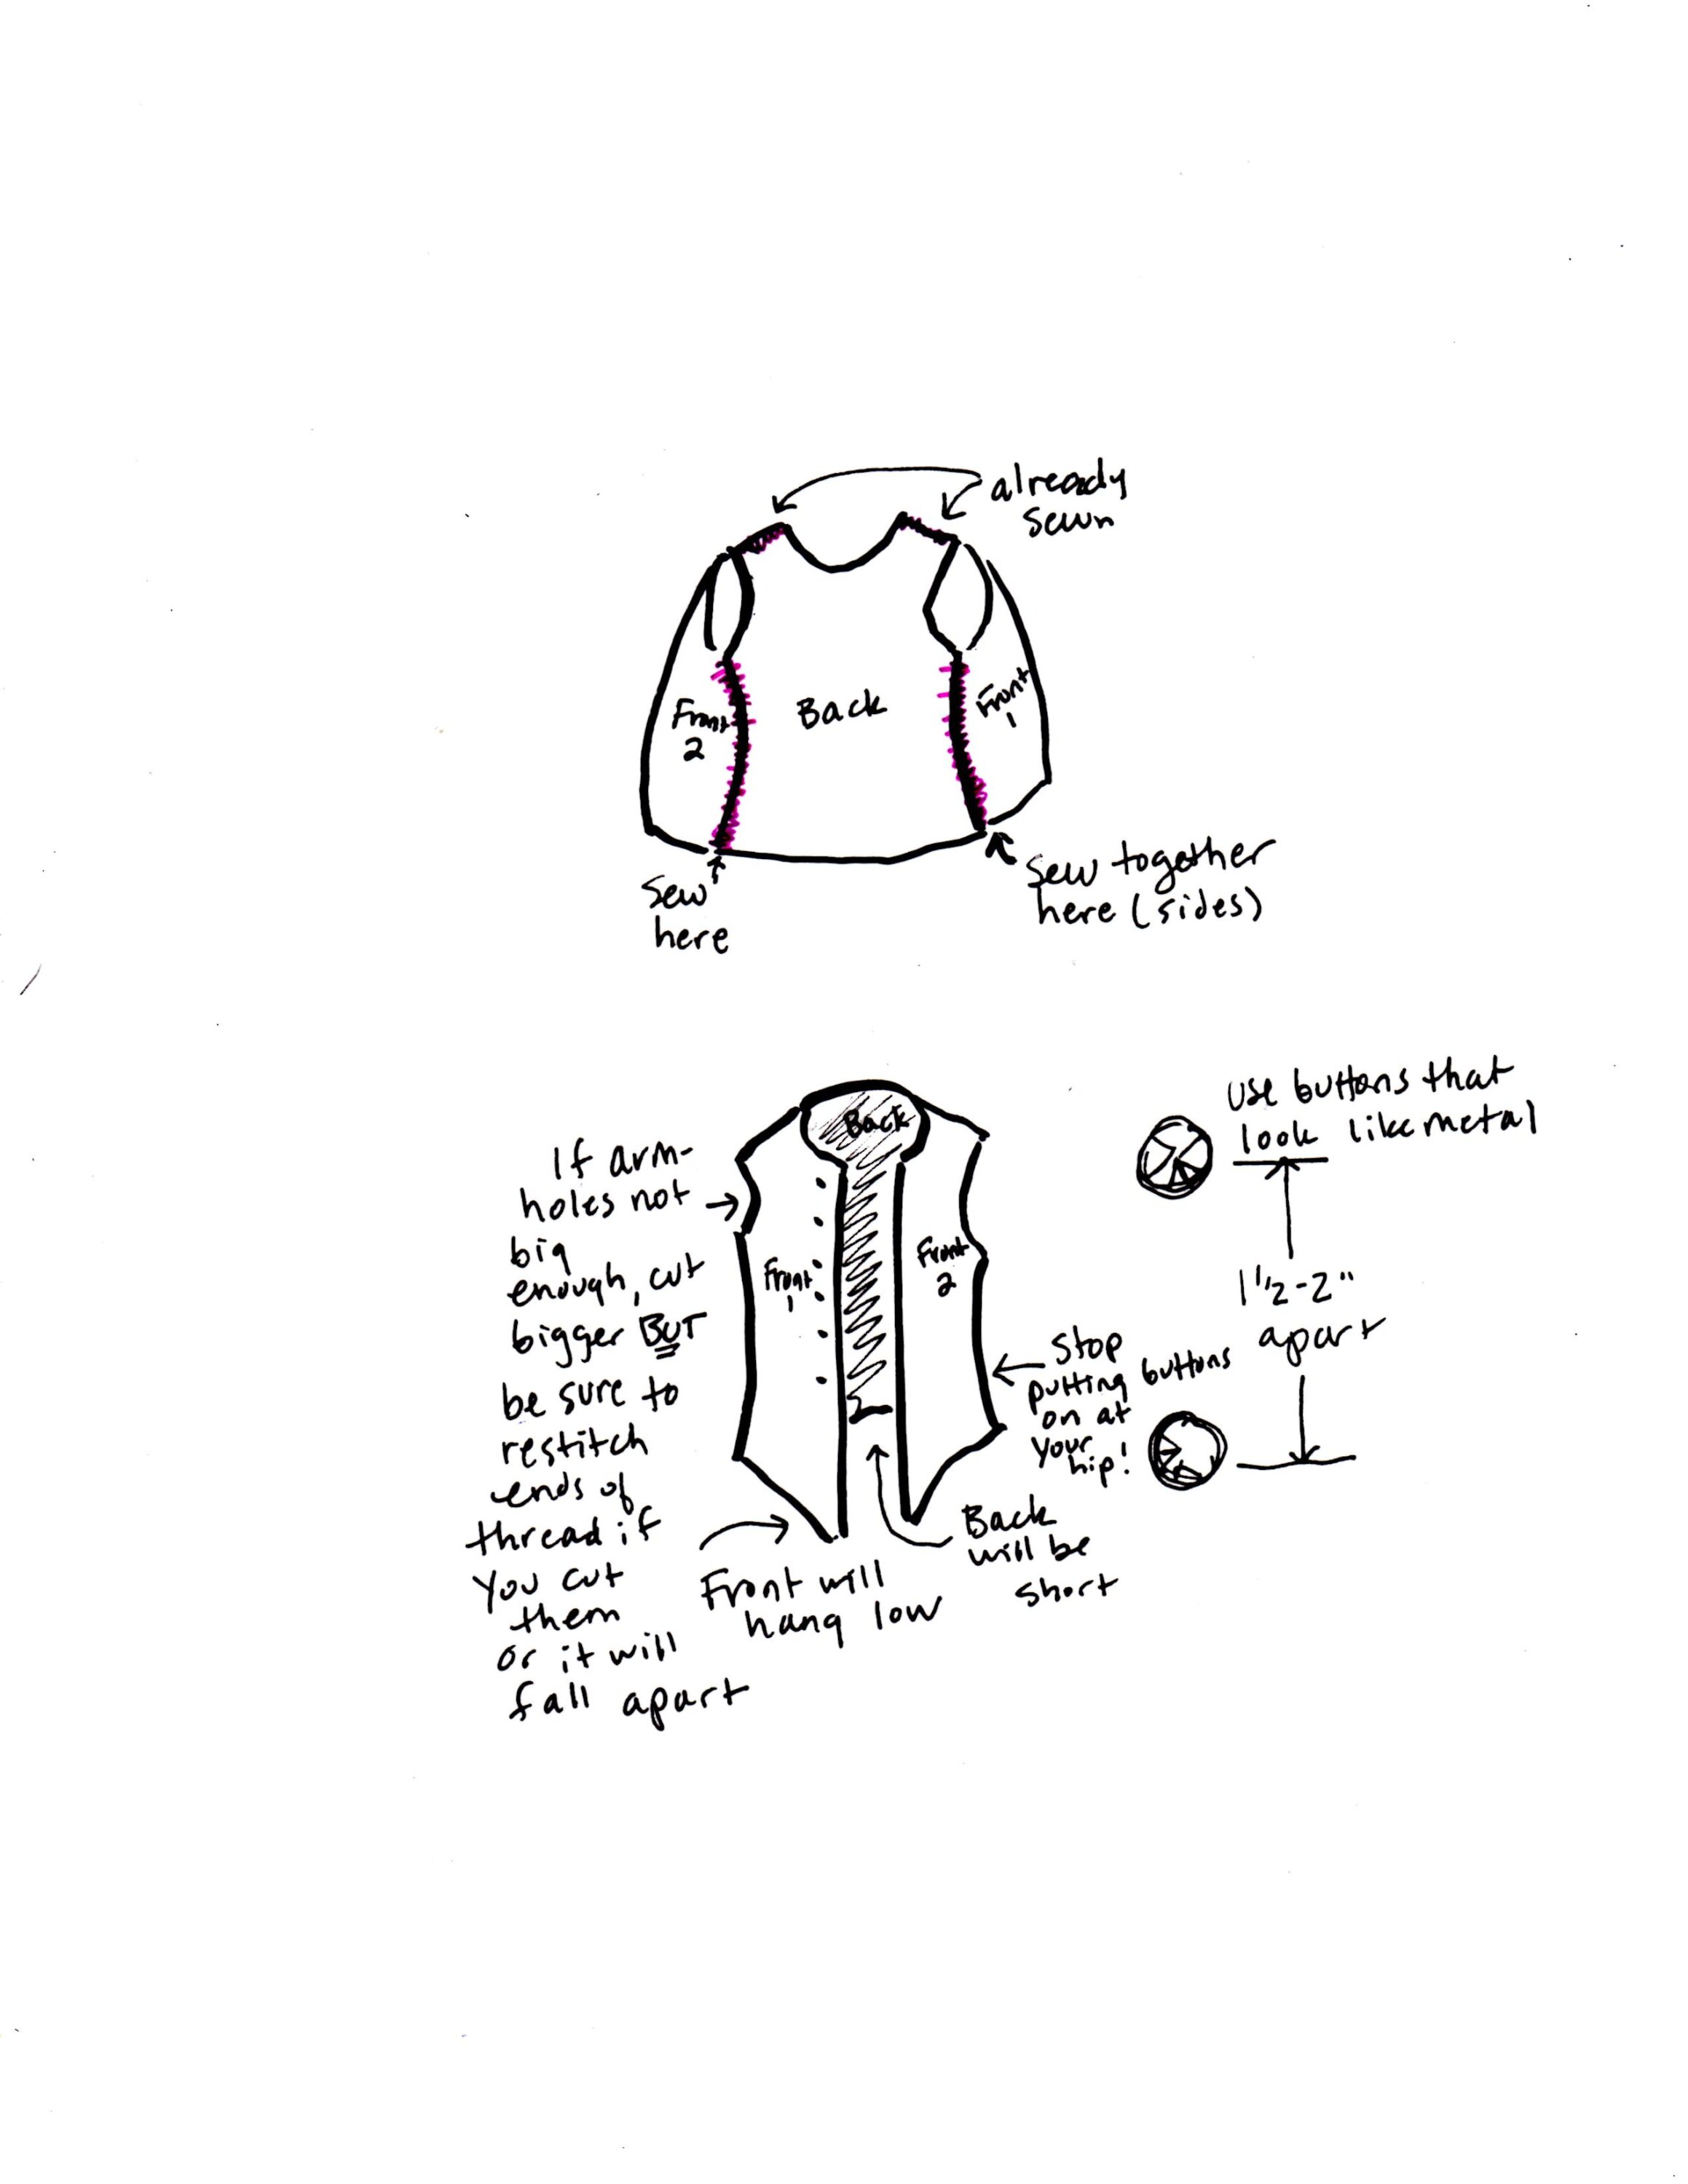
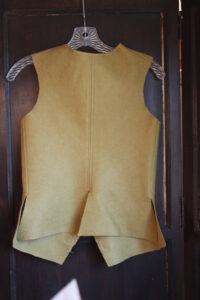
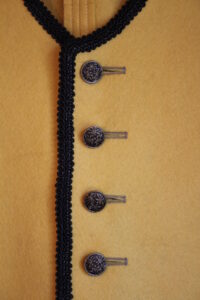
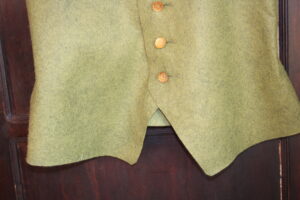
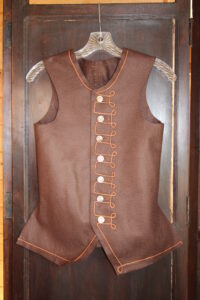
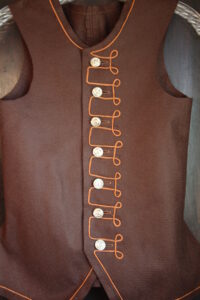
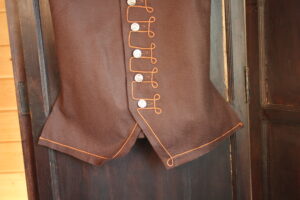
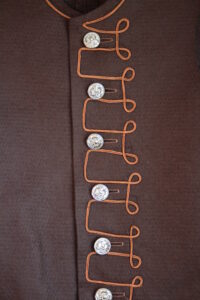
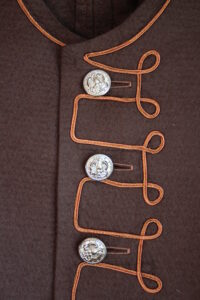
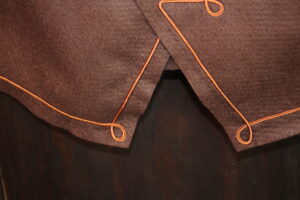
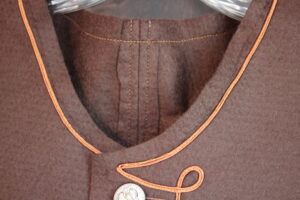
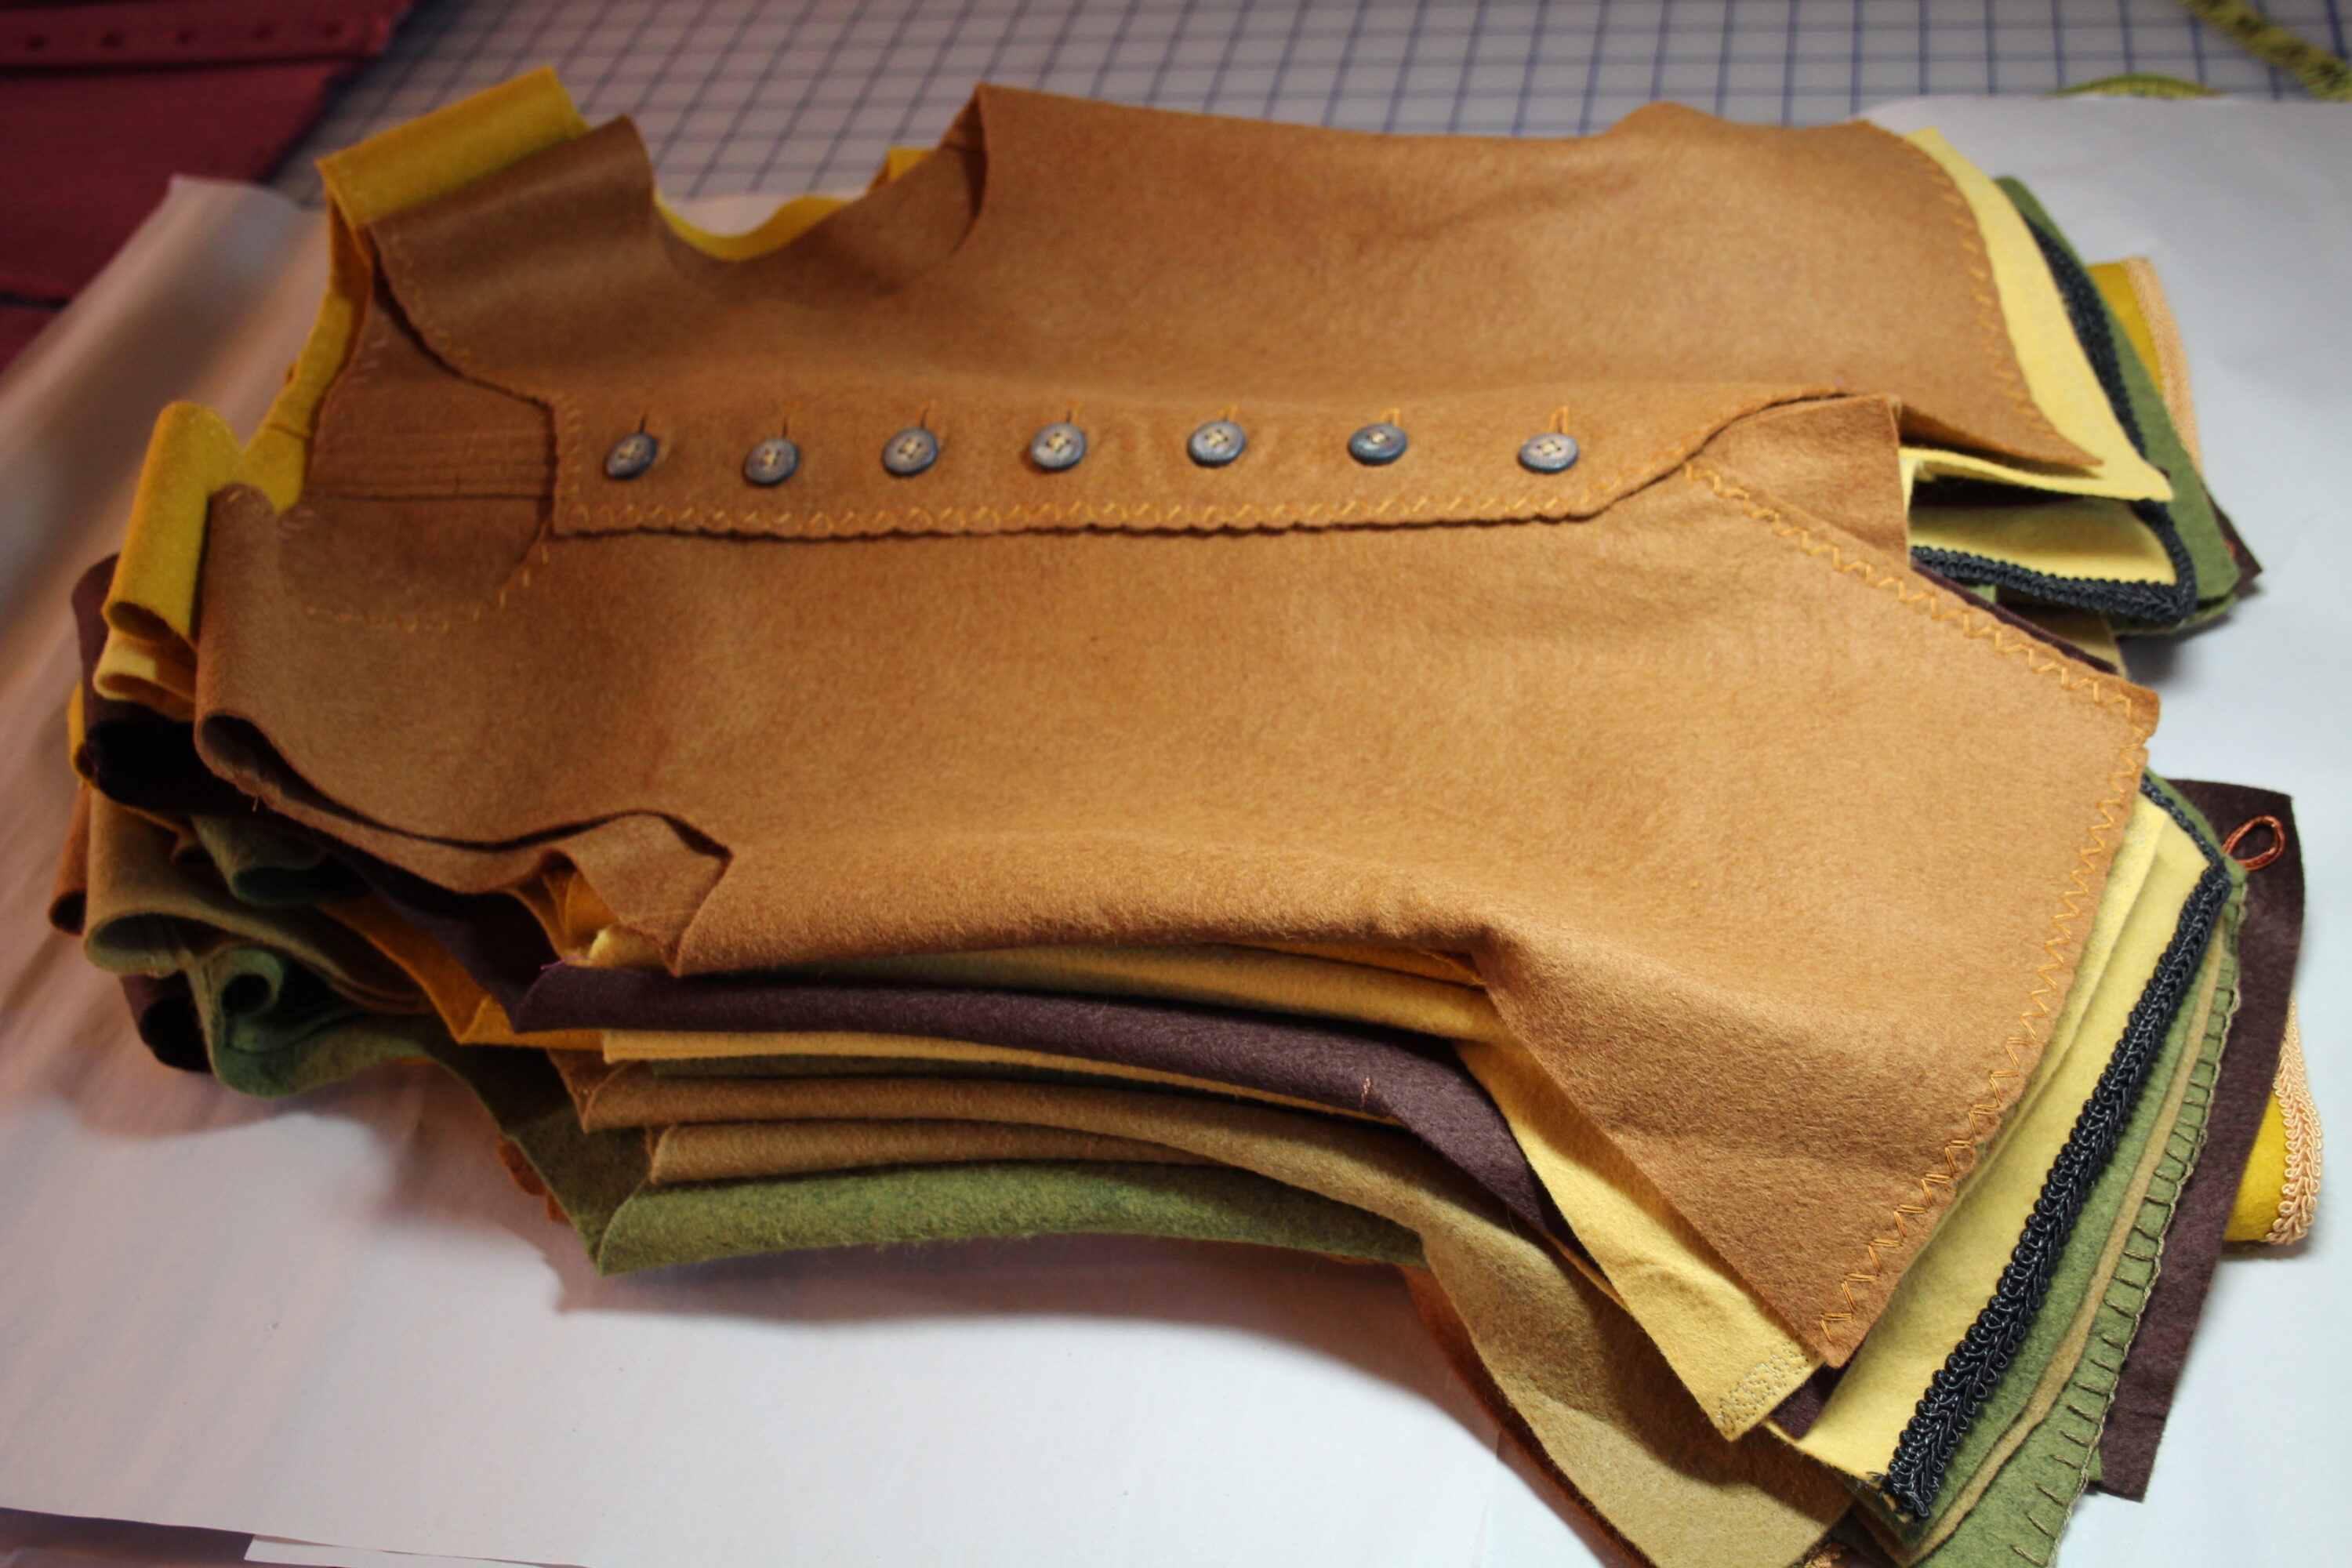
Lined with reproduction fabric, wool felt, and real working pockets made by hand boys’ small waistcoat (instructions in booket, but very advanced):
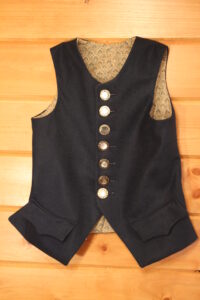
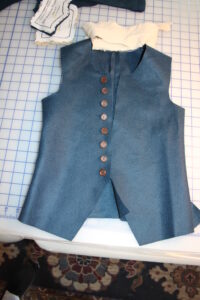
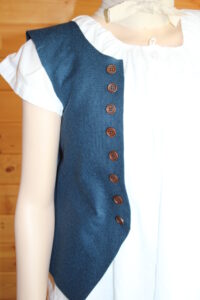
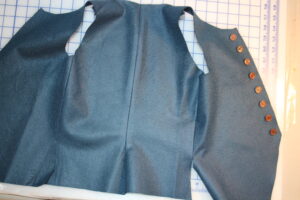
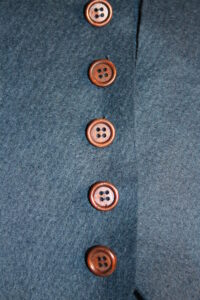
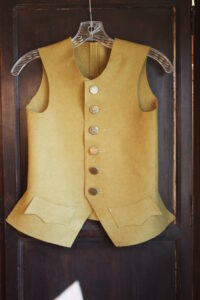
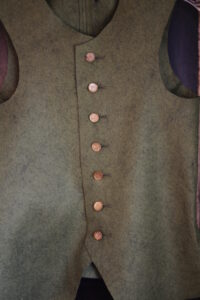
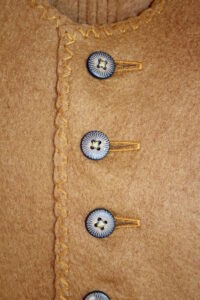
Unlined, wool felt, wood buttons same as per instructions in booklet:
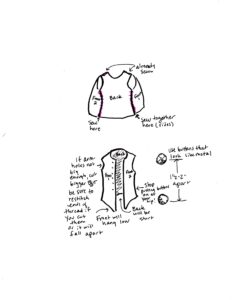
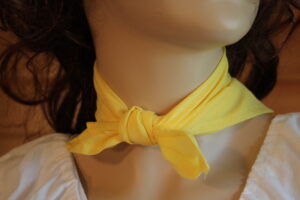
Linen Cravats (also sent long pieces of lace to make their own)
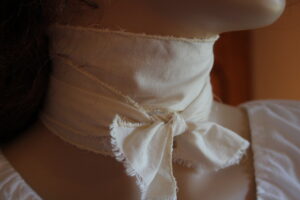
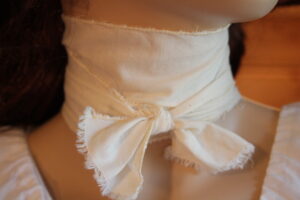
Linen Neck Scarves
Provided Finished Items
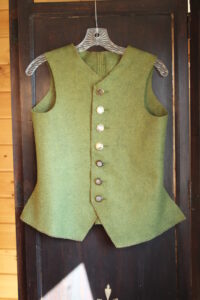
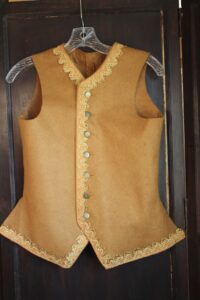
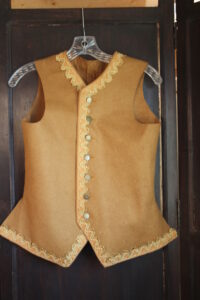
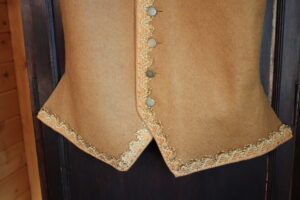
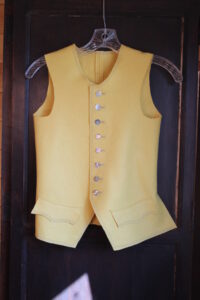
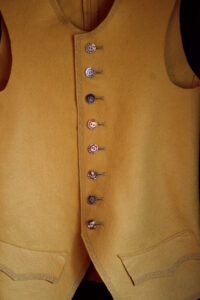
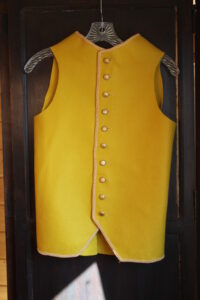
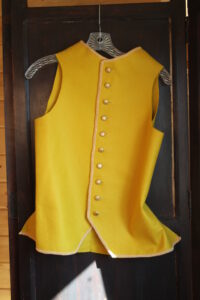
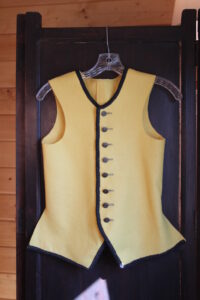
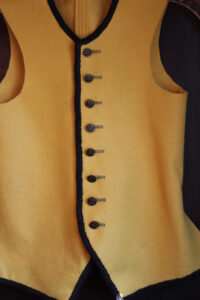
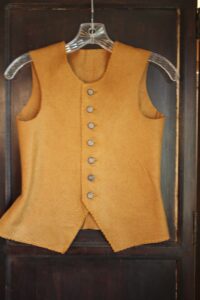
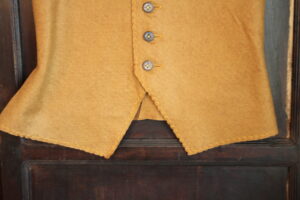
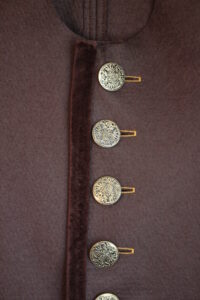
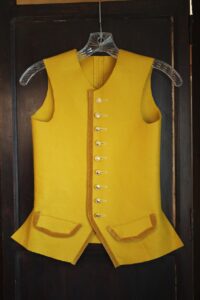
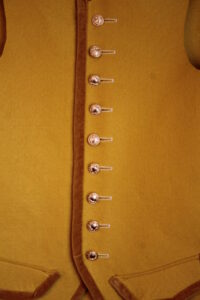
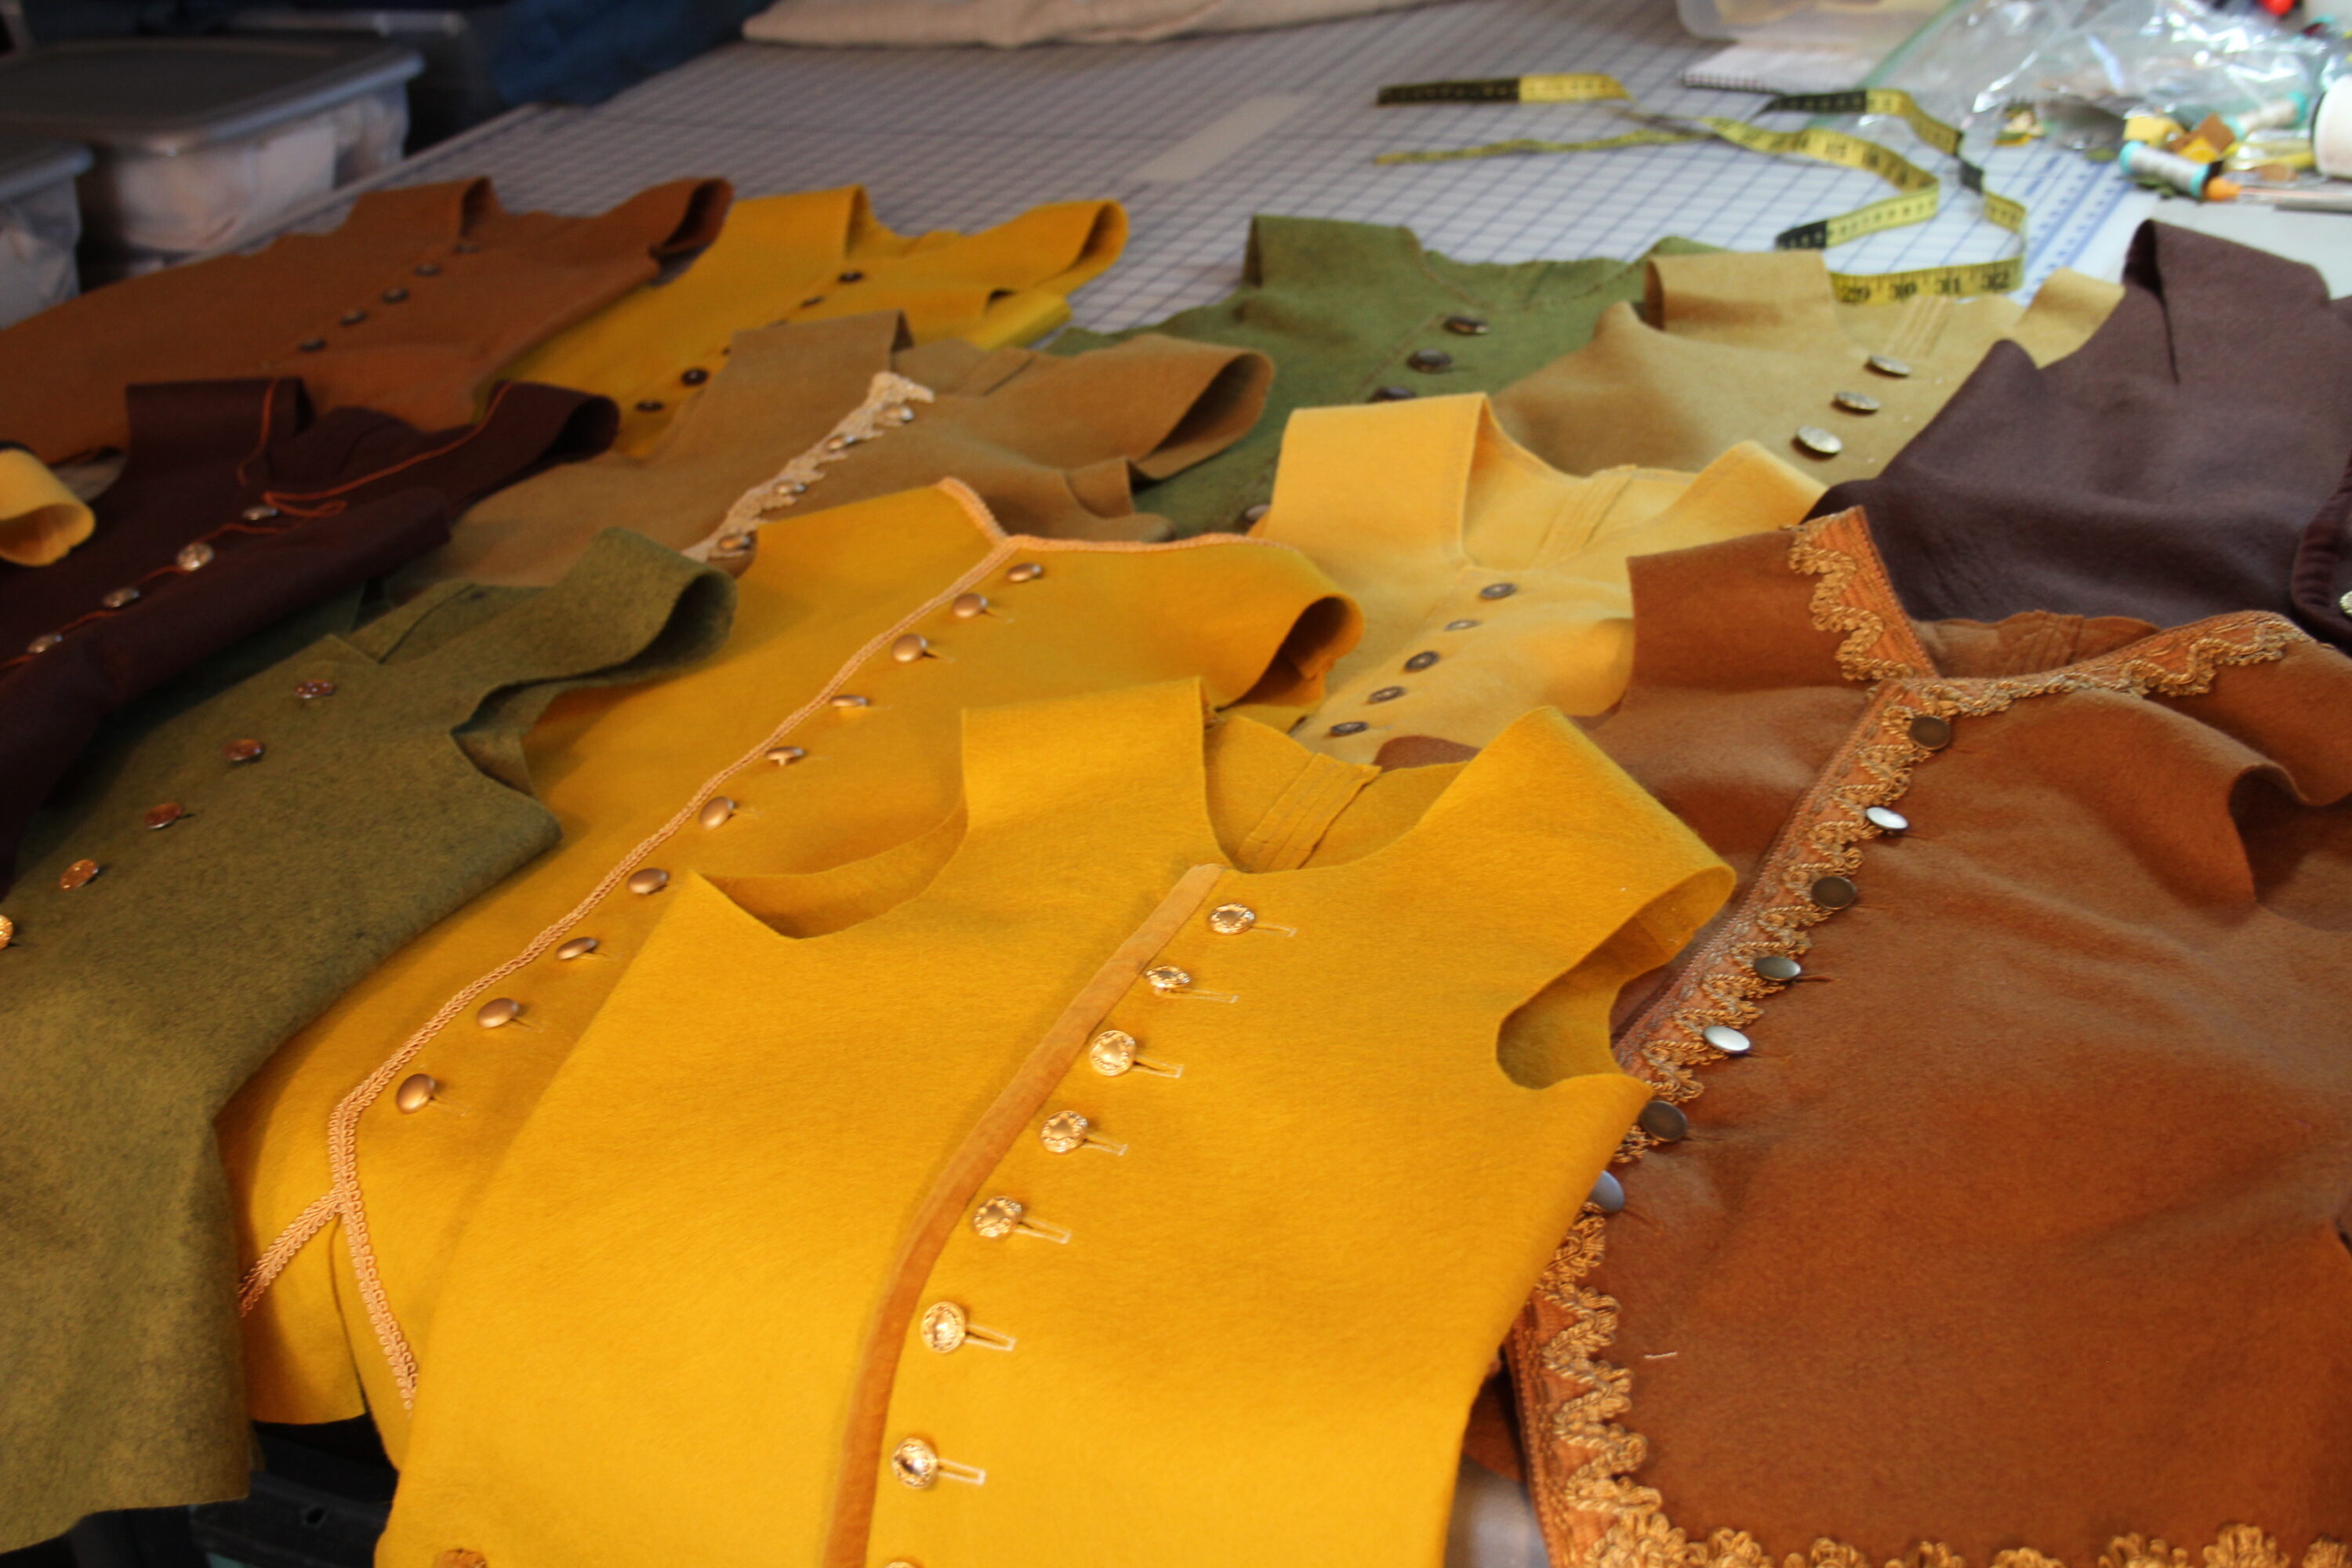
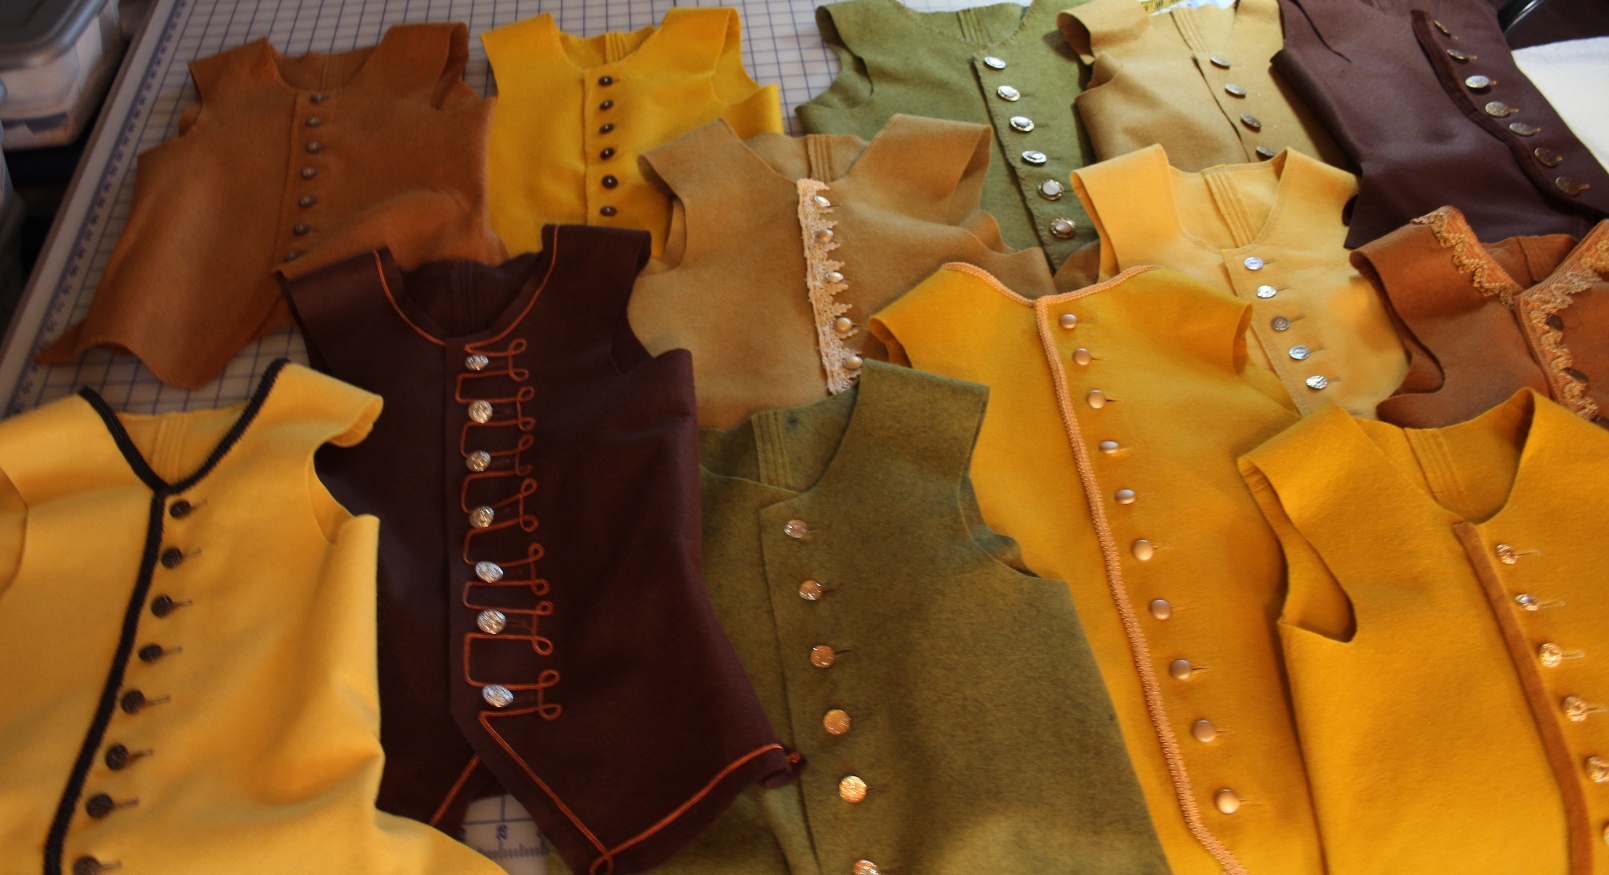
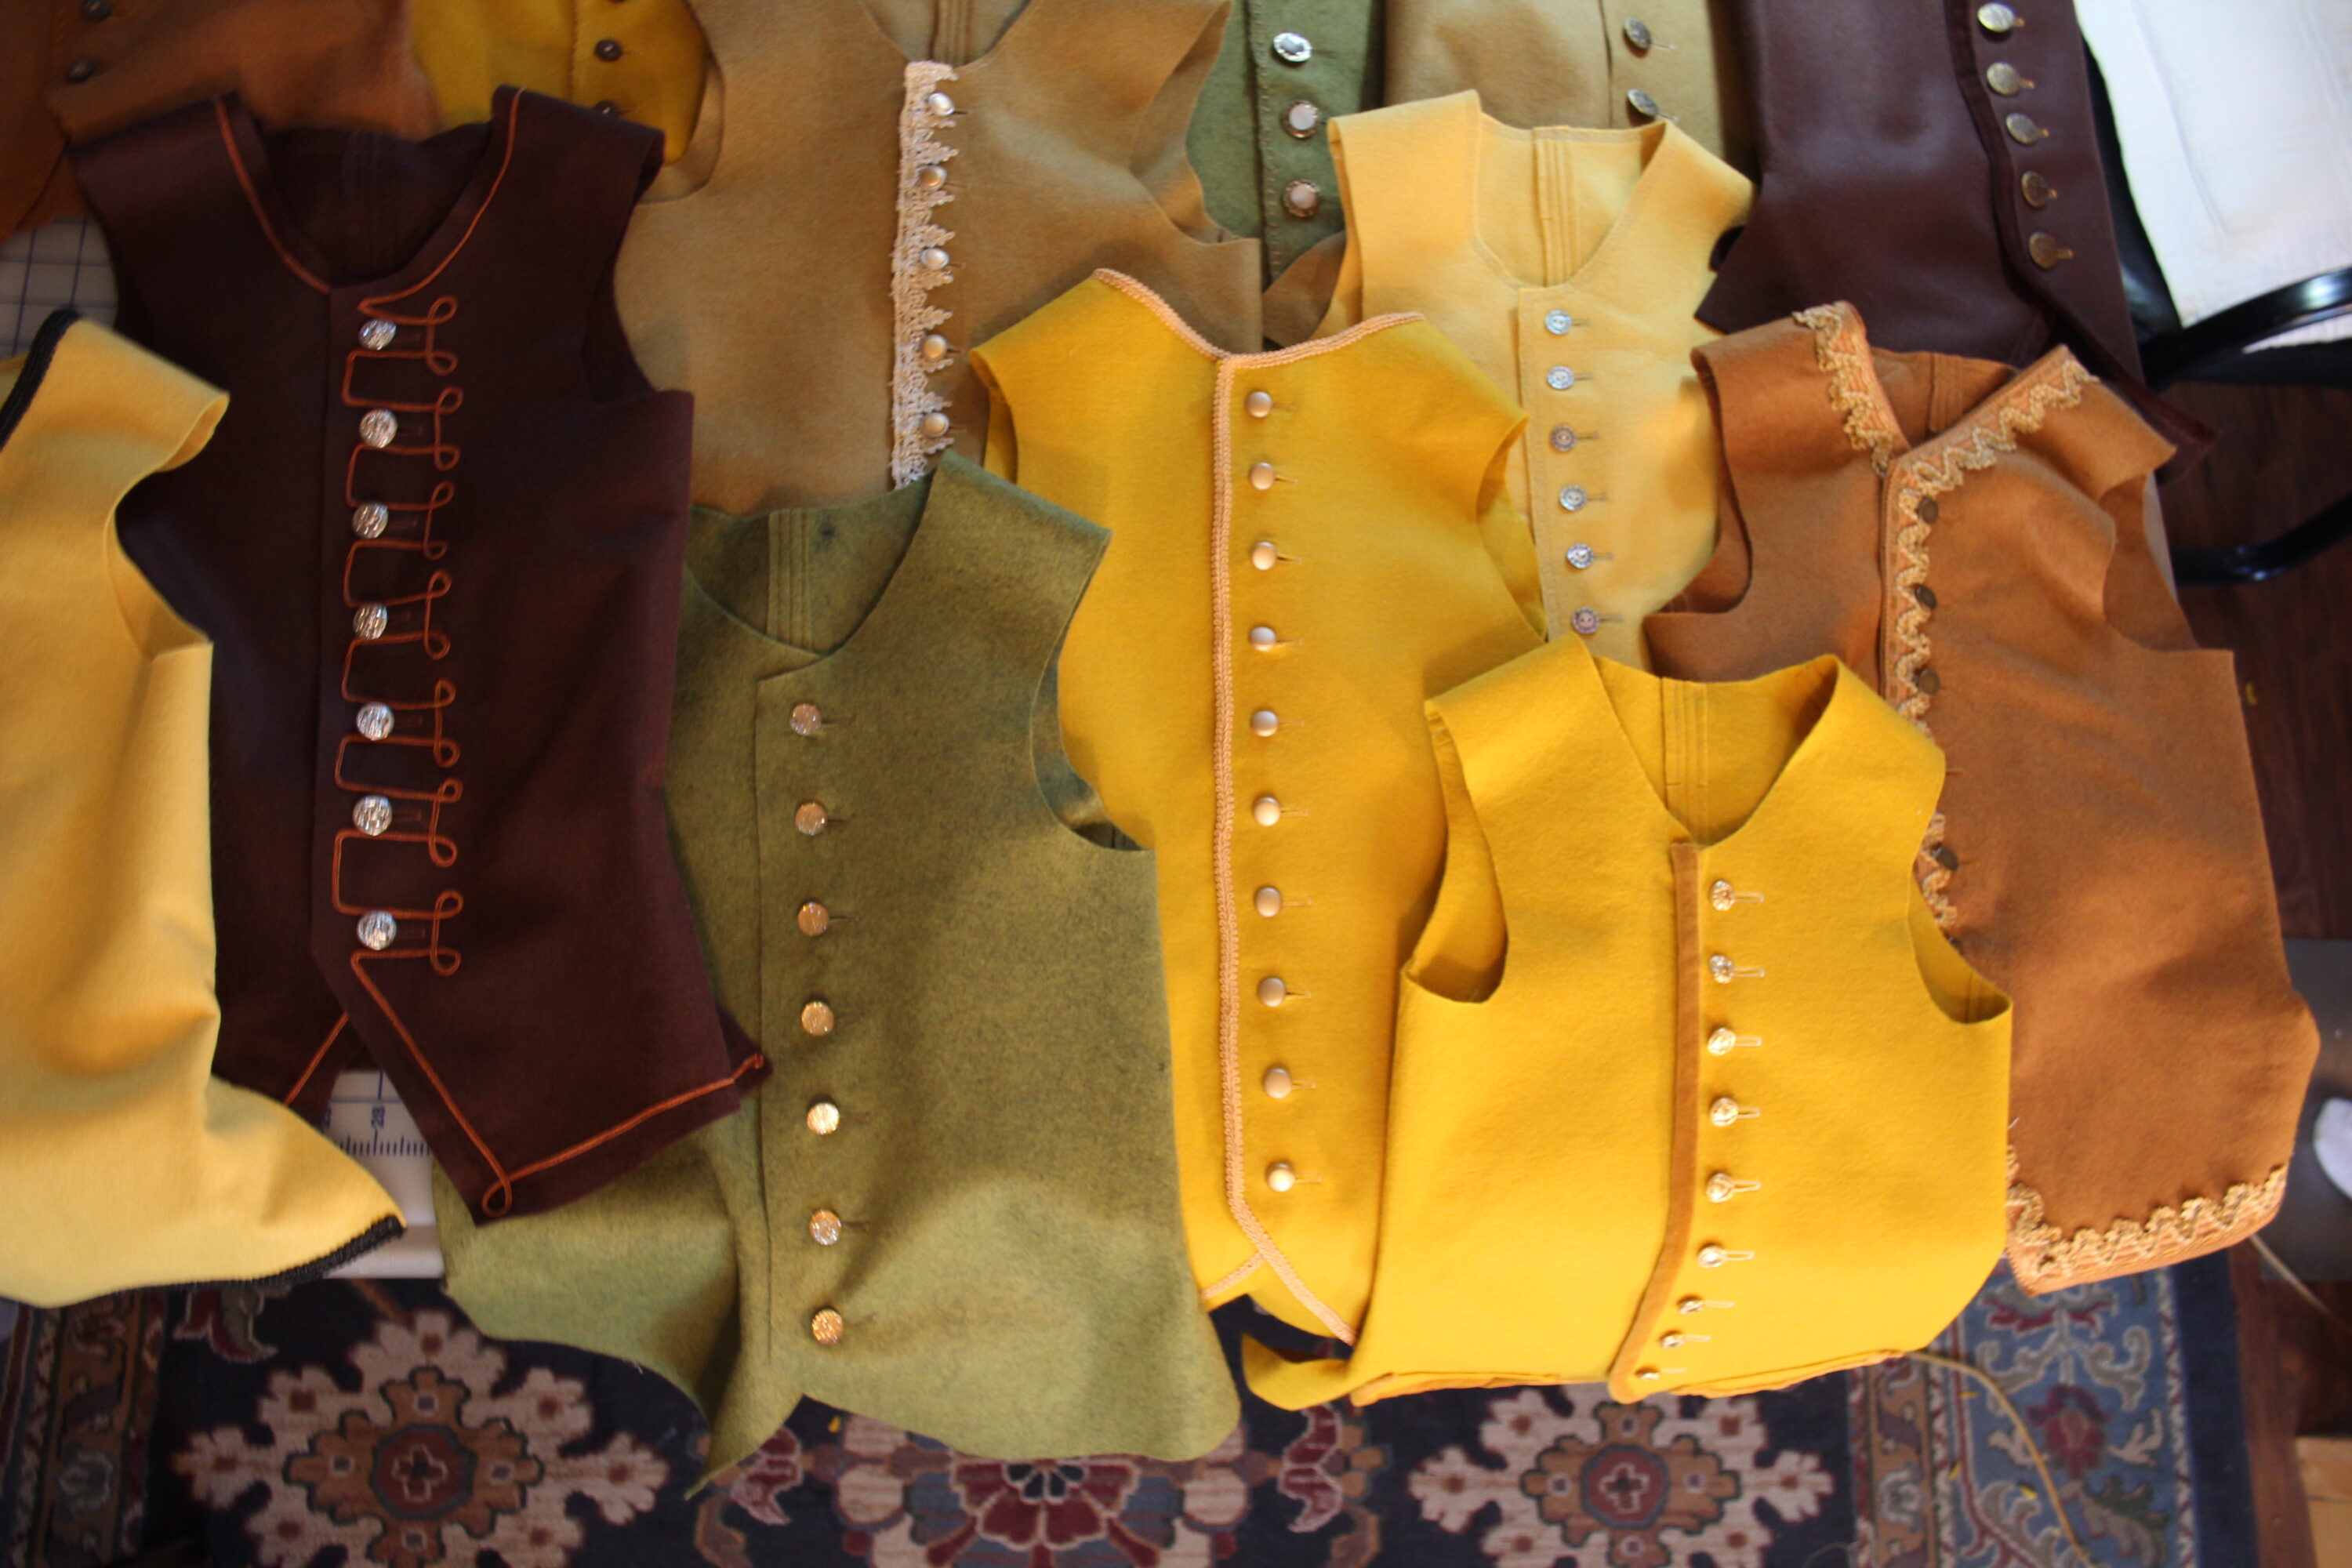
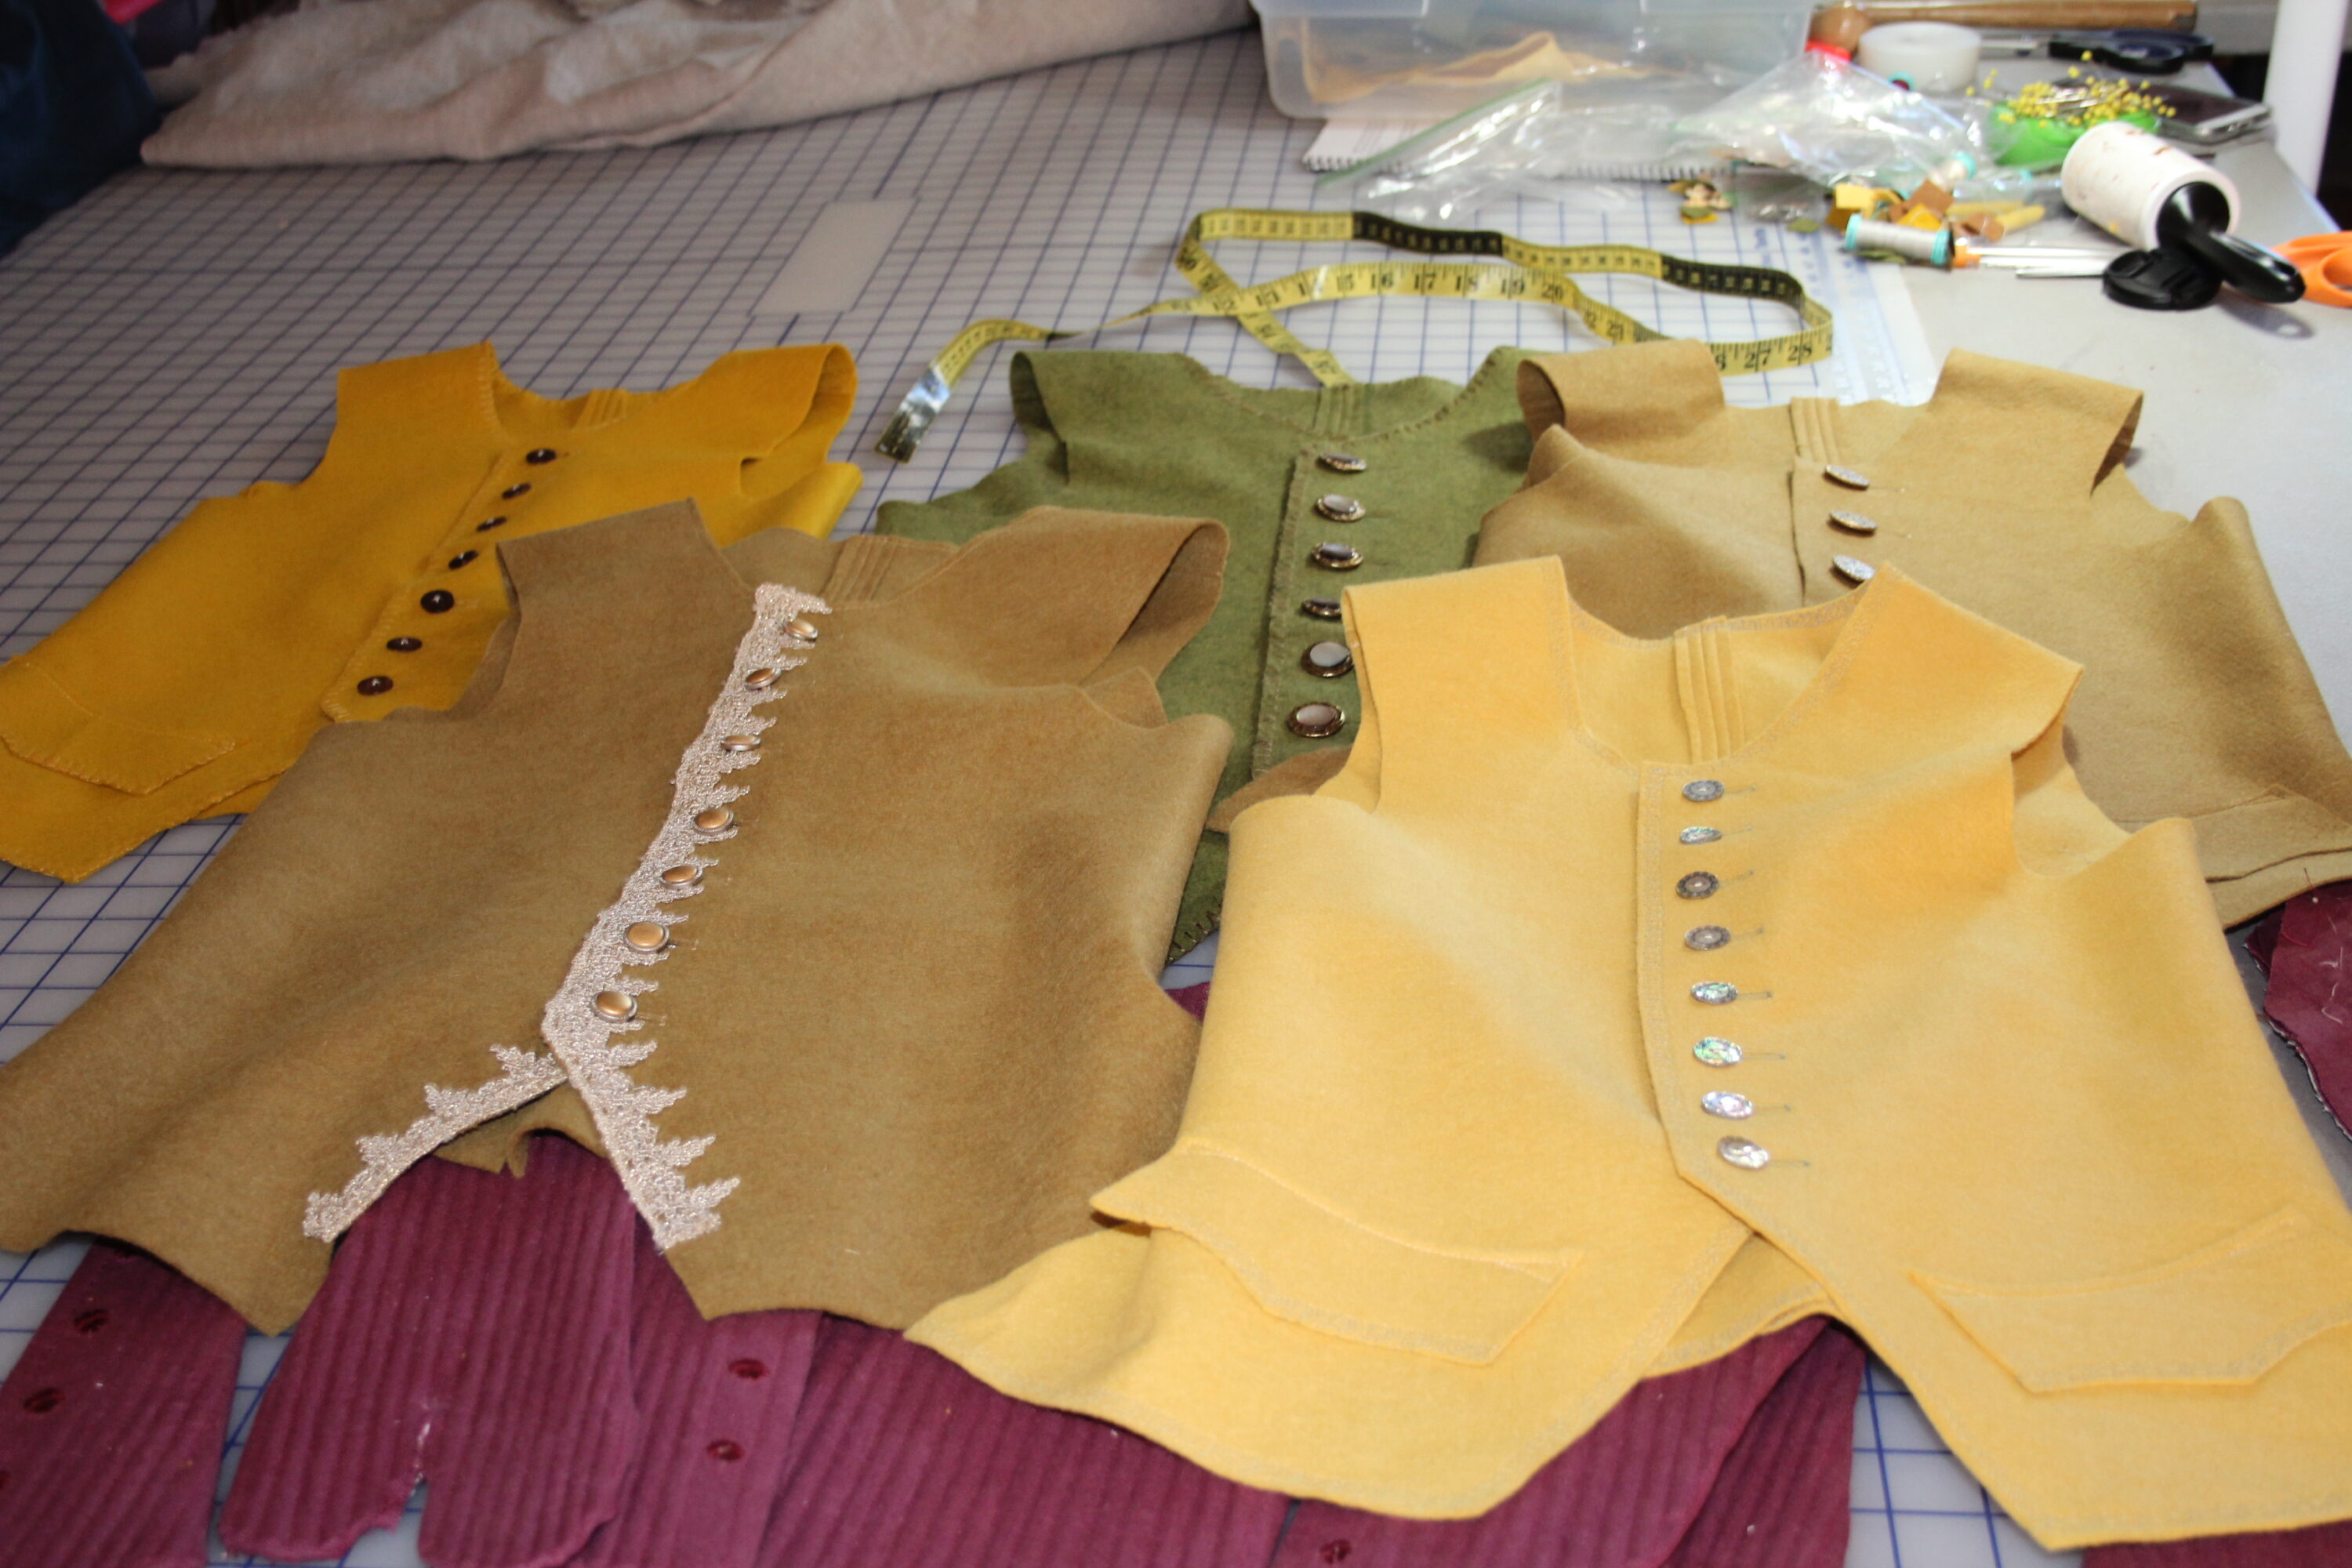
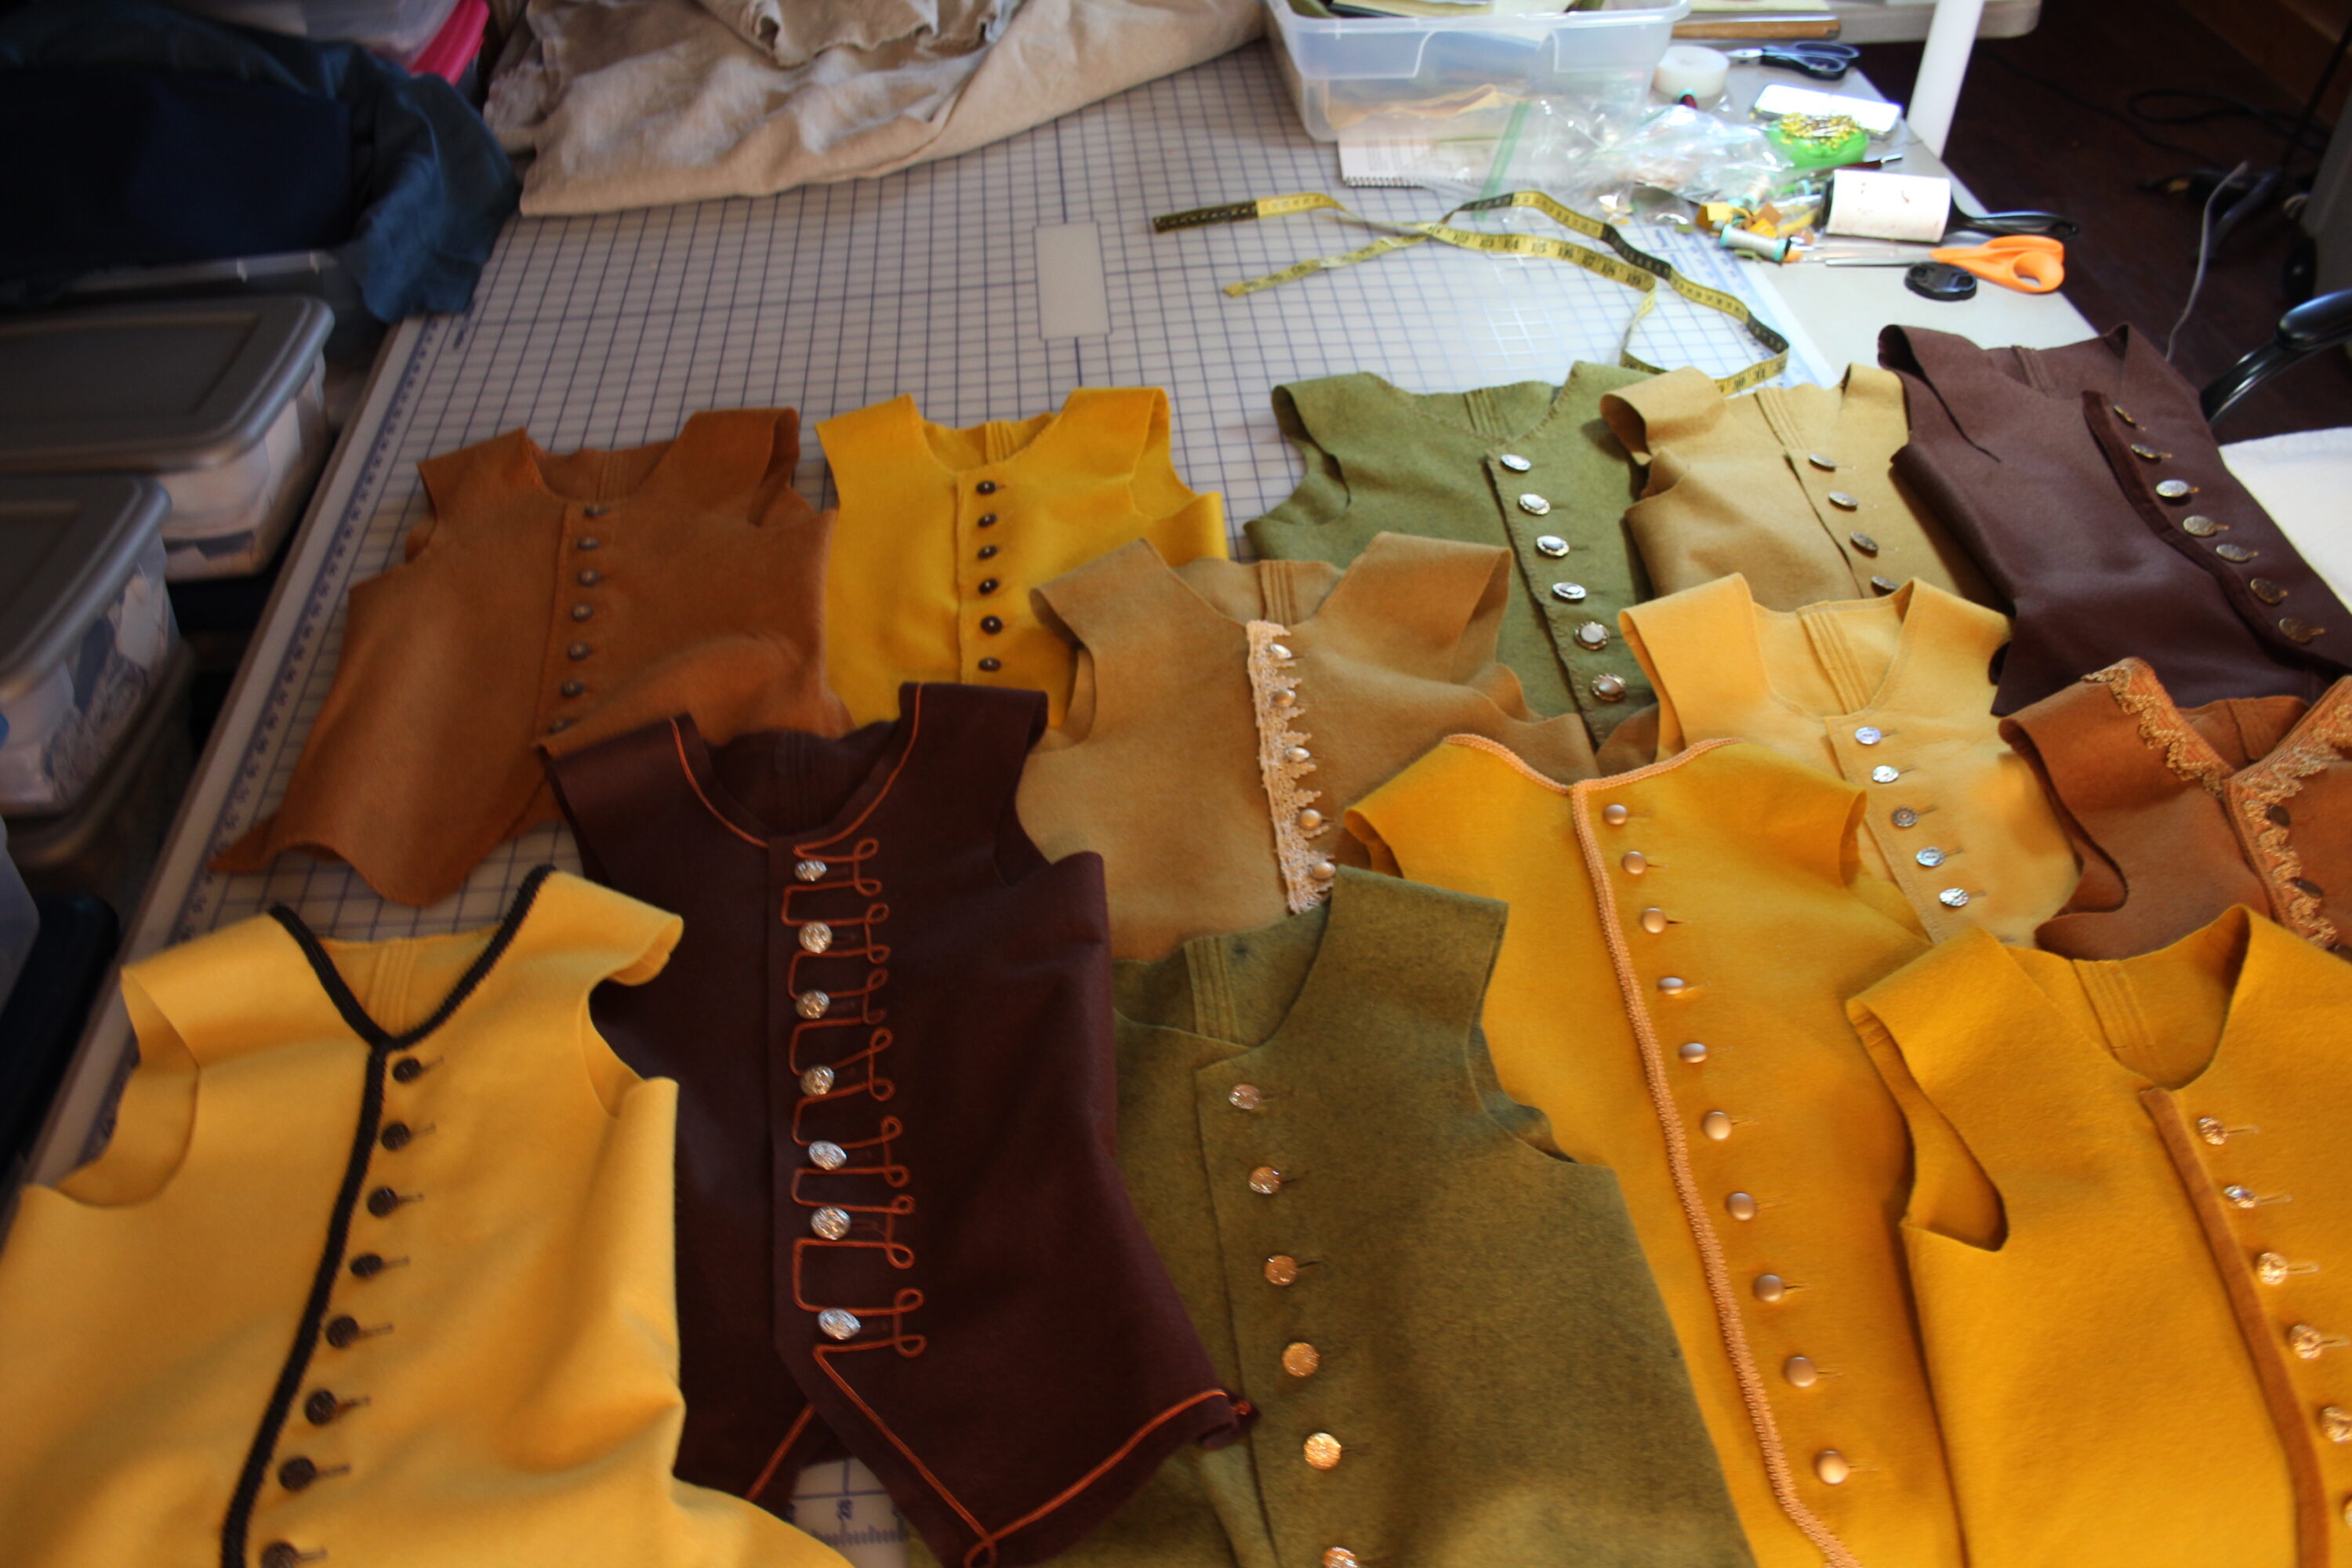
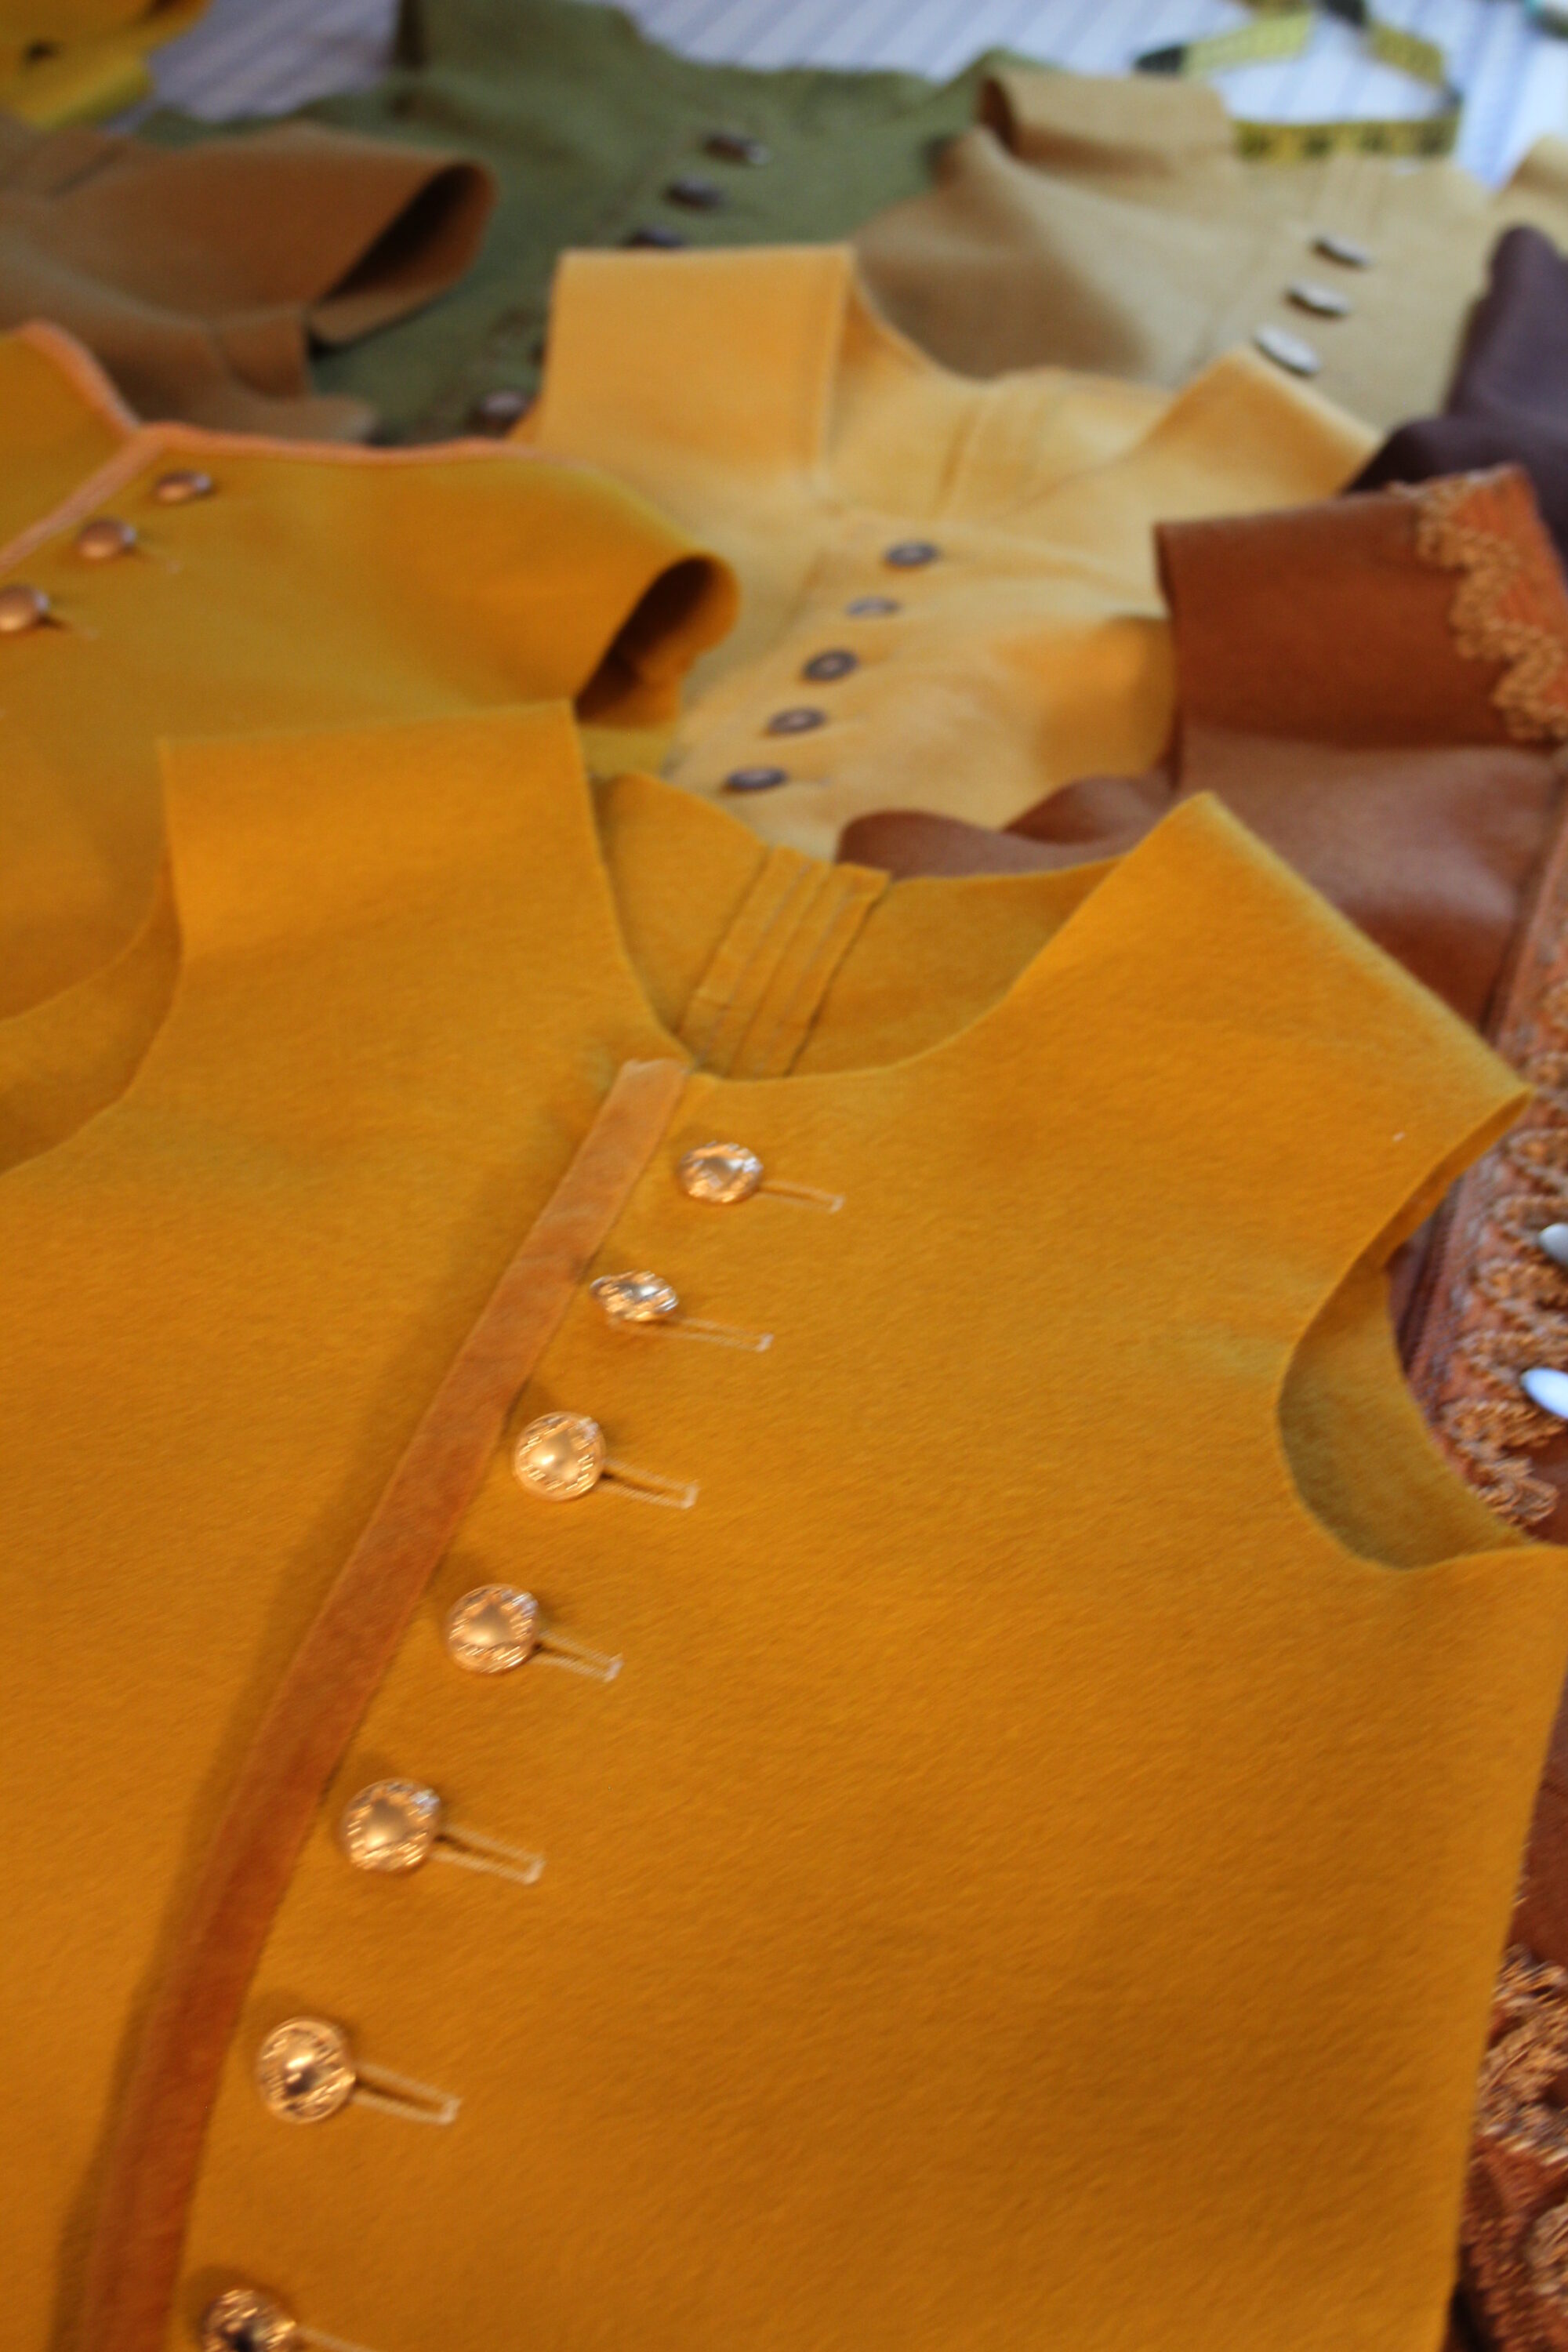
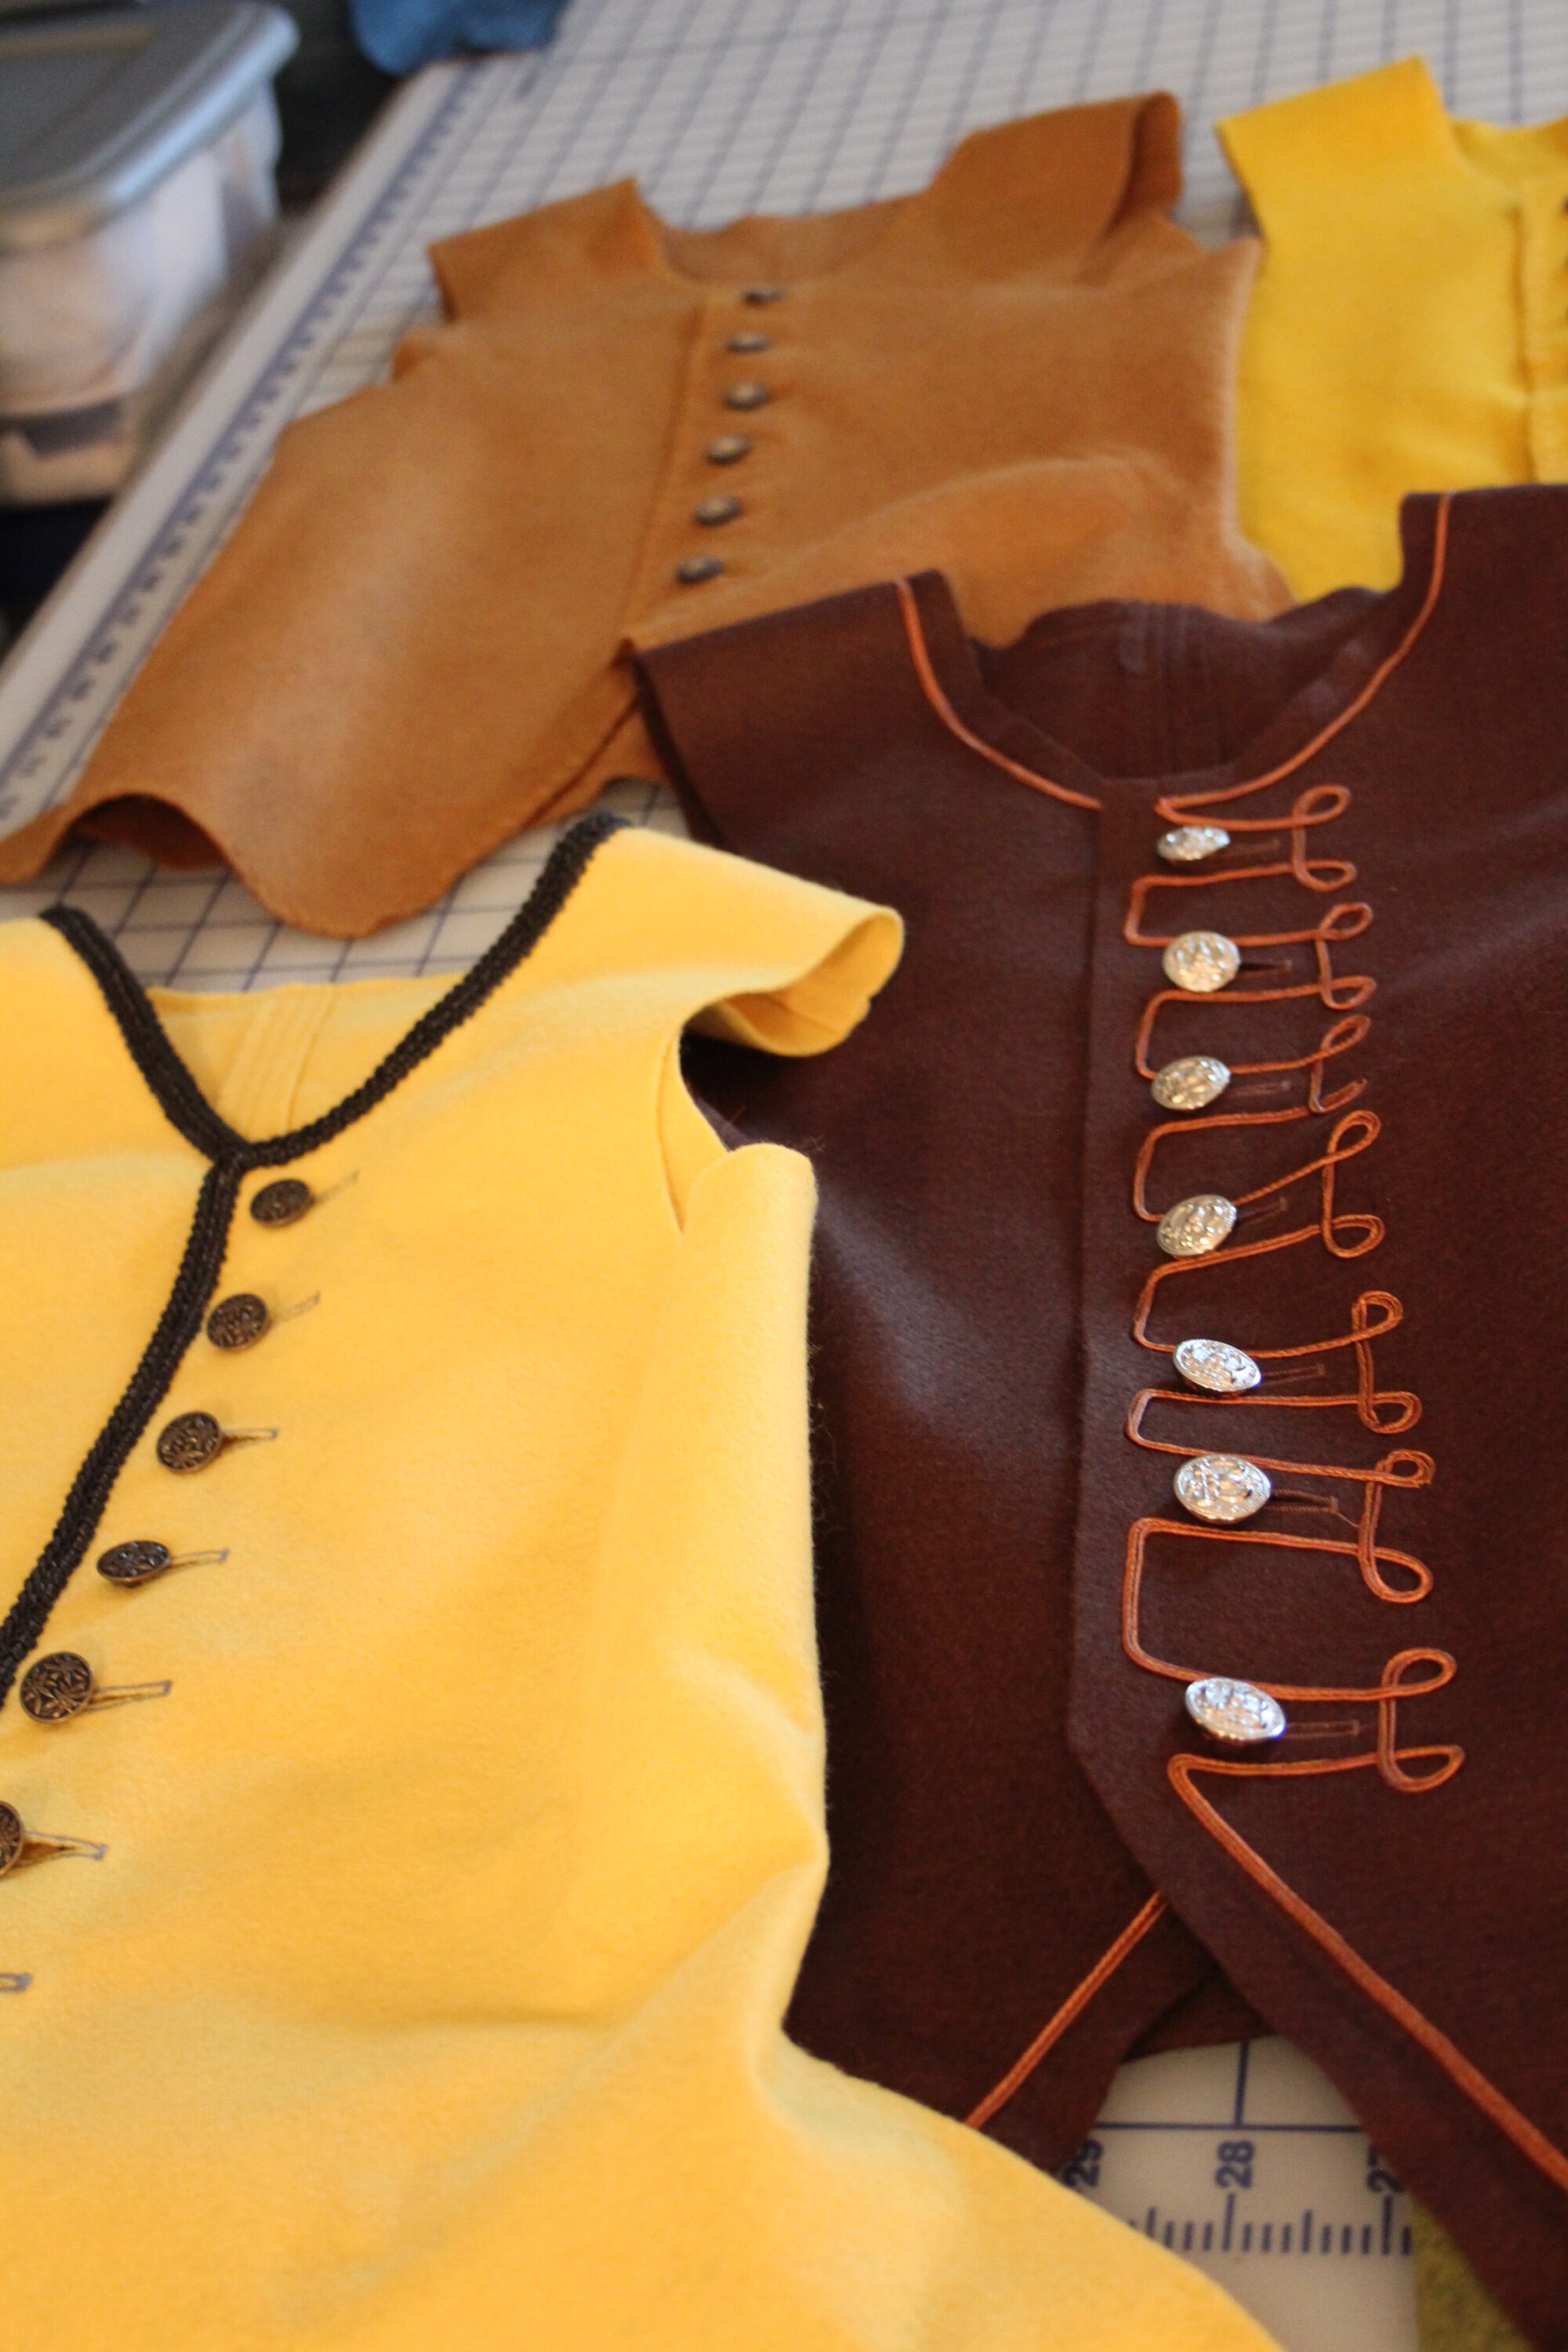
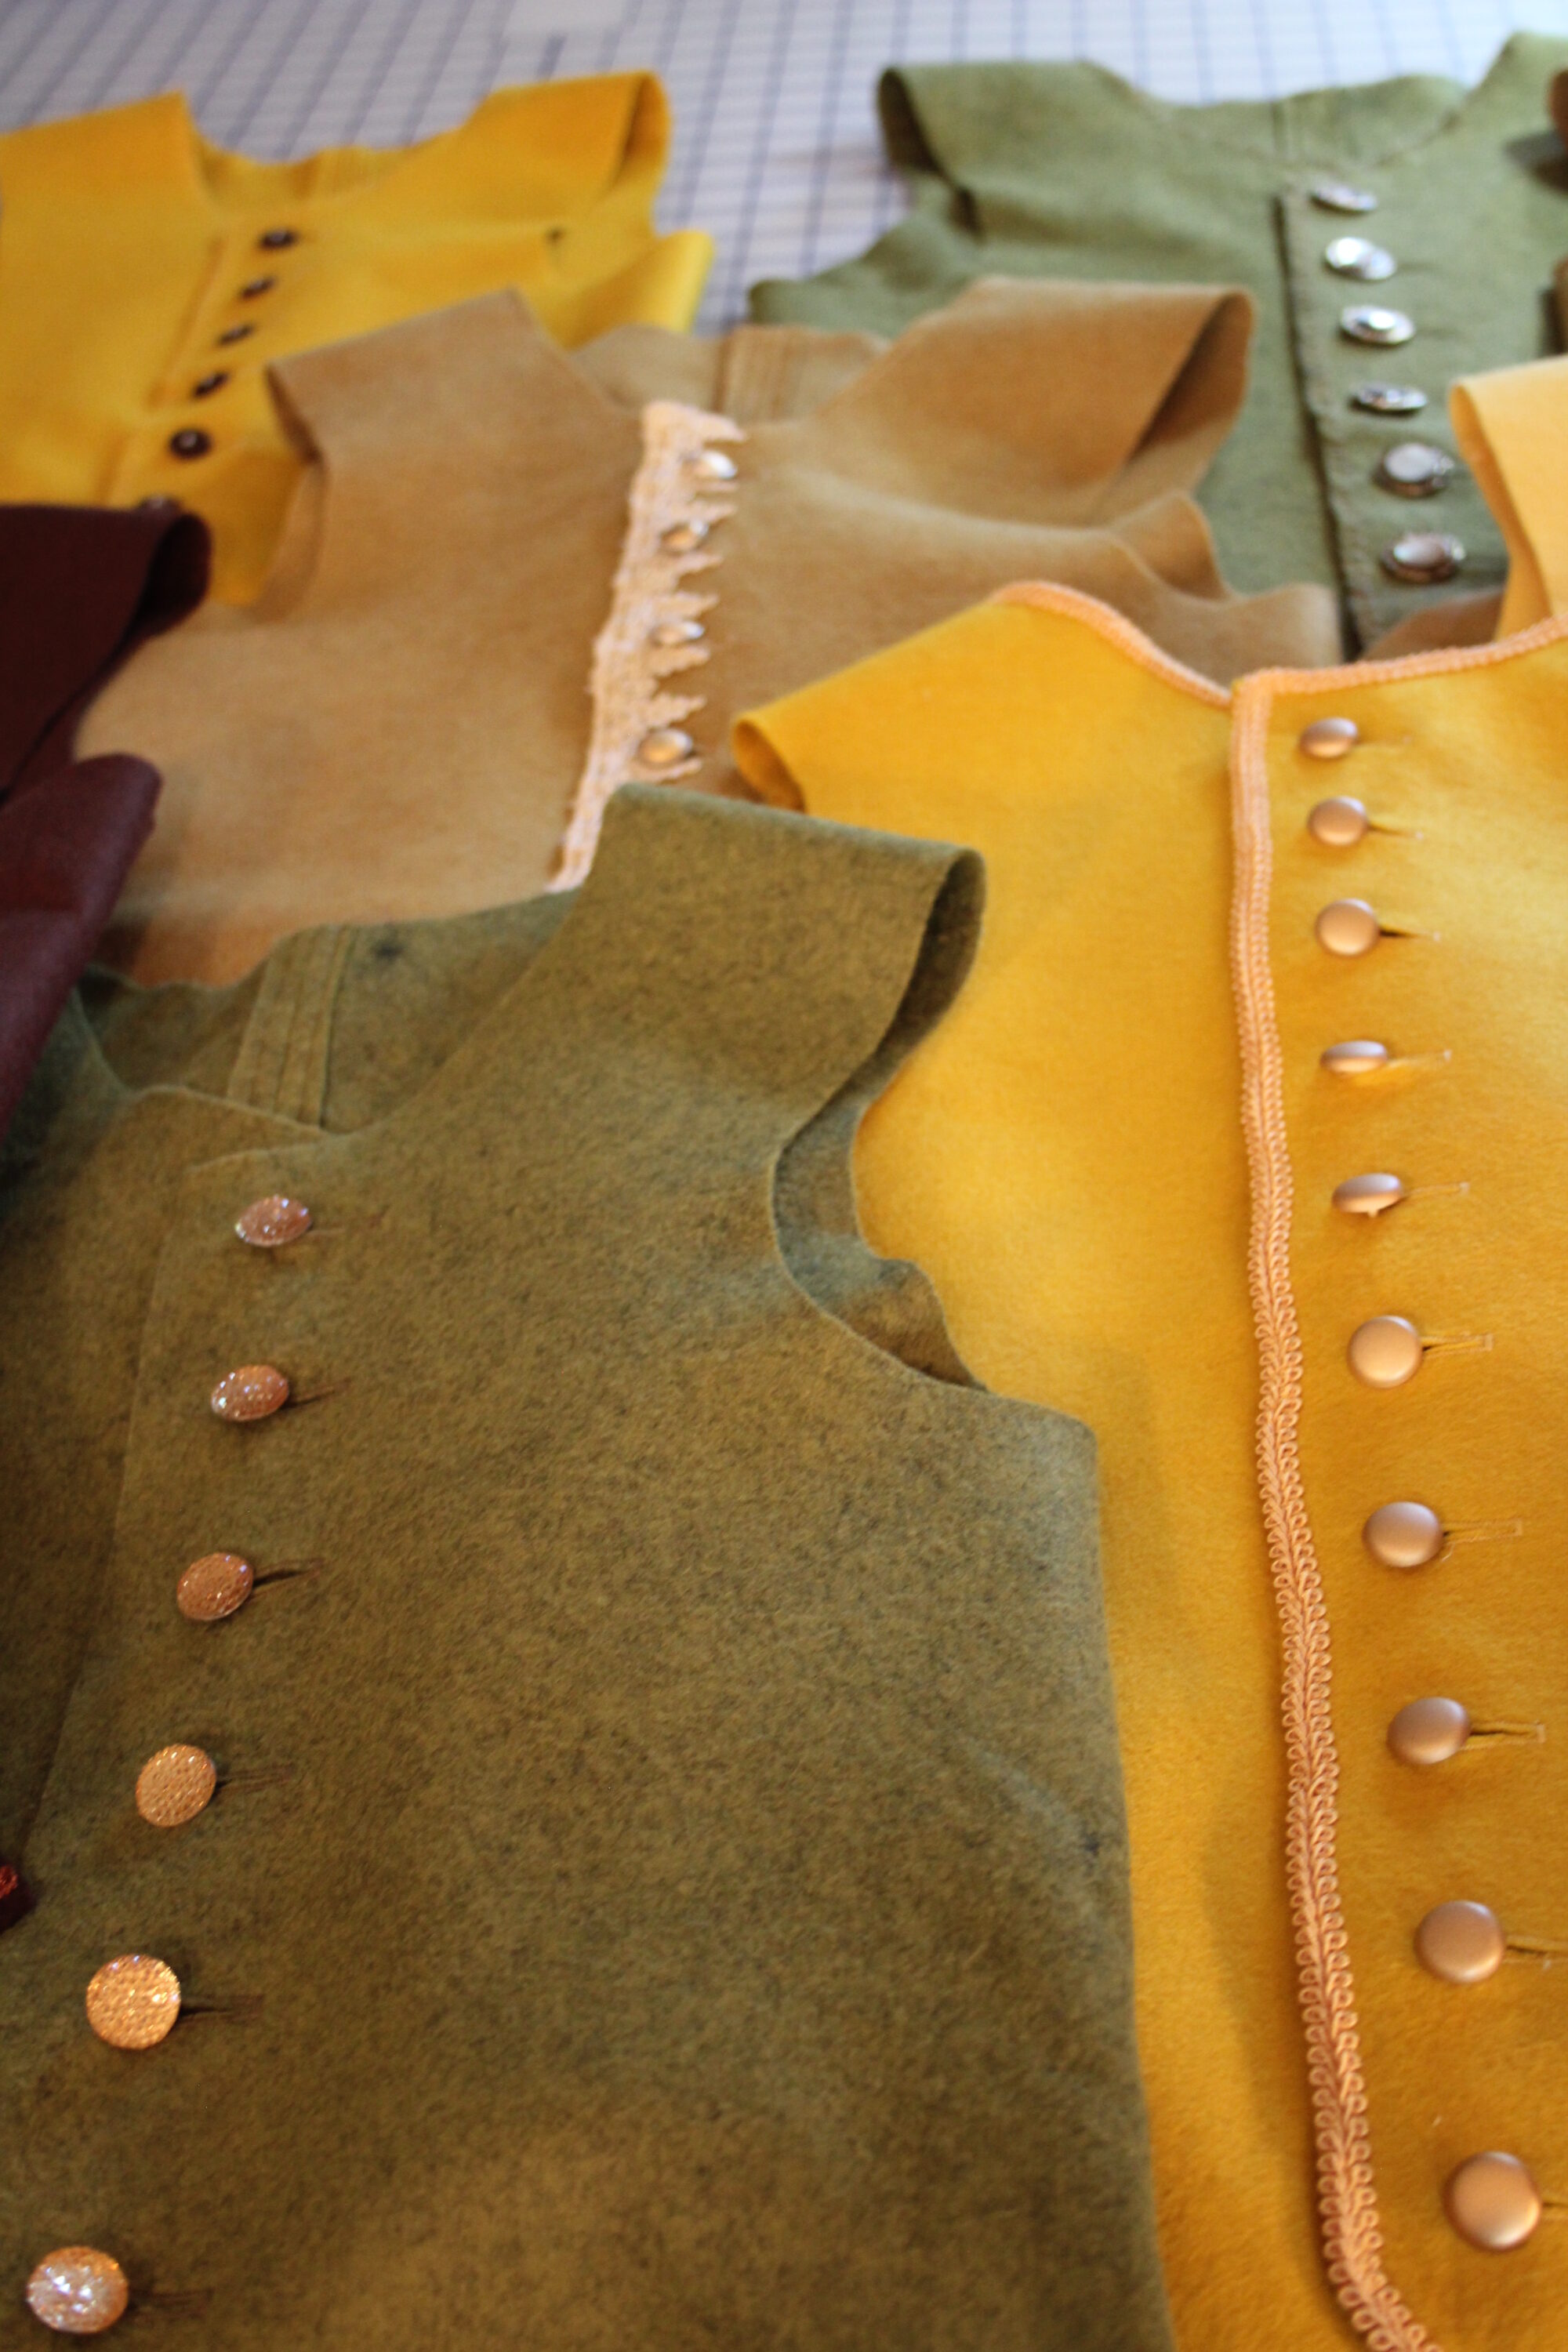
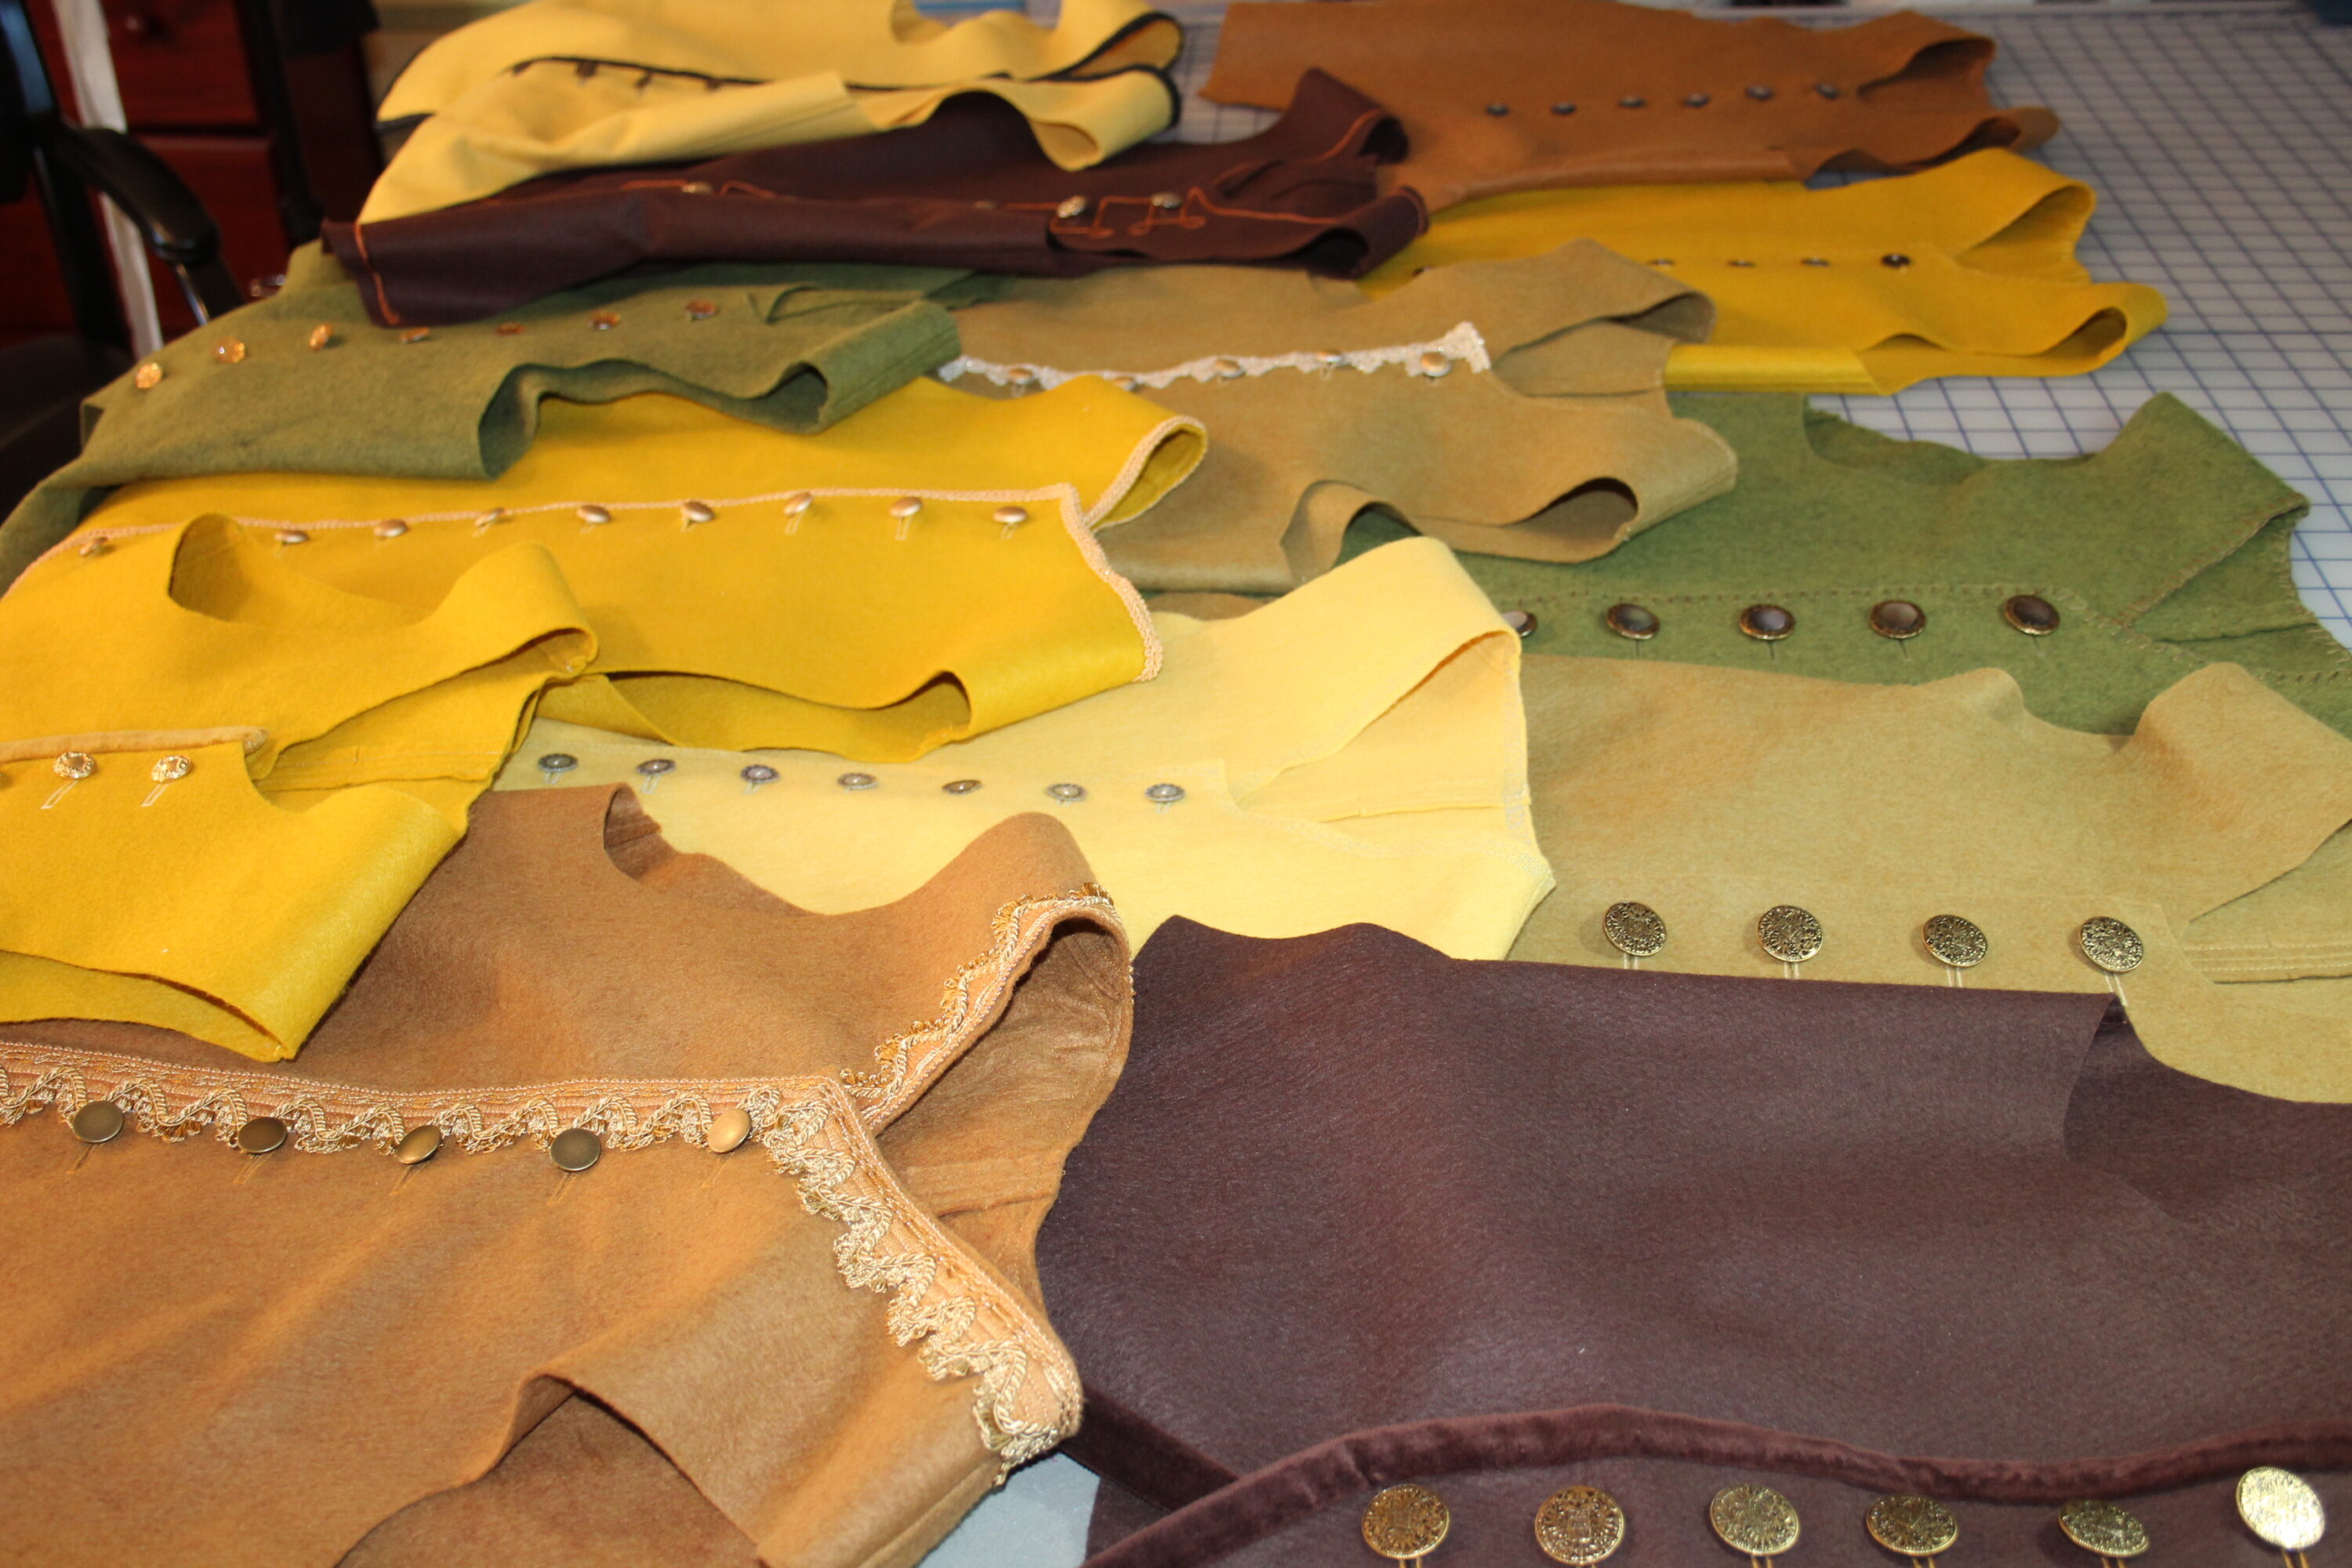
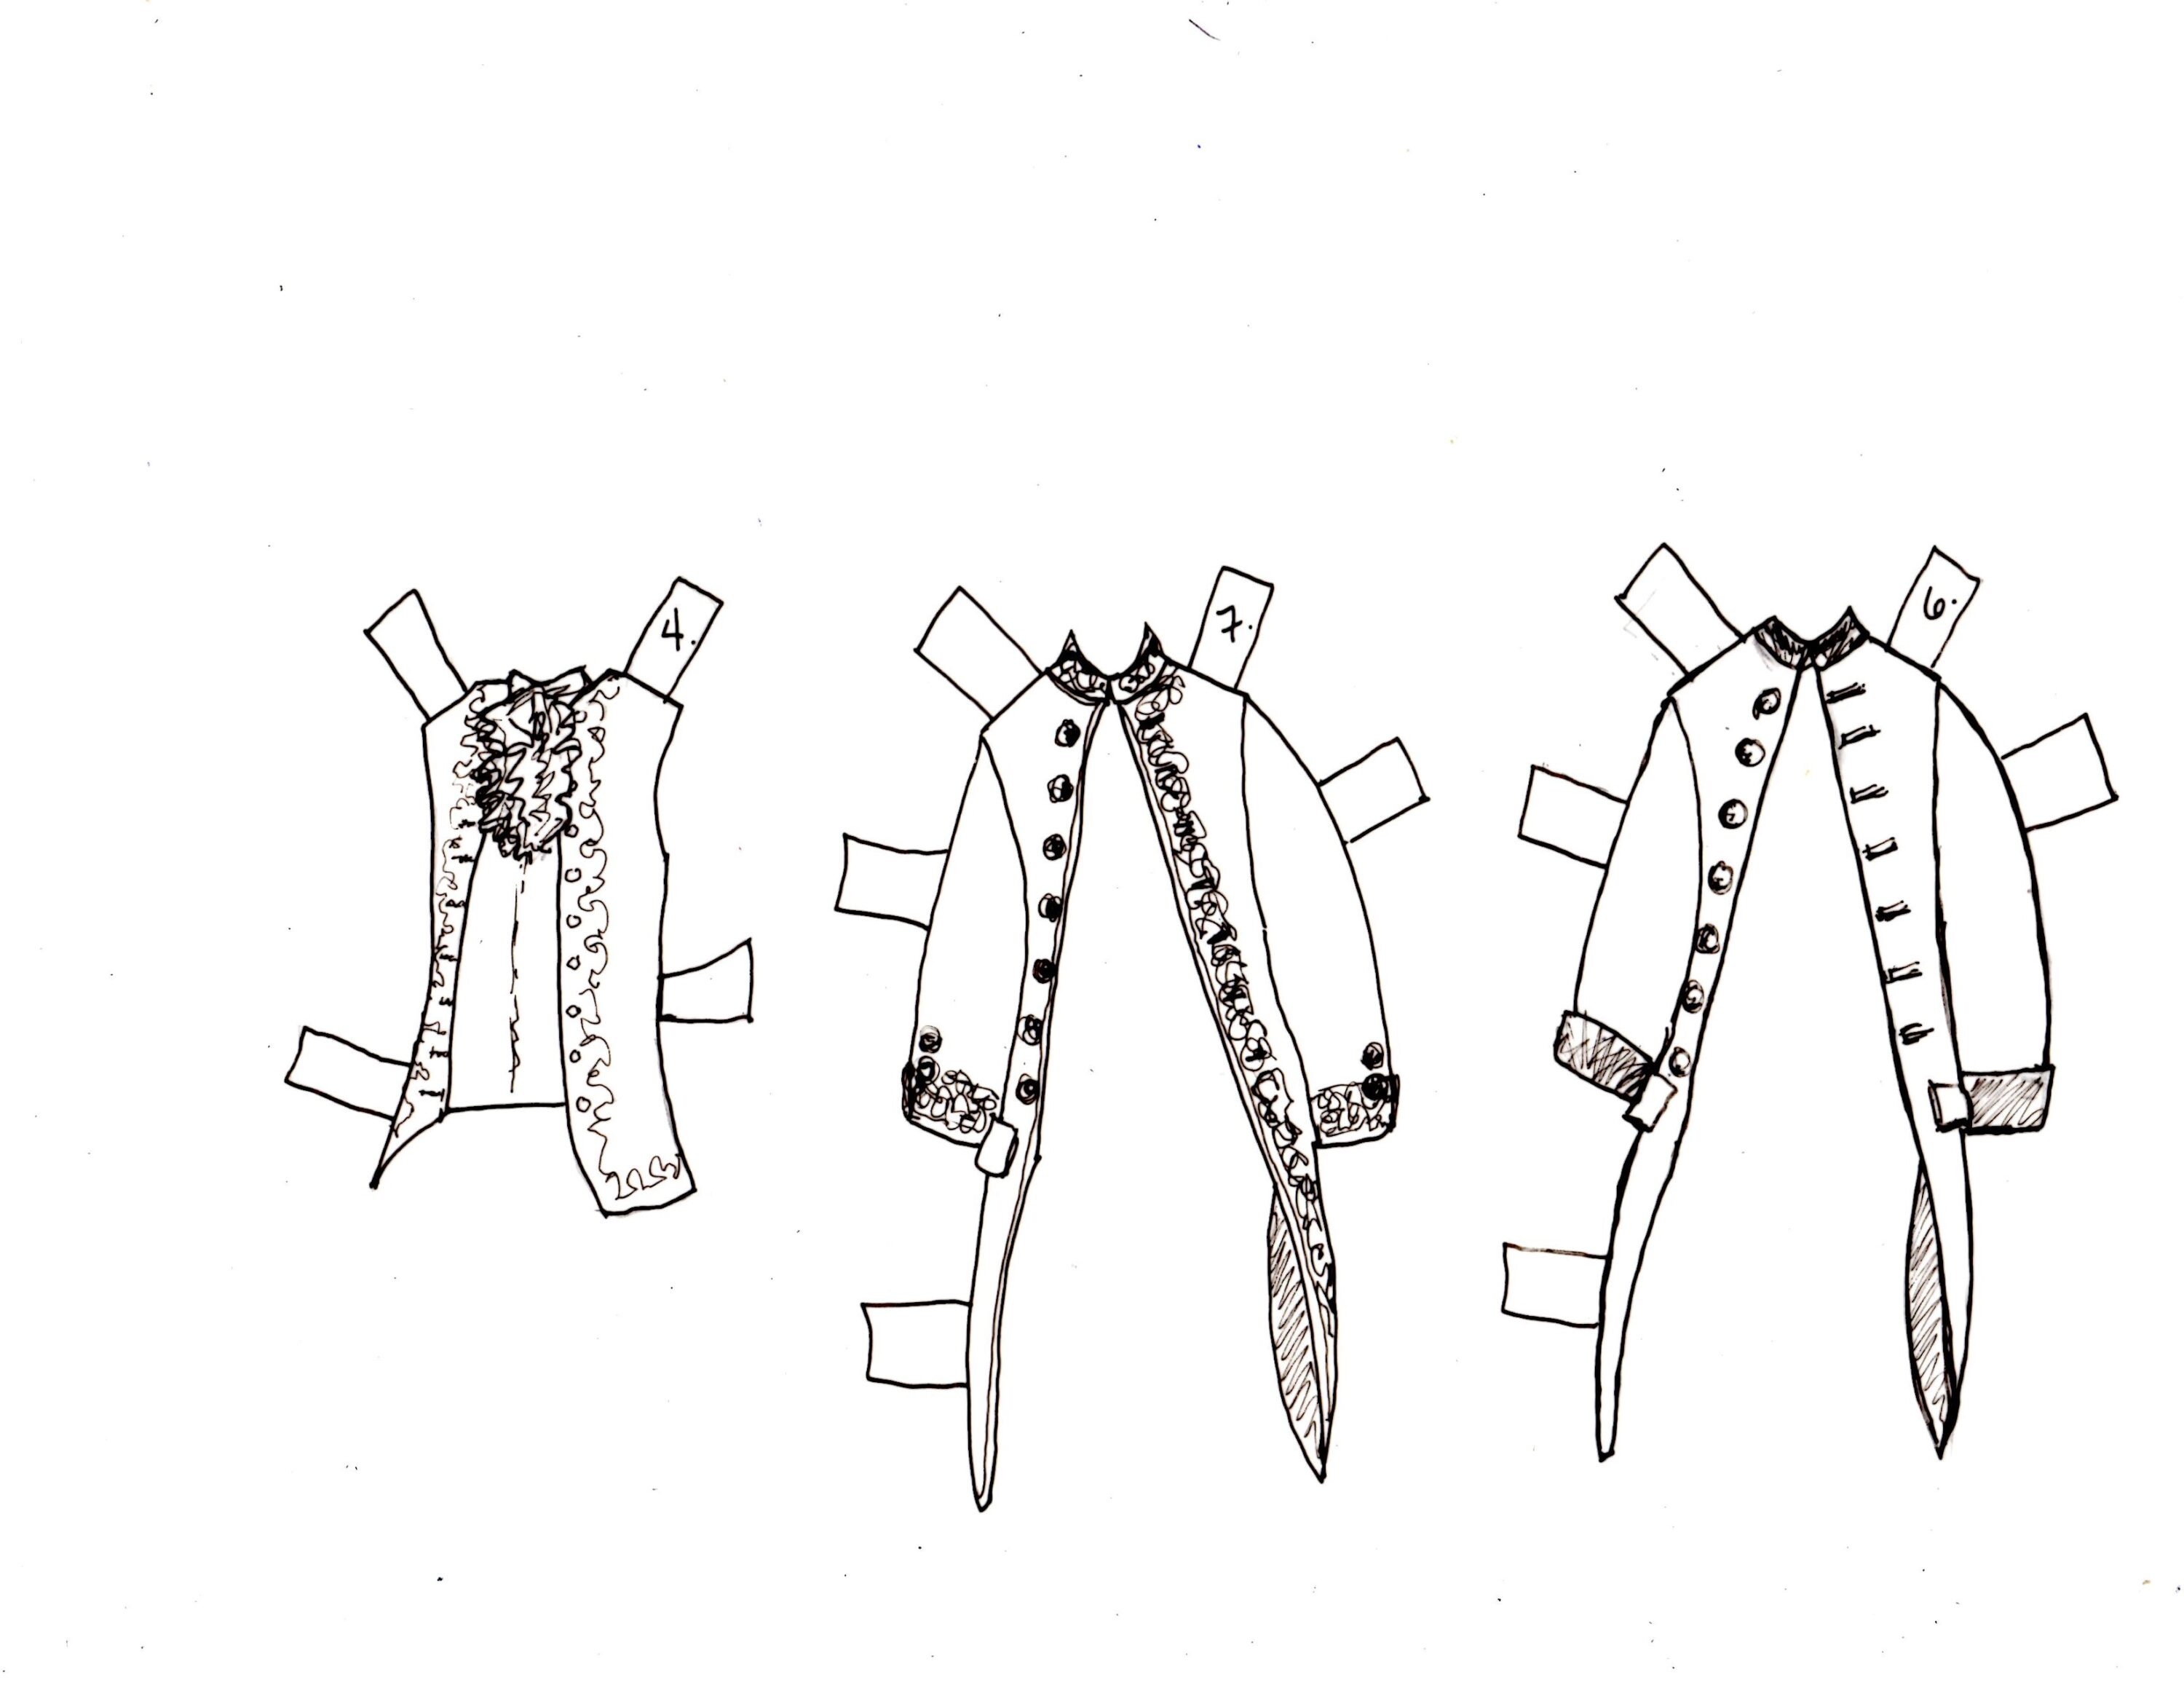
Waistcoats
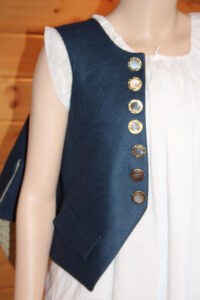
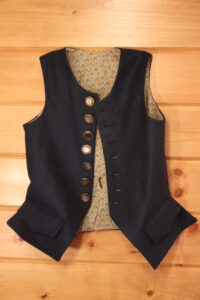
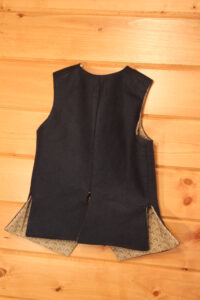
There were 13 newly made in addition to the prototypes. They ranged in sizes from 25″-32″ chest; suitable for 2nd grade boys. There were short, medium, and long versions too. Sizes were embroidered on the inside seams as per theatrical protocols.
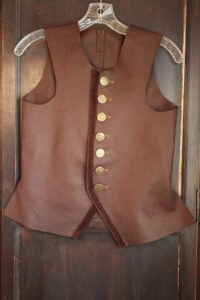
The overall color scheme was designed for a production of music, where the boys would stand on a stage alongside the girls. It is to coordinate with the girl’s yellow and ivories, and with each other. The soloists would wear the blue, which would stand out.
Colors are historically accurate to the time, though a bit more saturated than they would have had as we have synthetic dyes now. They are meant to look good as a group – or as an individual. They were designed so a boy would say proudly, “This one is MINE” and remember that for all time.
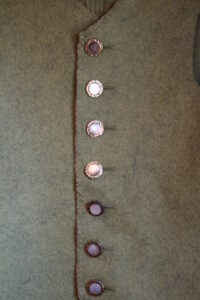
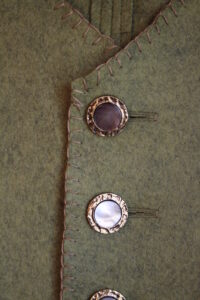
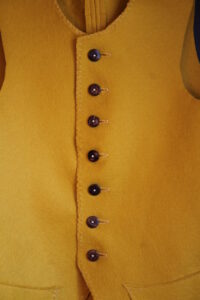
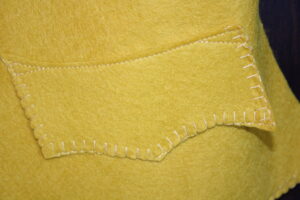
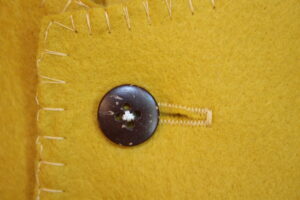
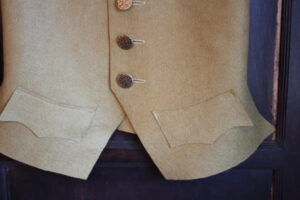
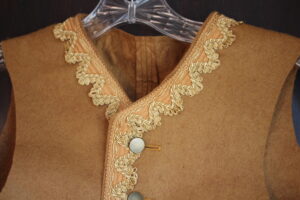
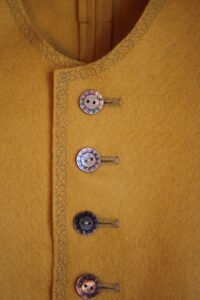
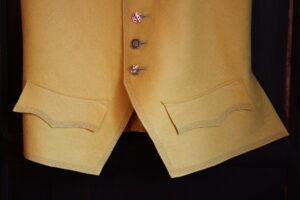
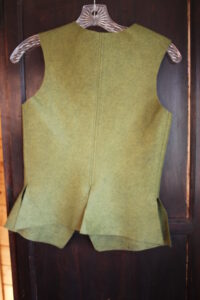
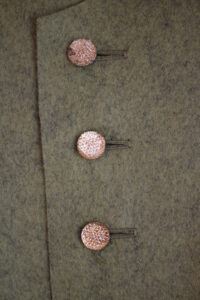
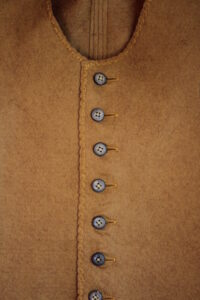
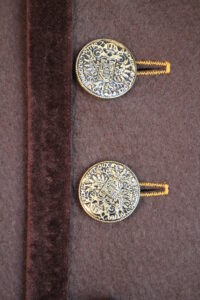
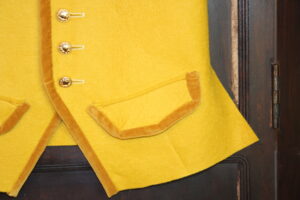
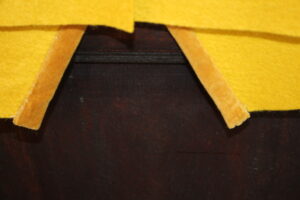
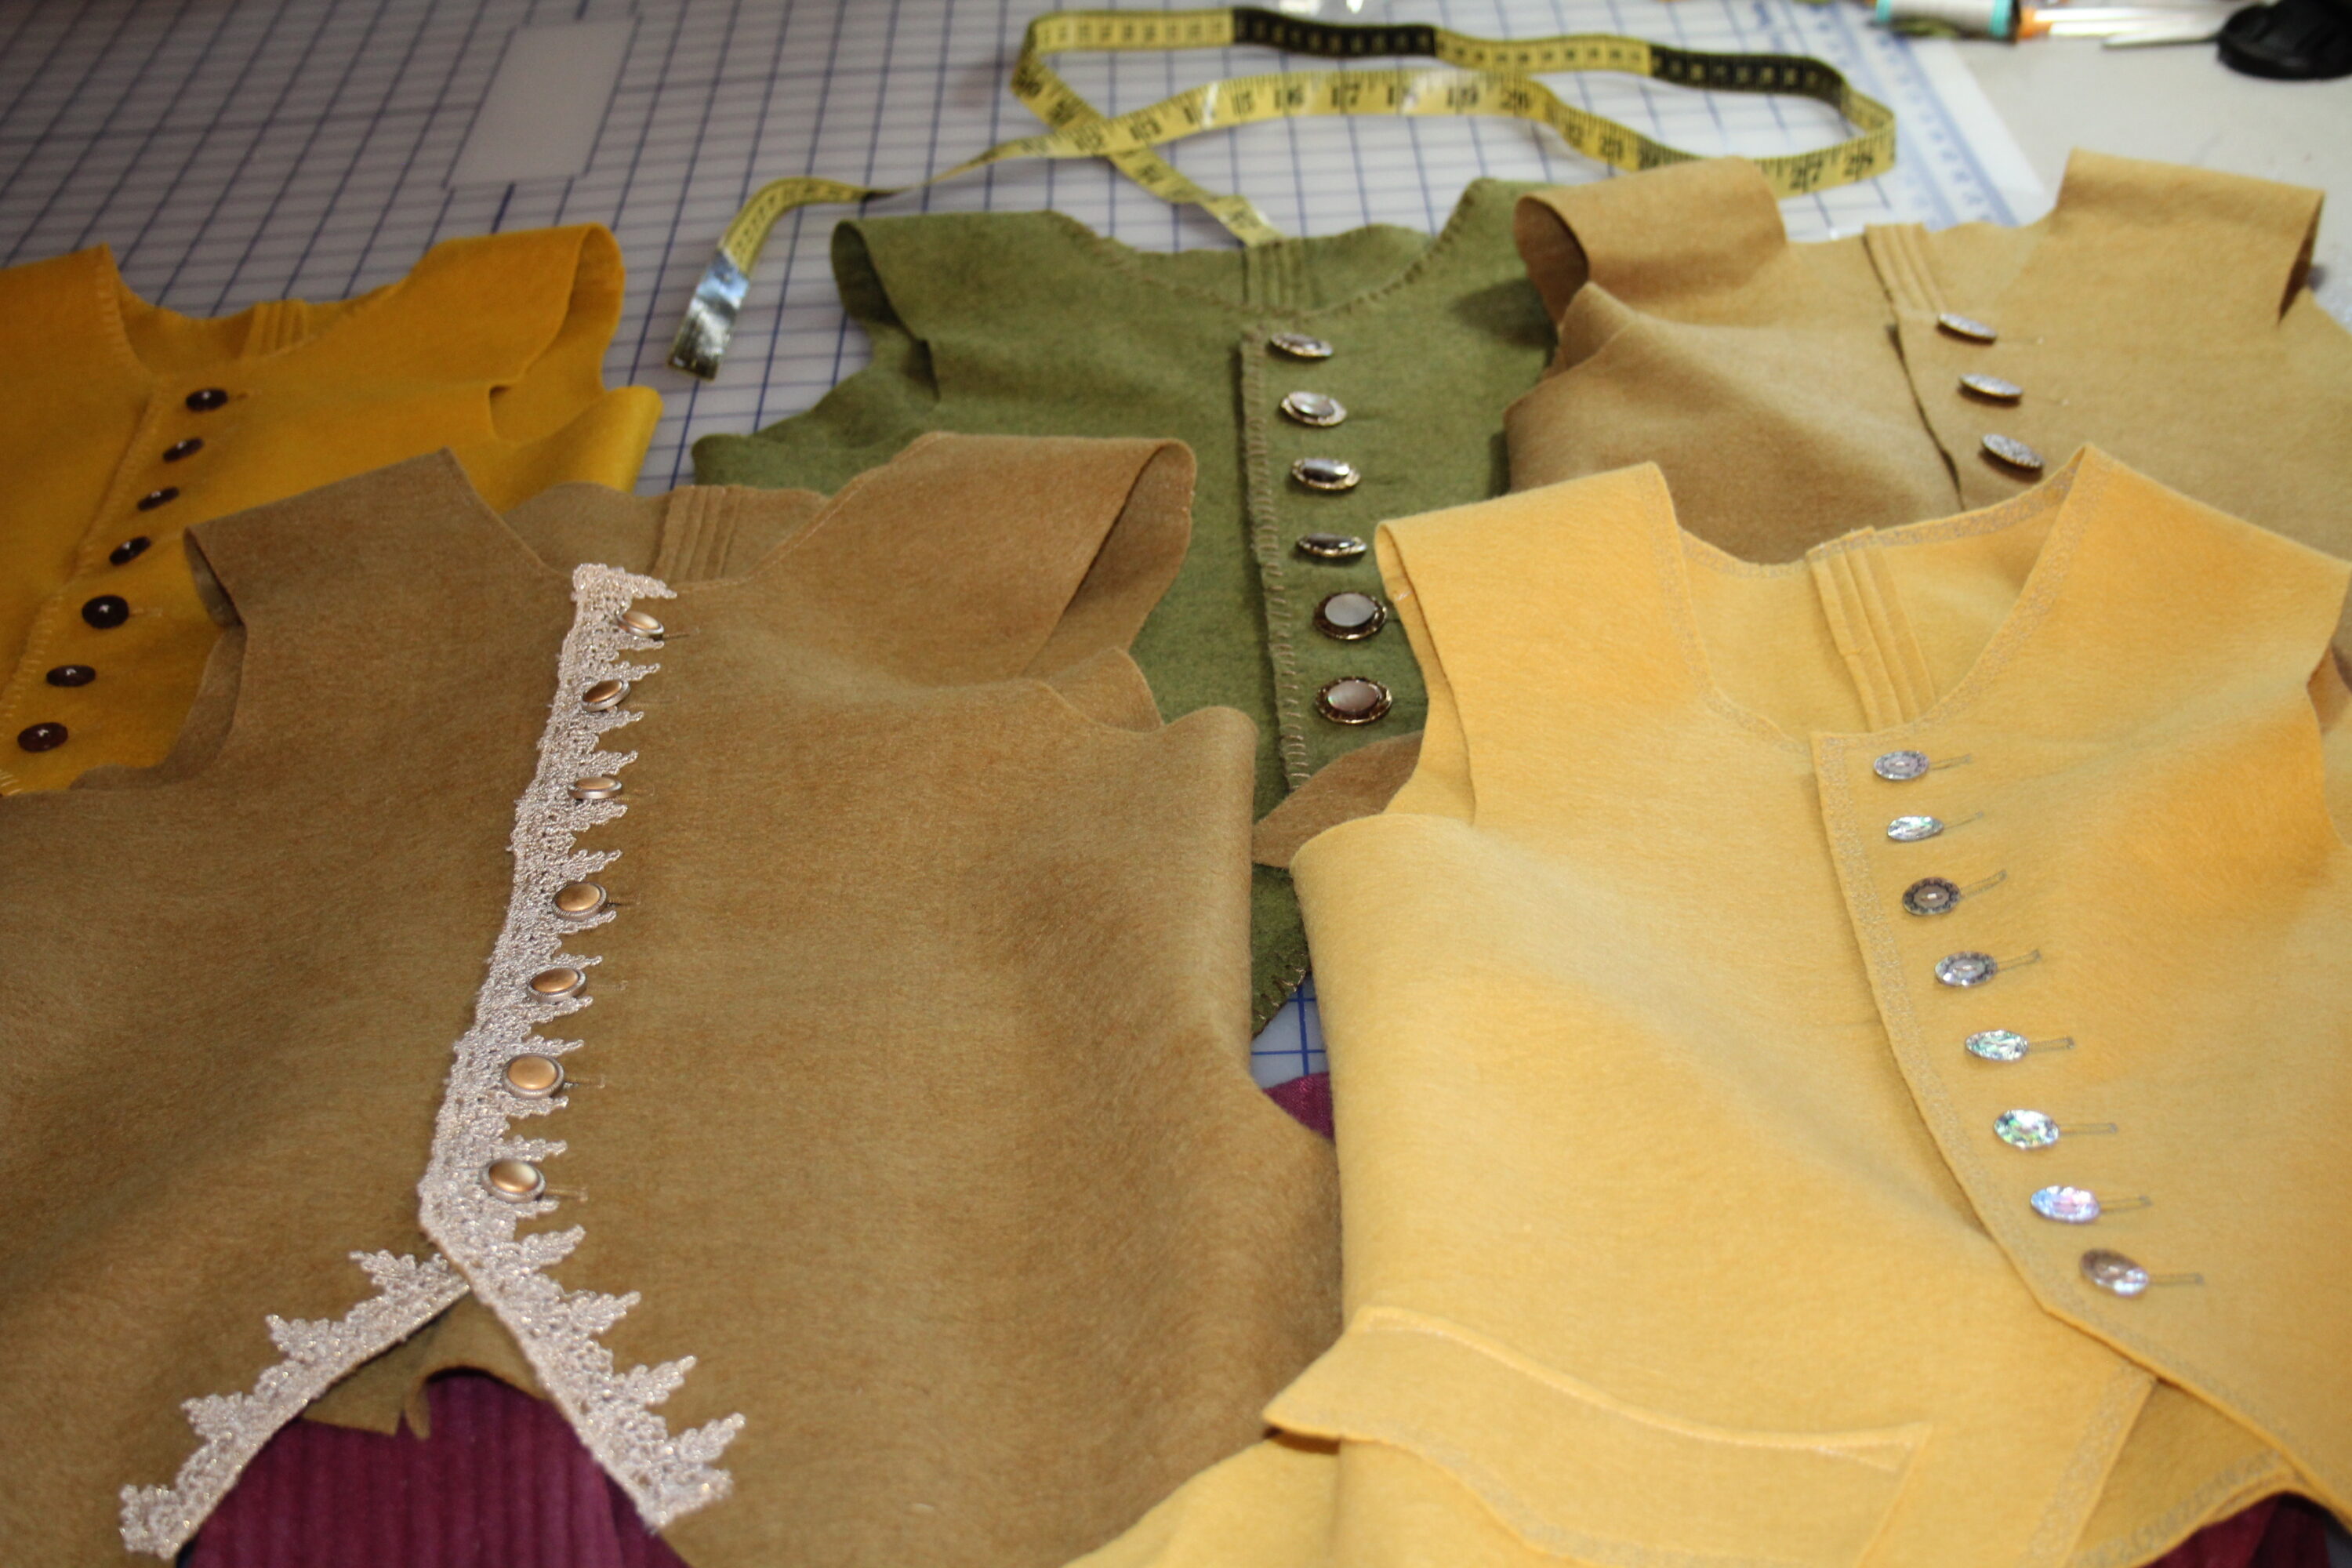
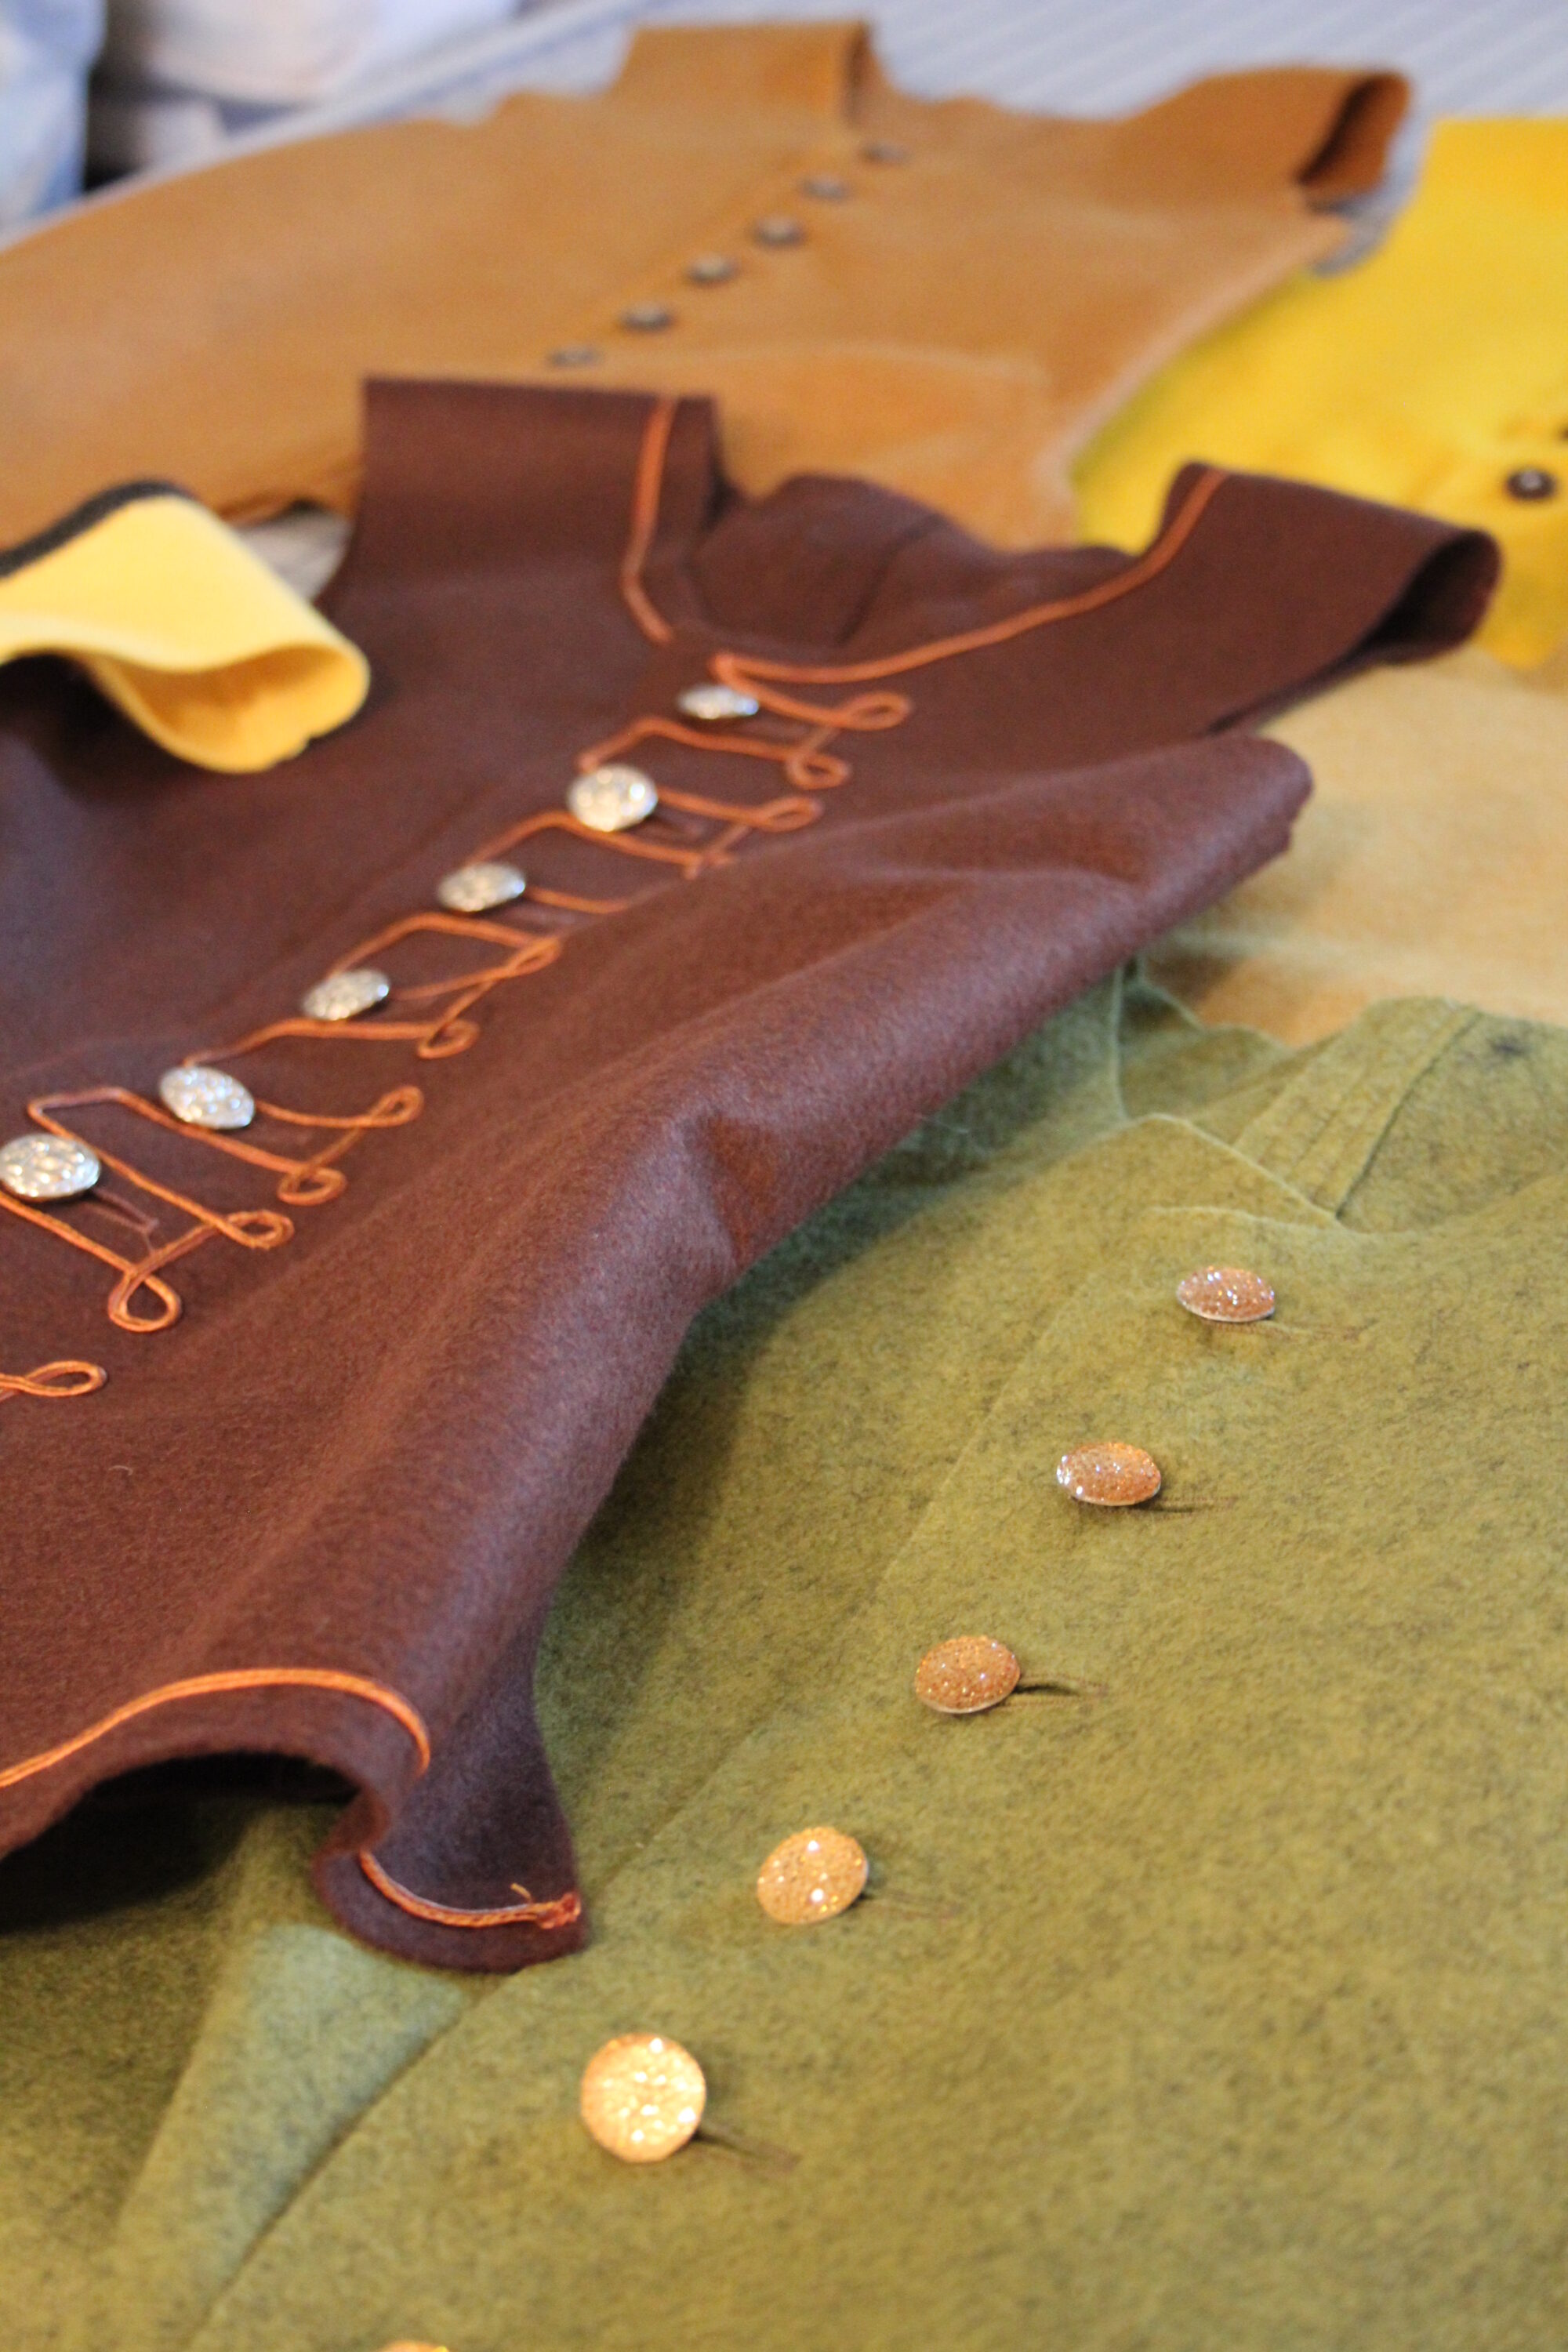
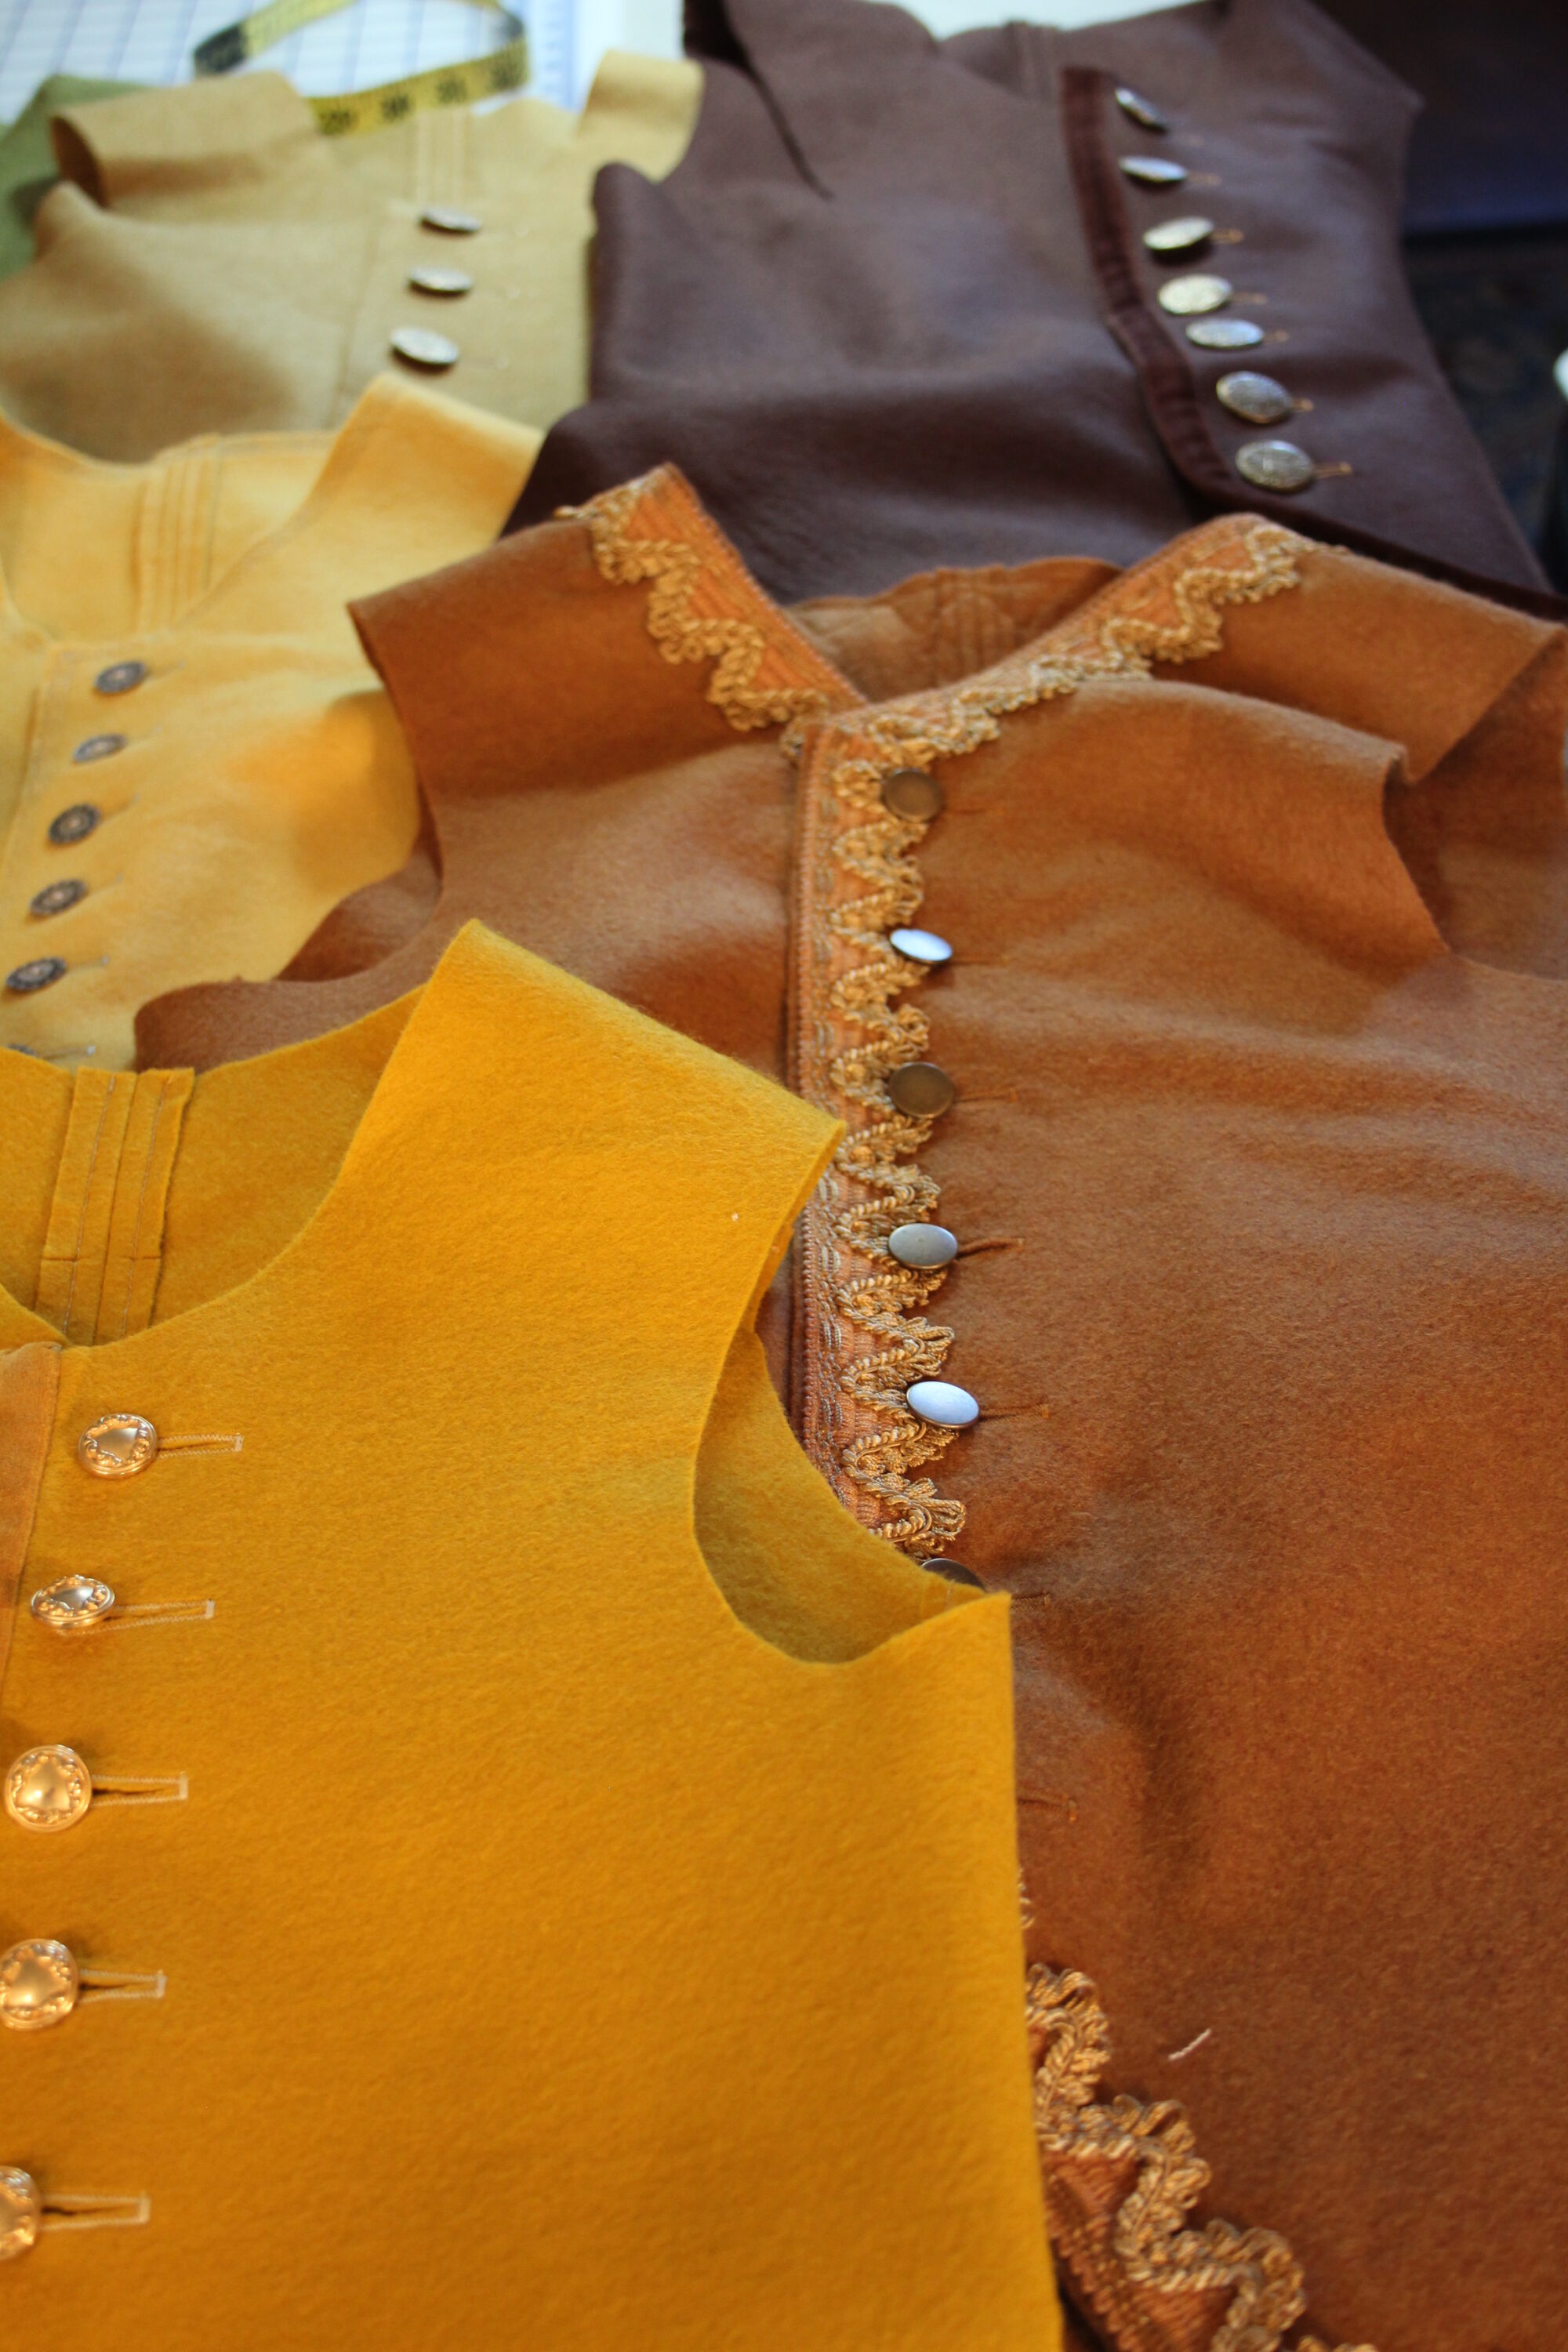
All were made of felted wool and unlined, but each had a special design, color scheme, button, trim, or pocket flaps. They did not have actual pockets. All were extremely durably made by machine with buttons hand sewn. Despite attempts at mass production, they ended up being individualized and to take a minimum of 4 hours each from start to finish.
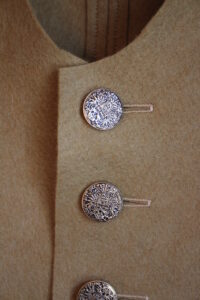
We tried to keep the monetary value the same for all: e.g. one might have extensive trim but no pocket flaps and plain buttons, while another would be a plain vest with expensive fancy buttons.
It was an impressive display once all were laid out. We have extra buttons for sale! Instructions were provided for all types of vests in the booklet. A student with a sewing machine and beginner sewing skills could make one easily.
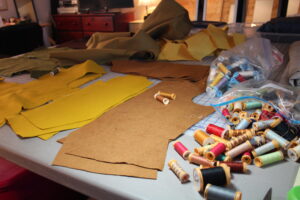
Preparation:
1. Green with mother of pearl buttons
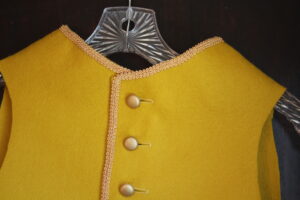
2. Dark gold with wooden speckled buttons and decorative edges w/pocket flaps
3. Antique olive/gold with military buttons and pocket flaps
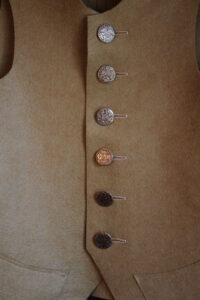
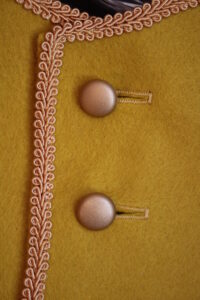
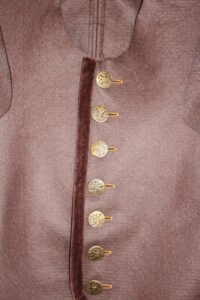
4. Dark gold with ribboned gimp complex braid trim and plain brass buttons
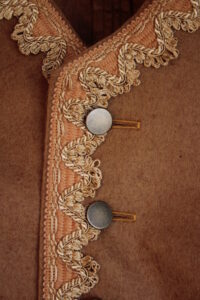
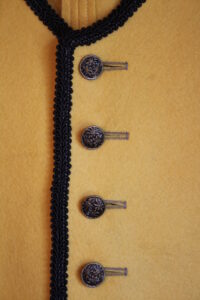
5. Dark Olive w/ornate edge trim and gold and silver circle metal buttons

6. Light gold with carved mother of pearl buttons and pocket flaps
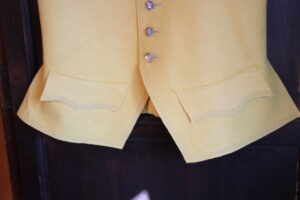
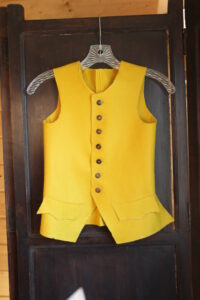
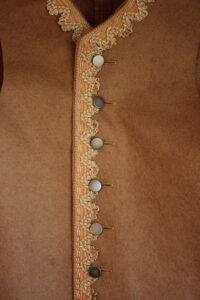
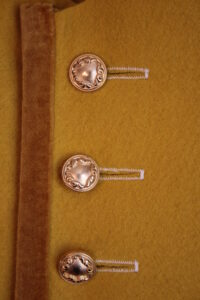
7. Medium gold with gold military style buttons and military gimp gold braid

8. Light gold with navy blue gimp and royal metal filigree buttons
9. Medium Olive plain with shiny Czech glass reflective gold buttons
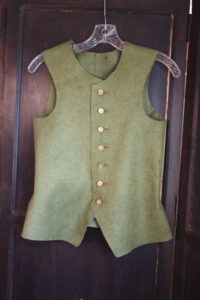
10. Dark brown with soutache twisting braid and plain brass buttons
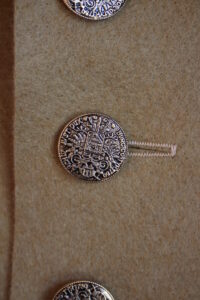
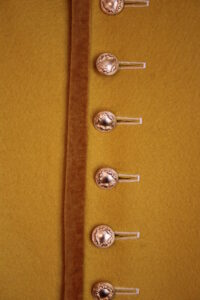
11. Medium Gold with etched 2 tone wood buttons and fancy edging

12. Dark brown with nobleman diecast buttons and velveteen facing trim
13. Light gold with bright gold brass relief design buttons and dark gold velveteen facing trim including pocket flaps with trim too

Piles of Waistcoats

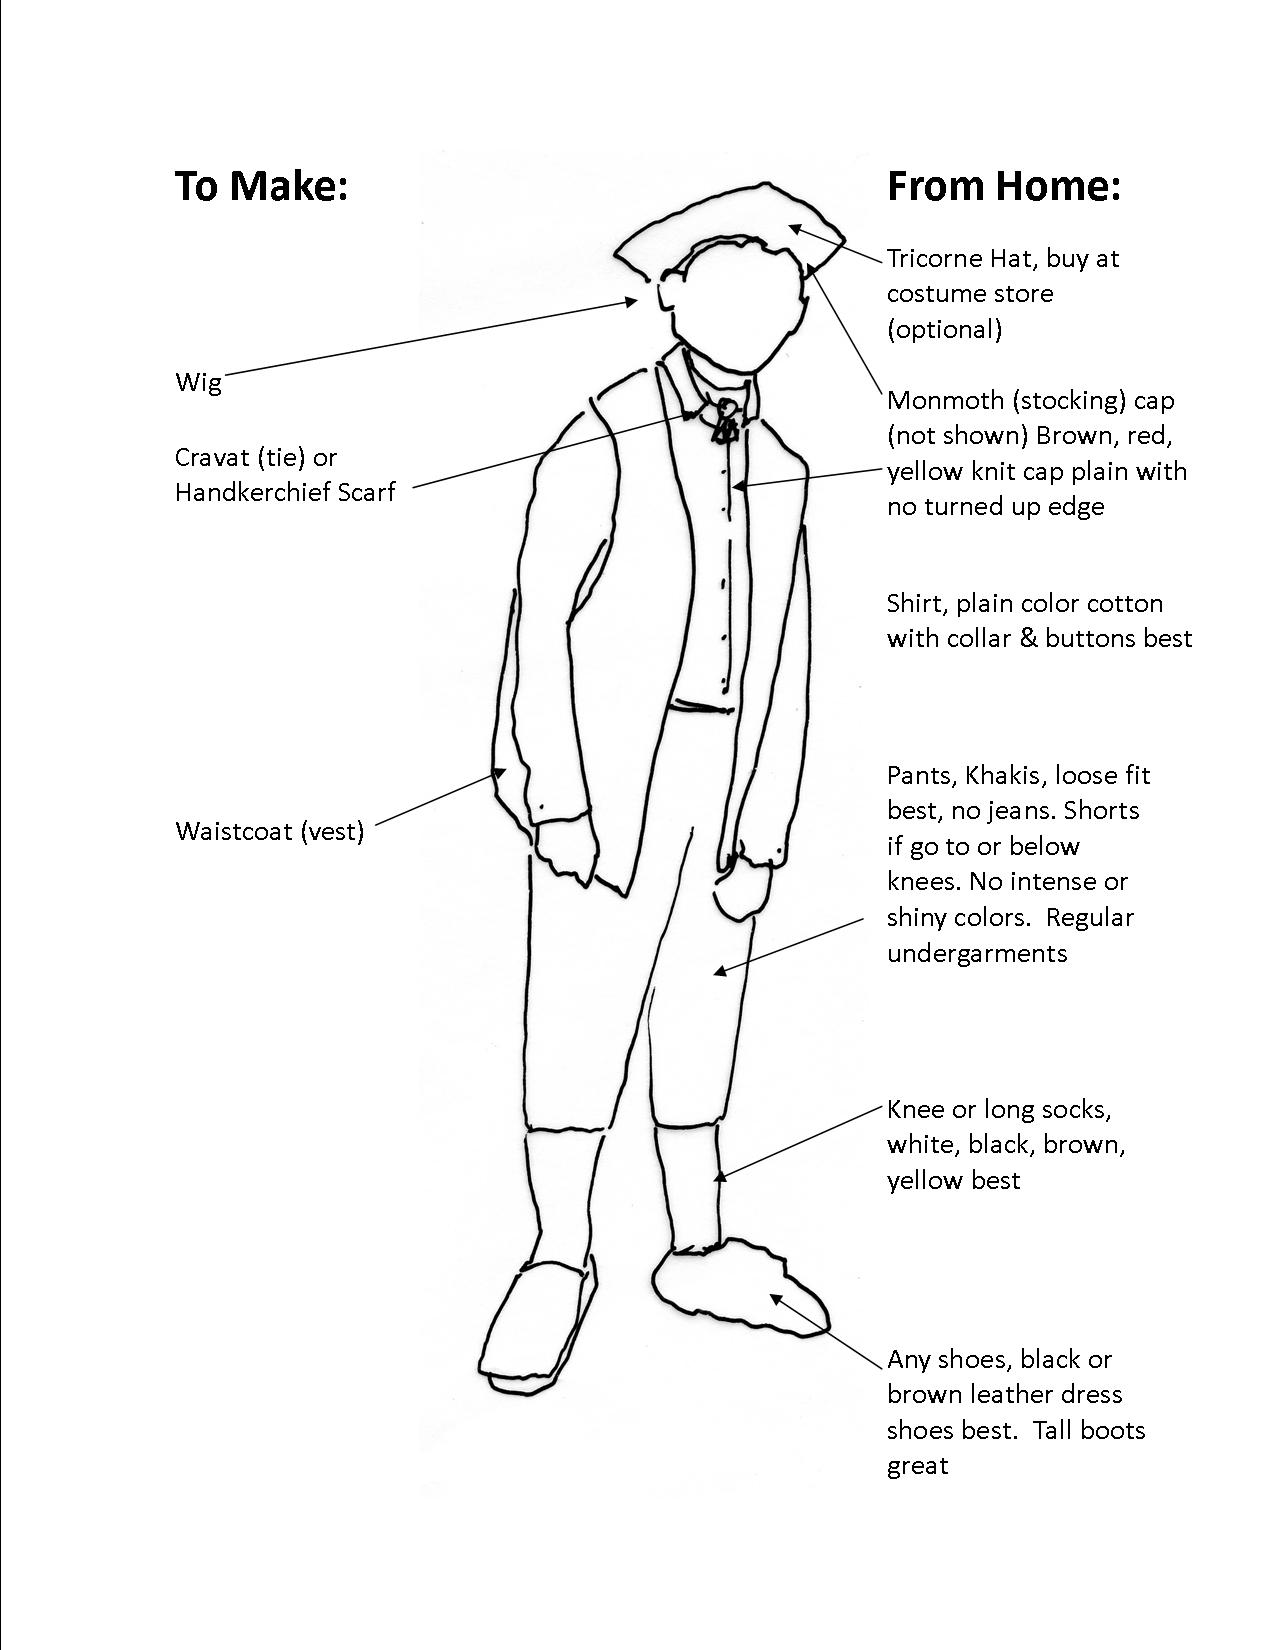
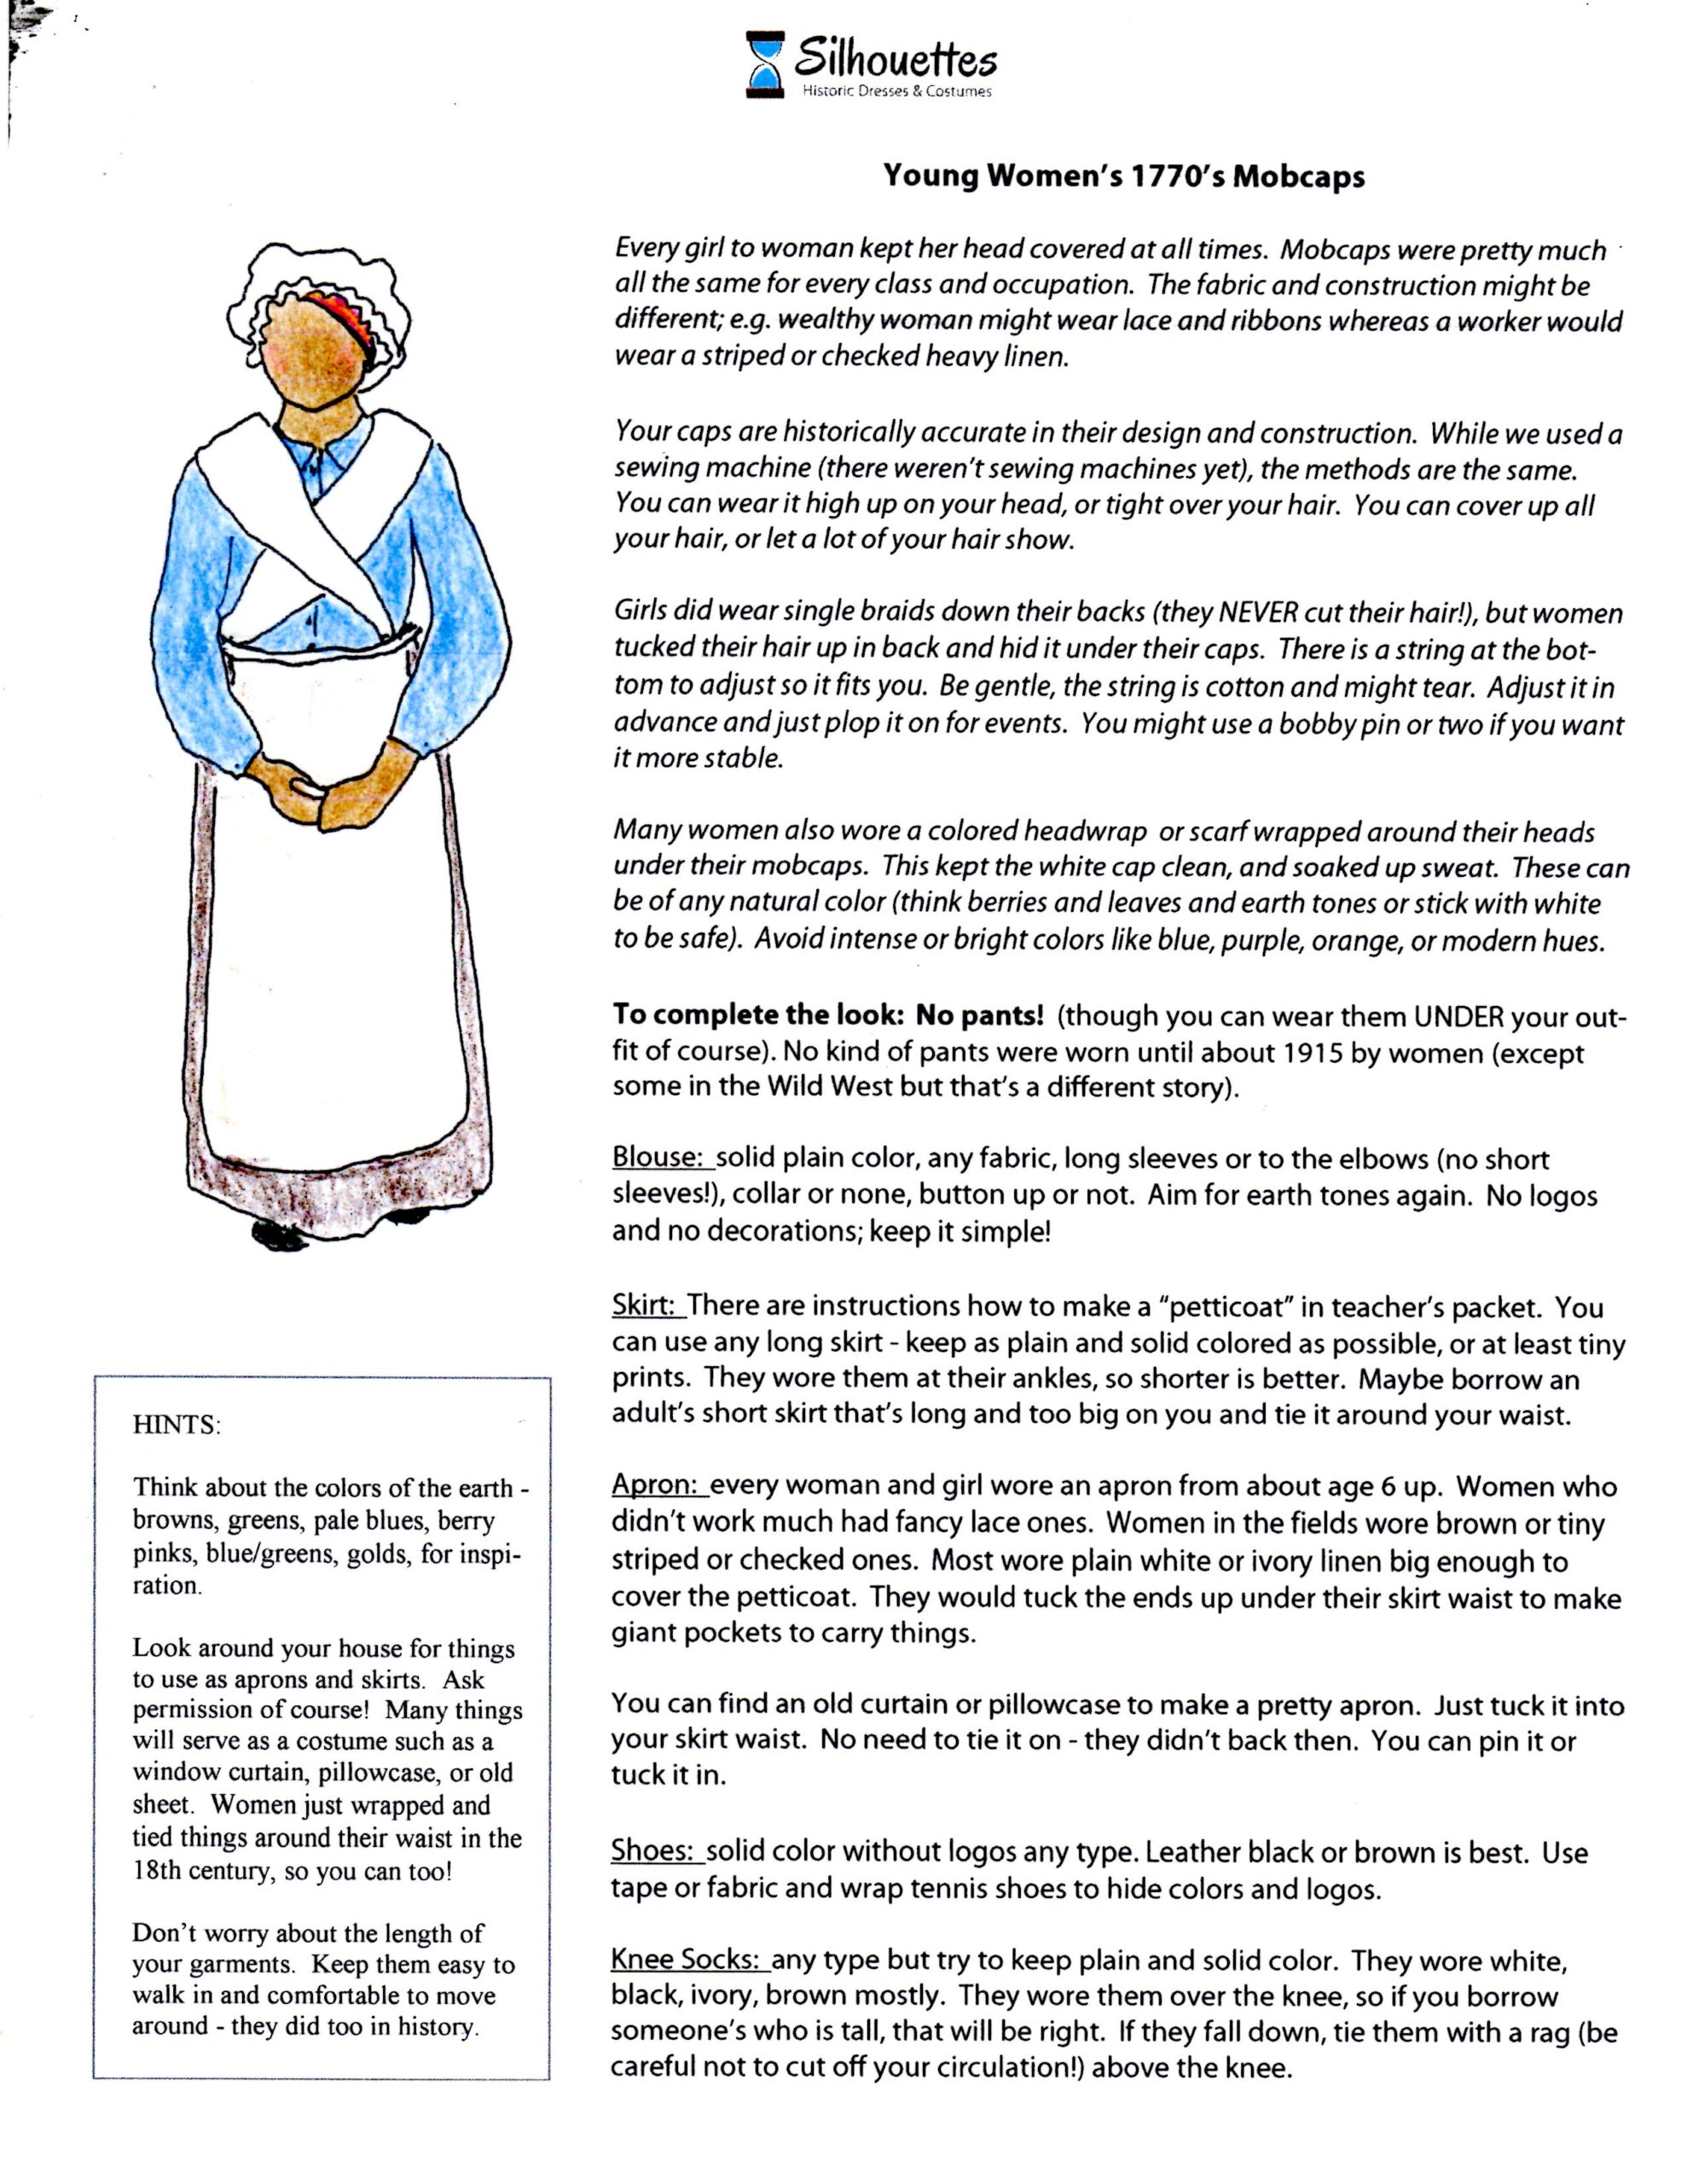
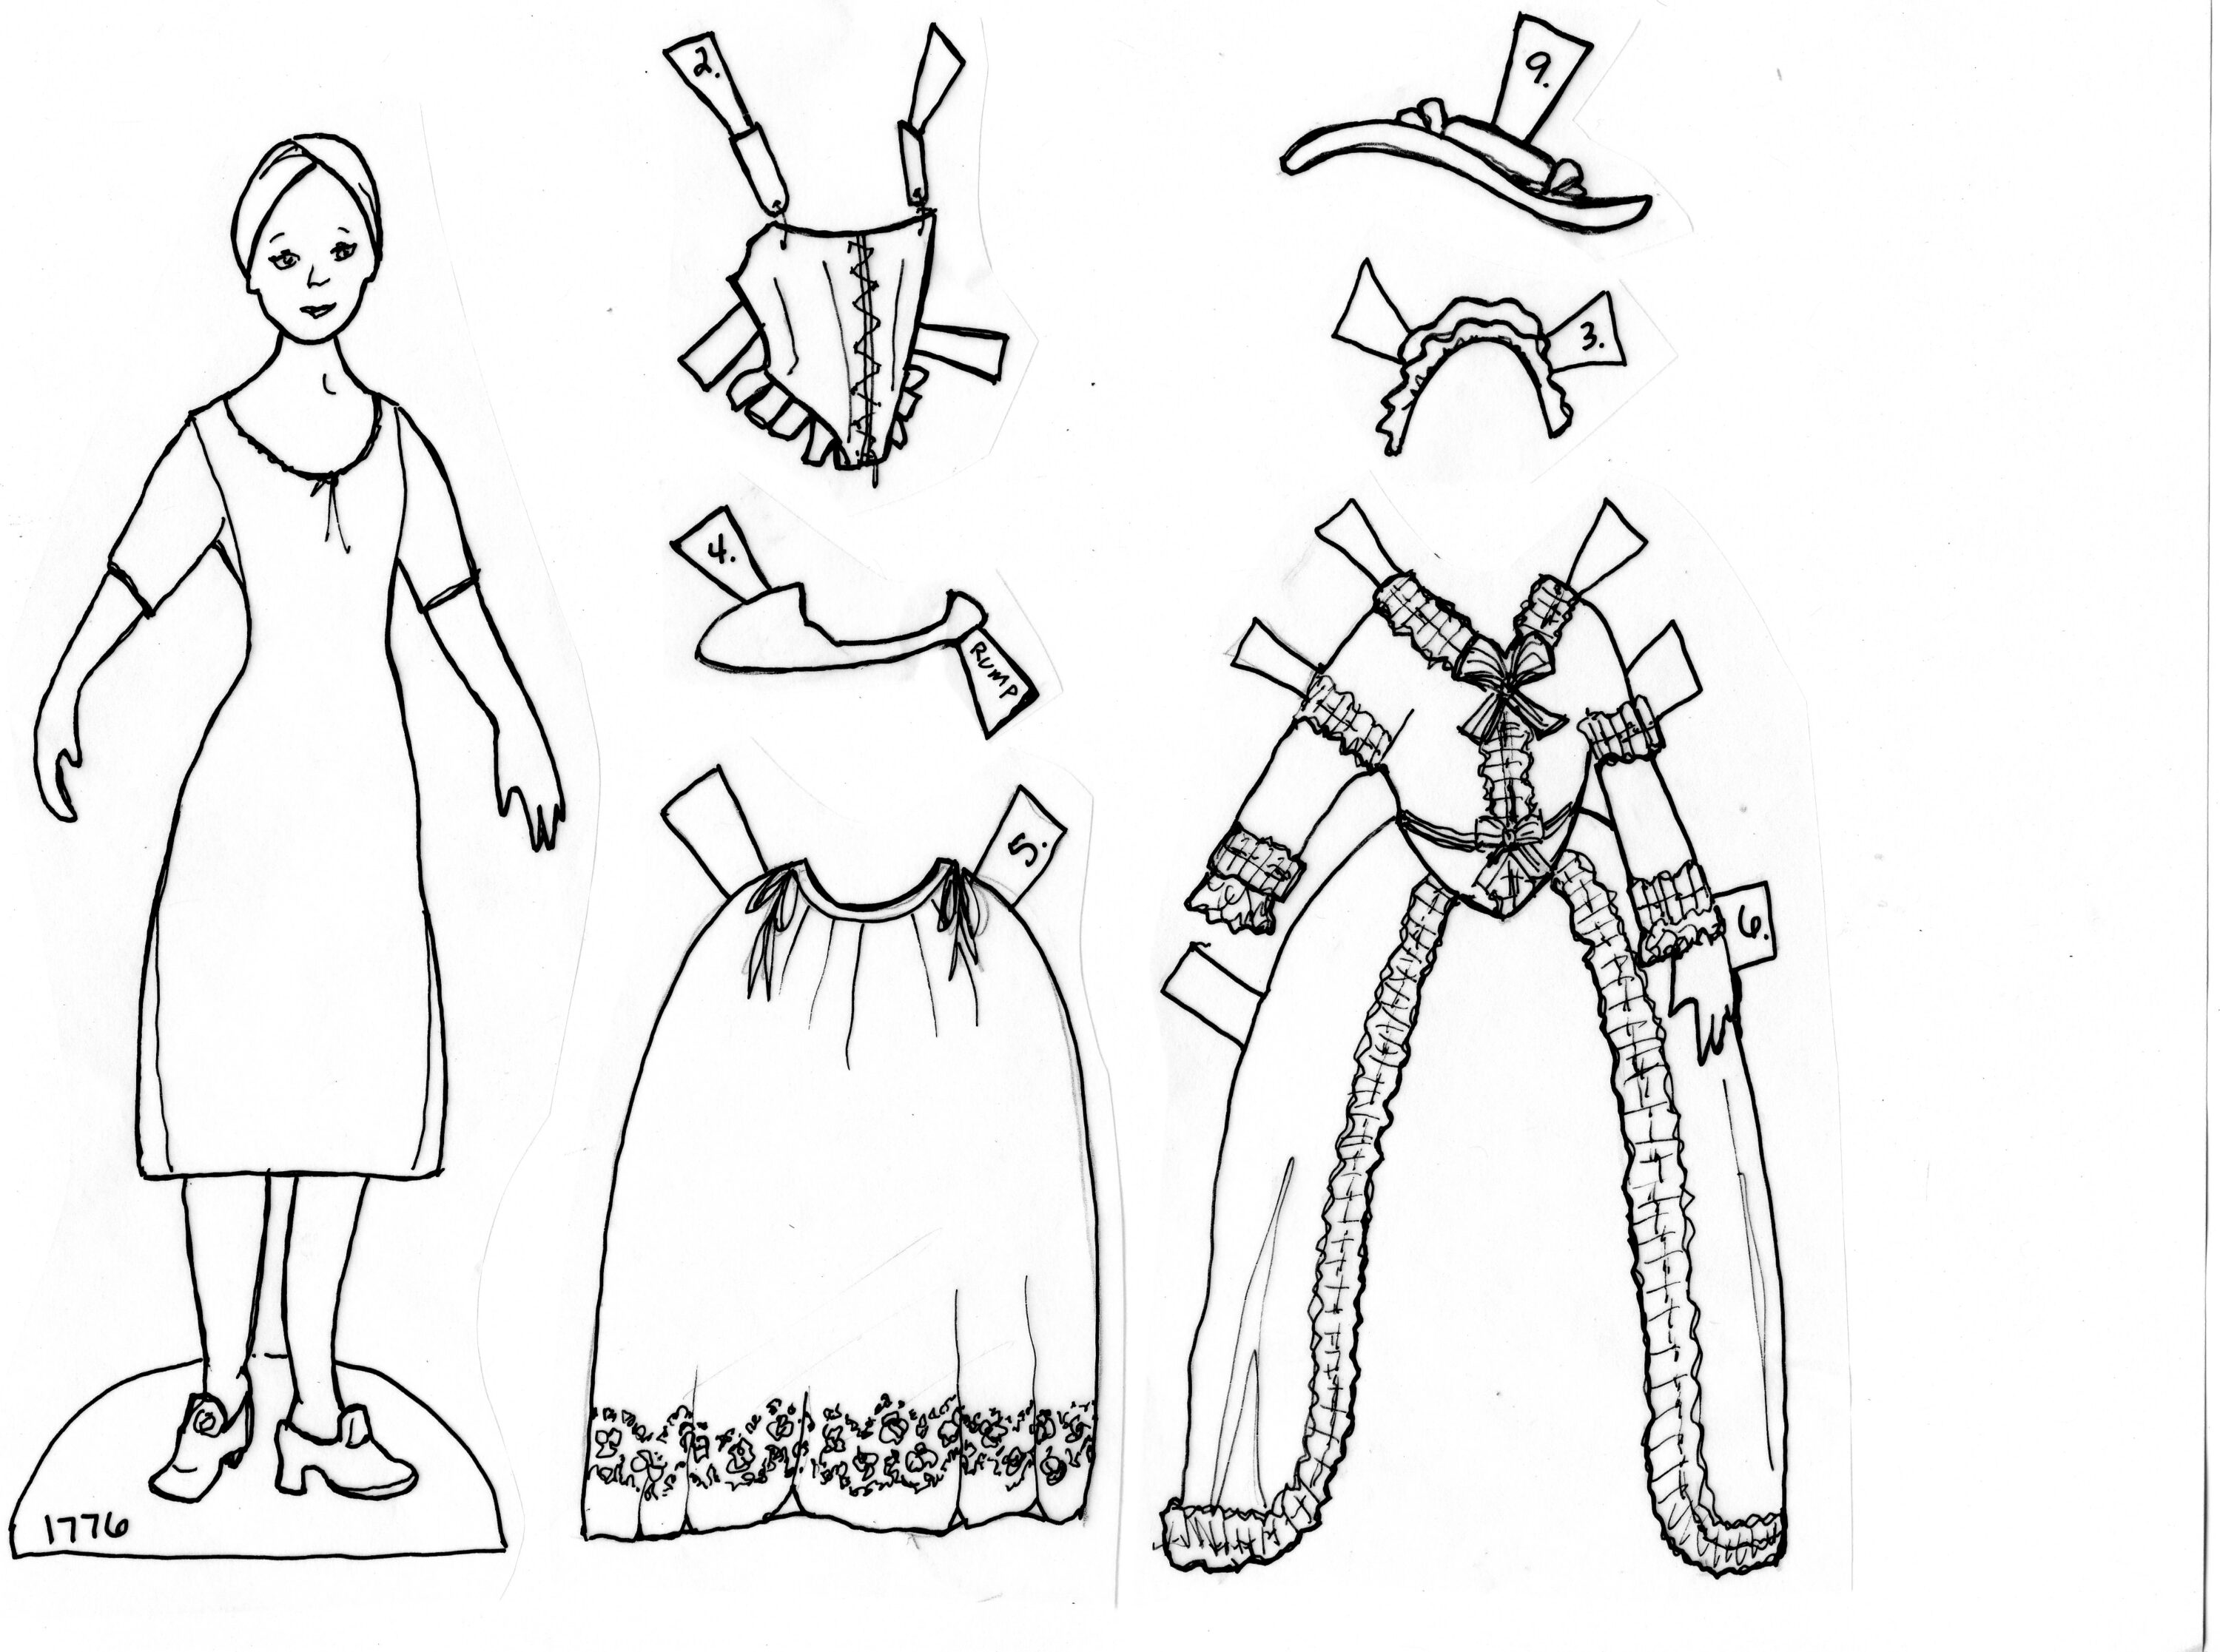
These end every booklet because they are a great way to teach the layering and “how to dress” order for both men and women. If you want to download these to print on your home printer at a standard paper size, go to the main page and download the booklet pdf. They are the last pages of the booklet.
Note these are Silhouette’s original designs and sketches, and are subject to copyright laws concerning intellectual and art rights. They are available for your personal use, or to use in your school, but may not be reproduced or used in any form, short or full, for any commercial purposes including integration into your own published works or internet resources.
Click here to go to the Main Page with the Finished Project & Downloads