
Inspiration from Portraits & Real Garments for Study

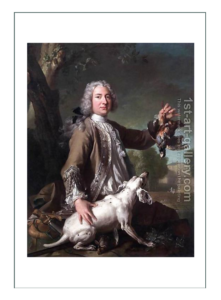
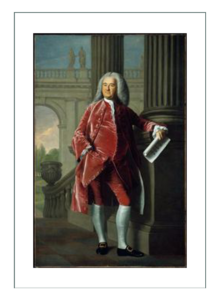
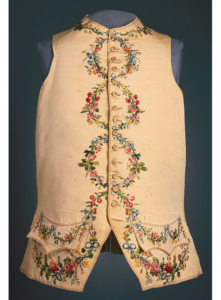
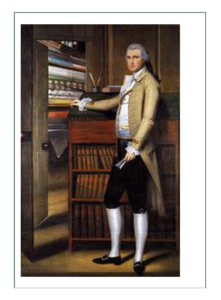
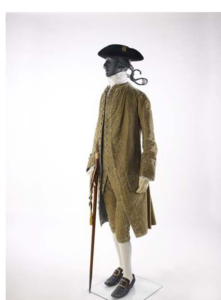
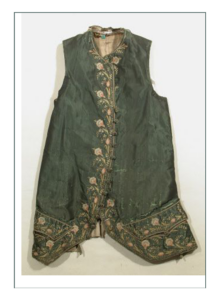
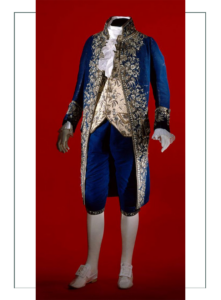
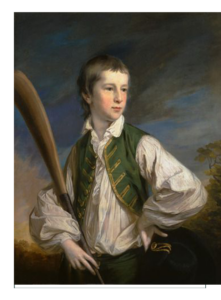
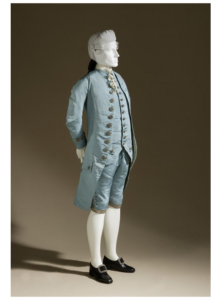
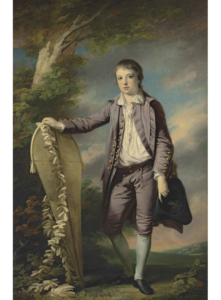
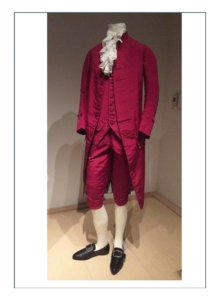
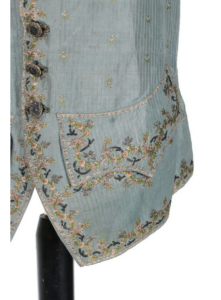
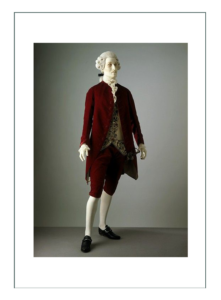
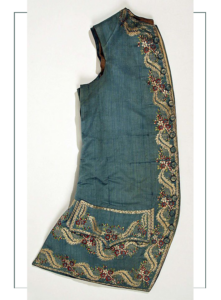
These illustrate a variety of waistcoats for study. Some are complex, and some are simple. We are looking at construction techniques, types of buttons, buttonholes, length, proportions, and all the factors we need to put into a reproduction garment. These are 30 top pictures for reference”
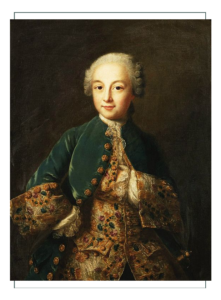
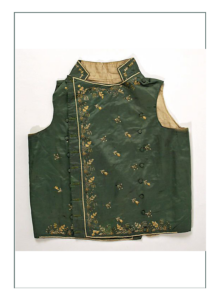
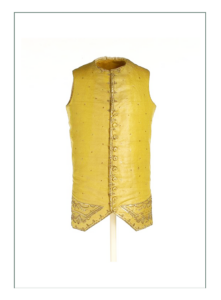
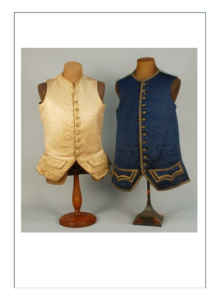
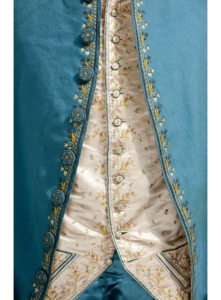
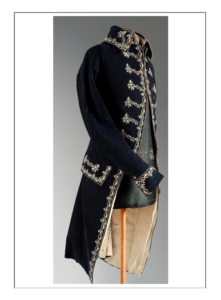
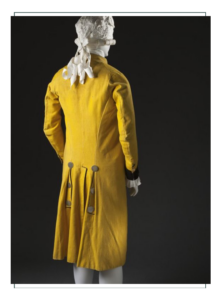
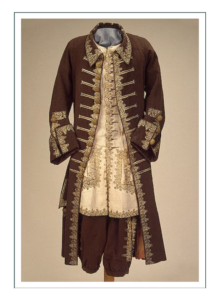
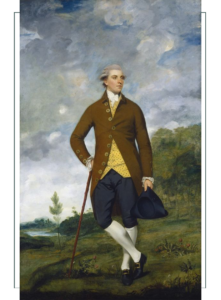
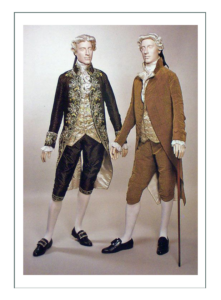
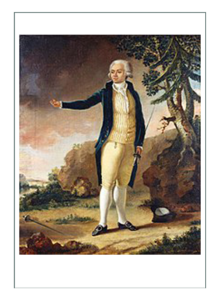
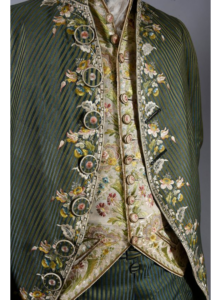
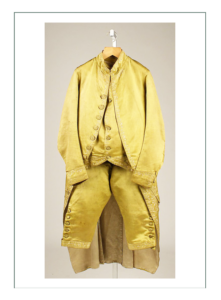

1. Match Boy’s Waistcoat
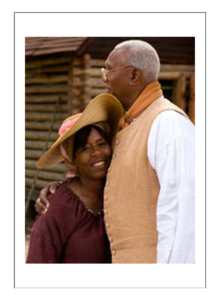
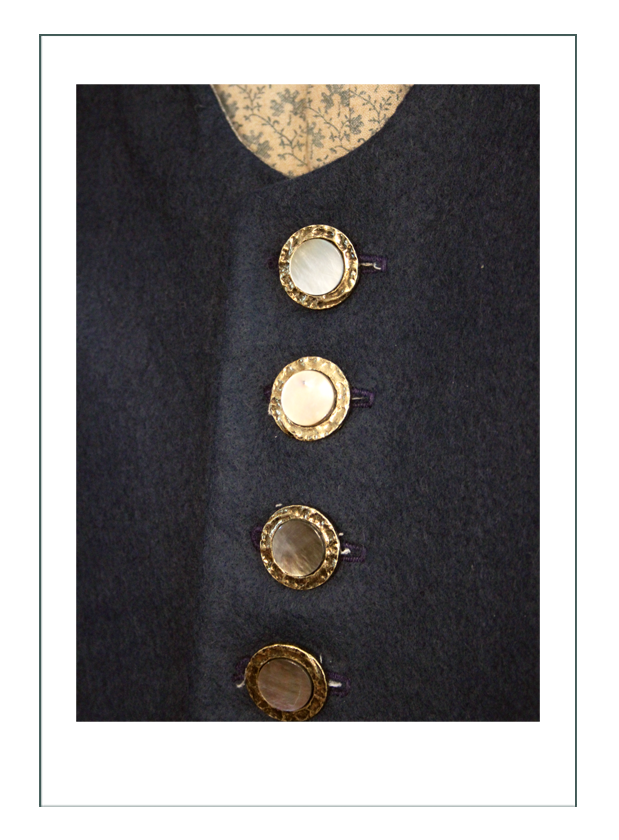
Bride Aimee found us because she bought a boy’s waistcoat we had built as a prototype for a project. She asked us to build the same thing in the groom’s size. The challenge was, when we built that, we used up all the fabric, and the buttons were vintage – as in there are no more of them.
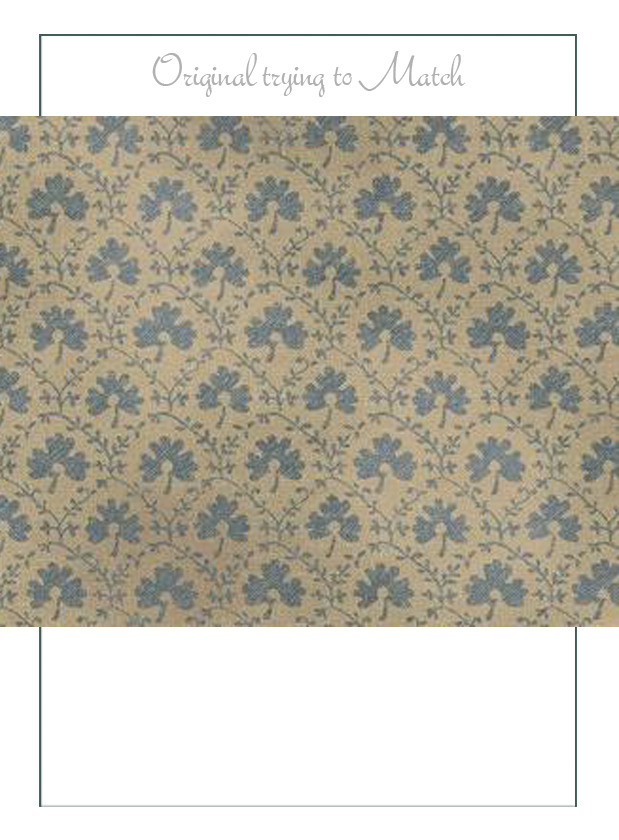
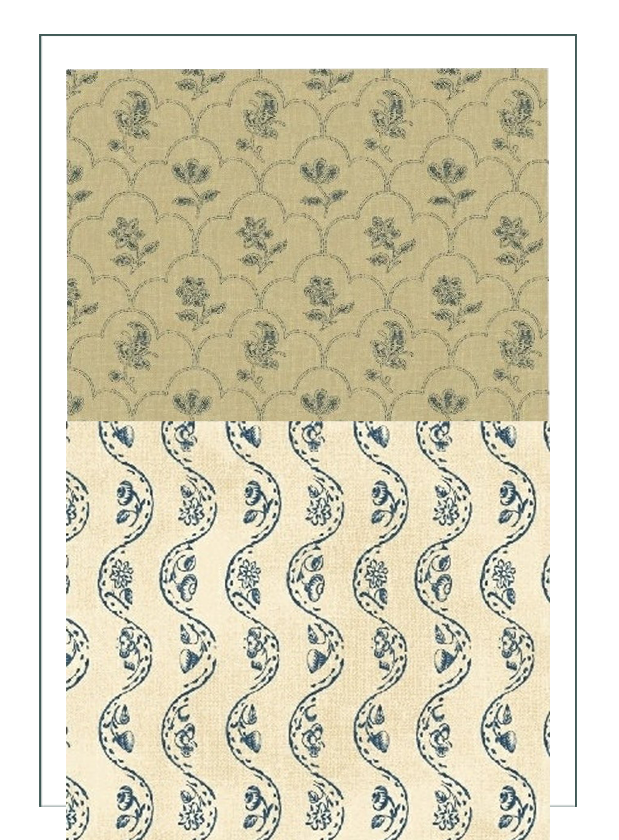
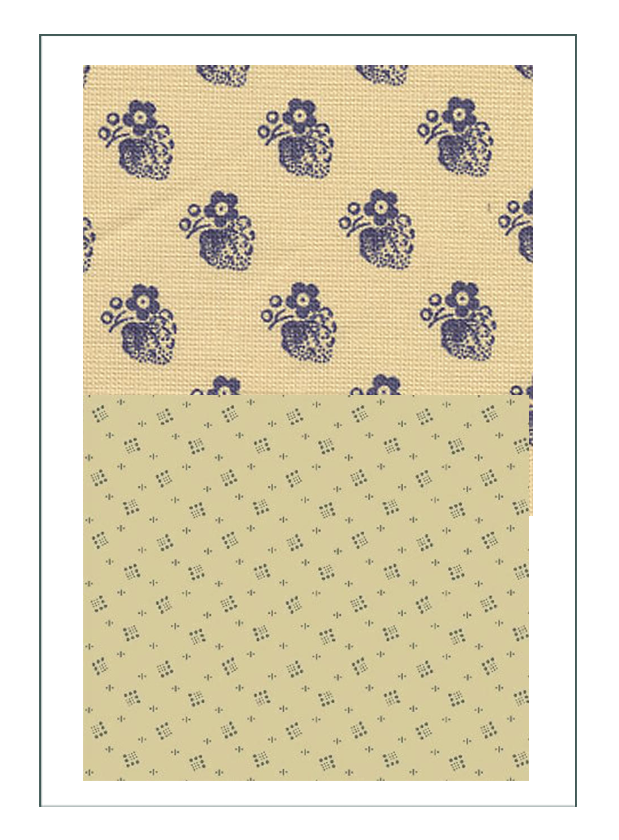
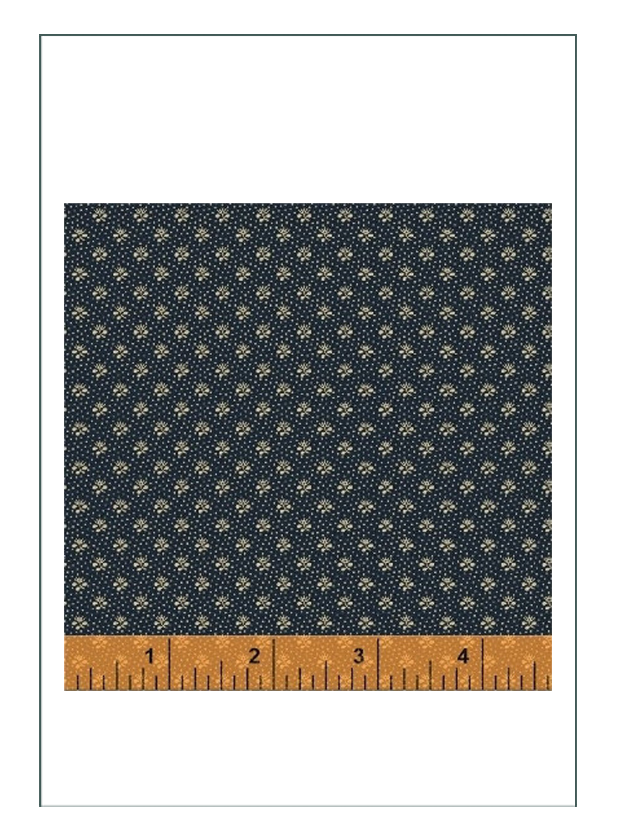
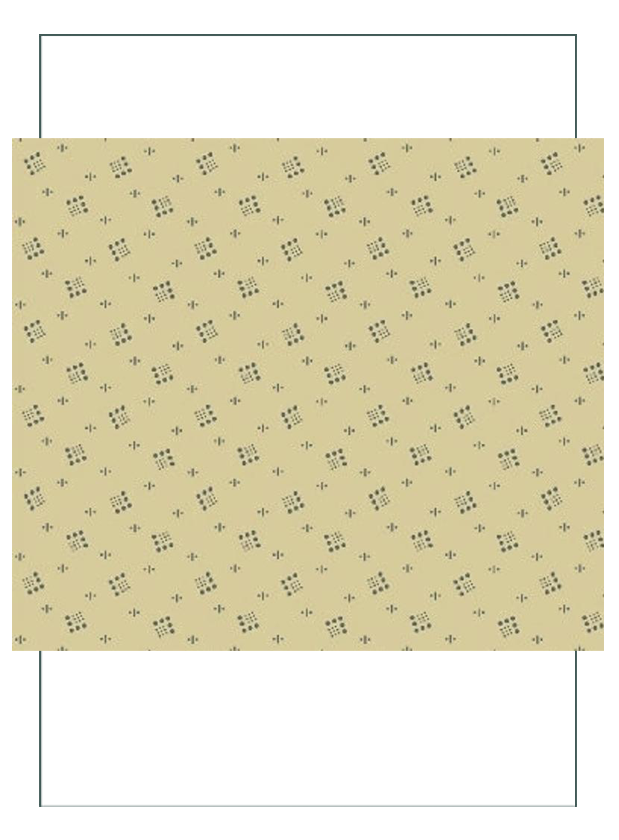
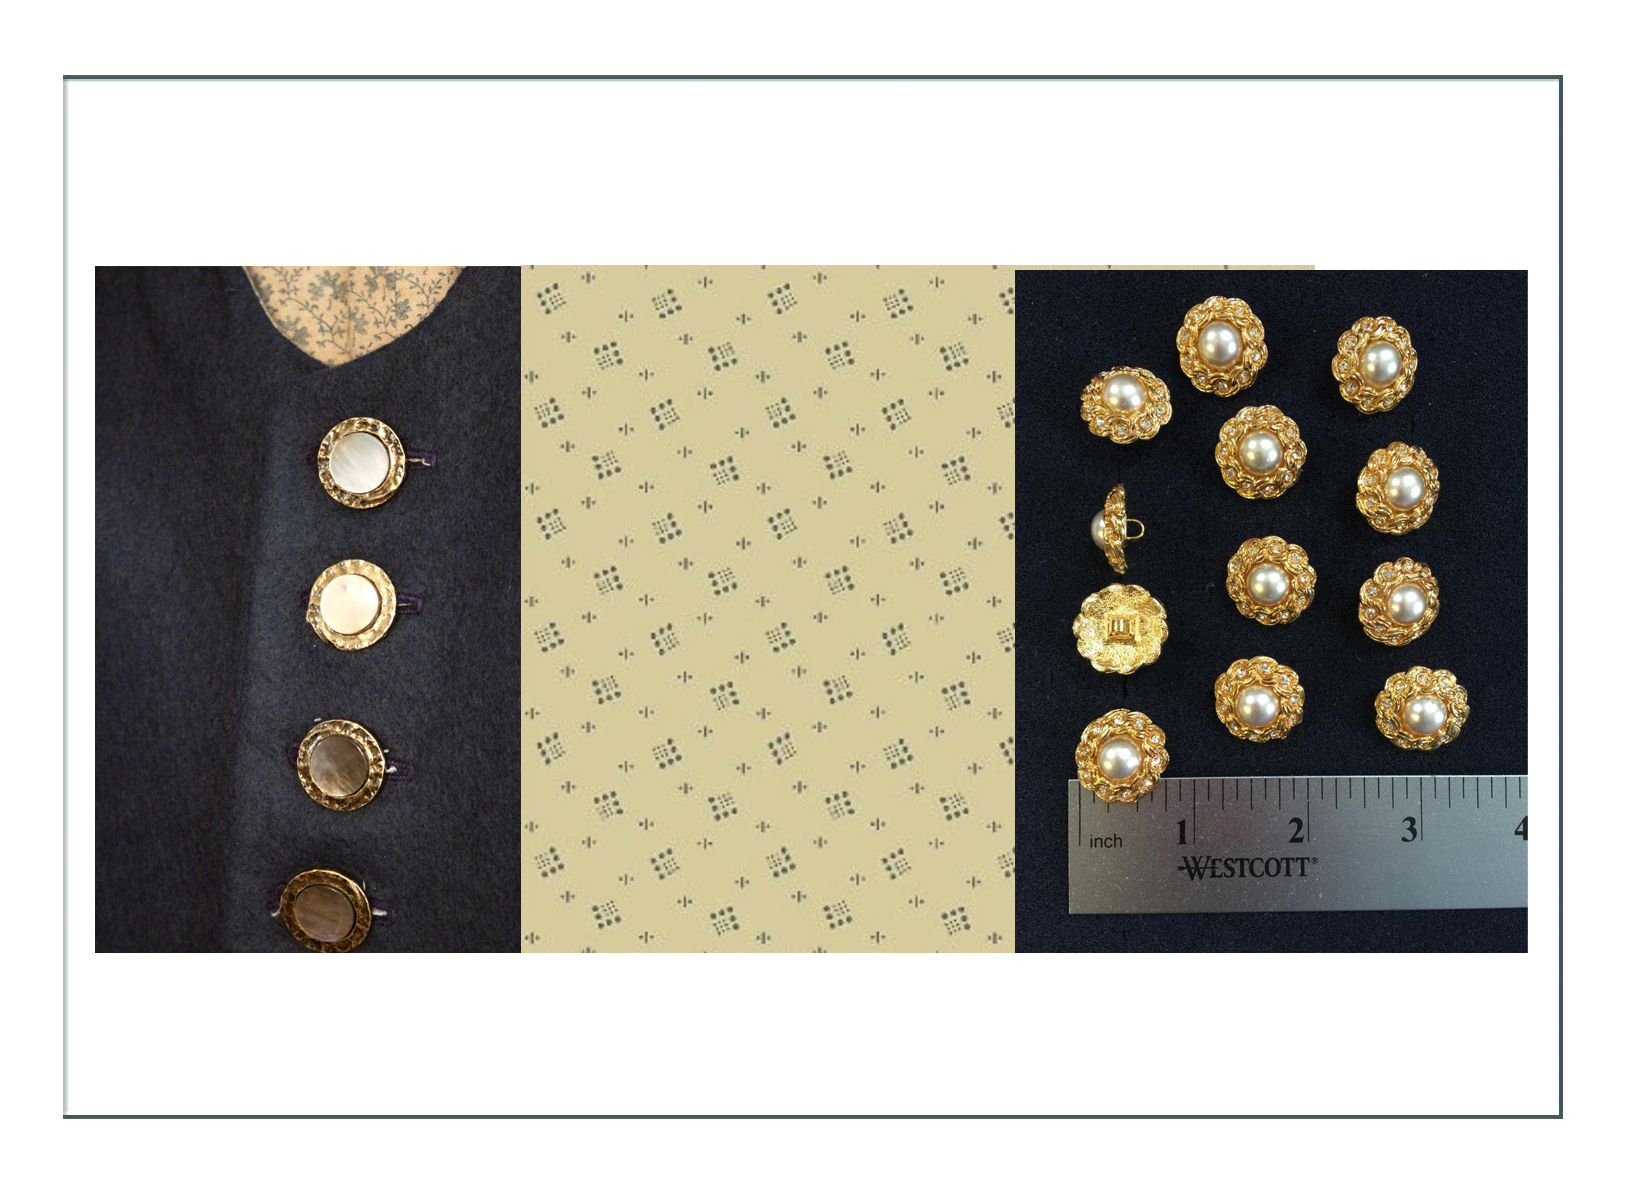
With Aimee’s permission, the search was to find a similar fabric and buttons, so the overall look would be the same. She wanted us to “keep it simple” – meaning, all the fun embroidery and fancywork we were gearing up for was not necessary. The objective was to match this. Fortunately, we could find the exact wool fabric again. It would be a bit of a challenge in the larger size to get the necessary stiffness because it is not a woven wool, but a felted, which means it does not carry the support of “grains”.
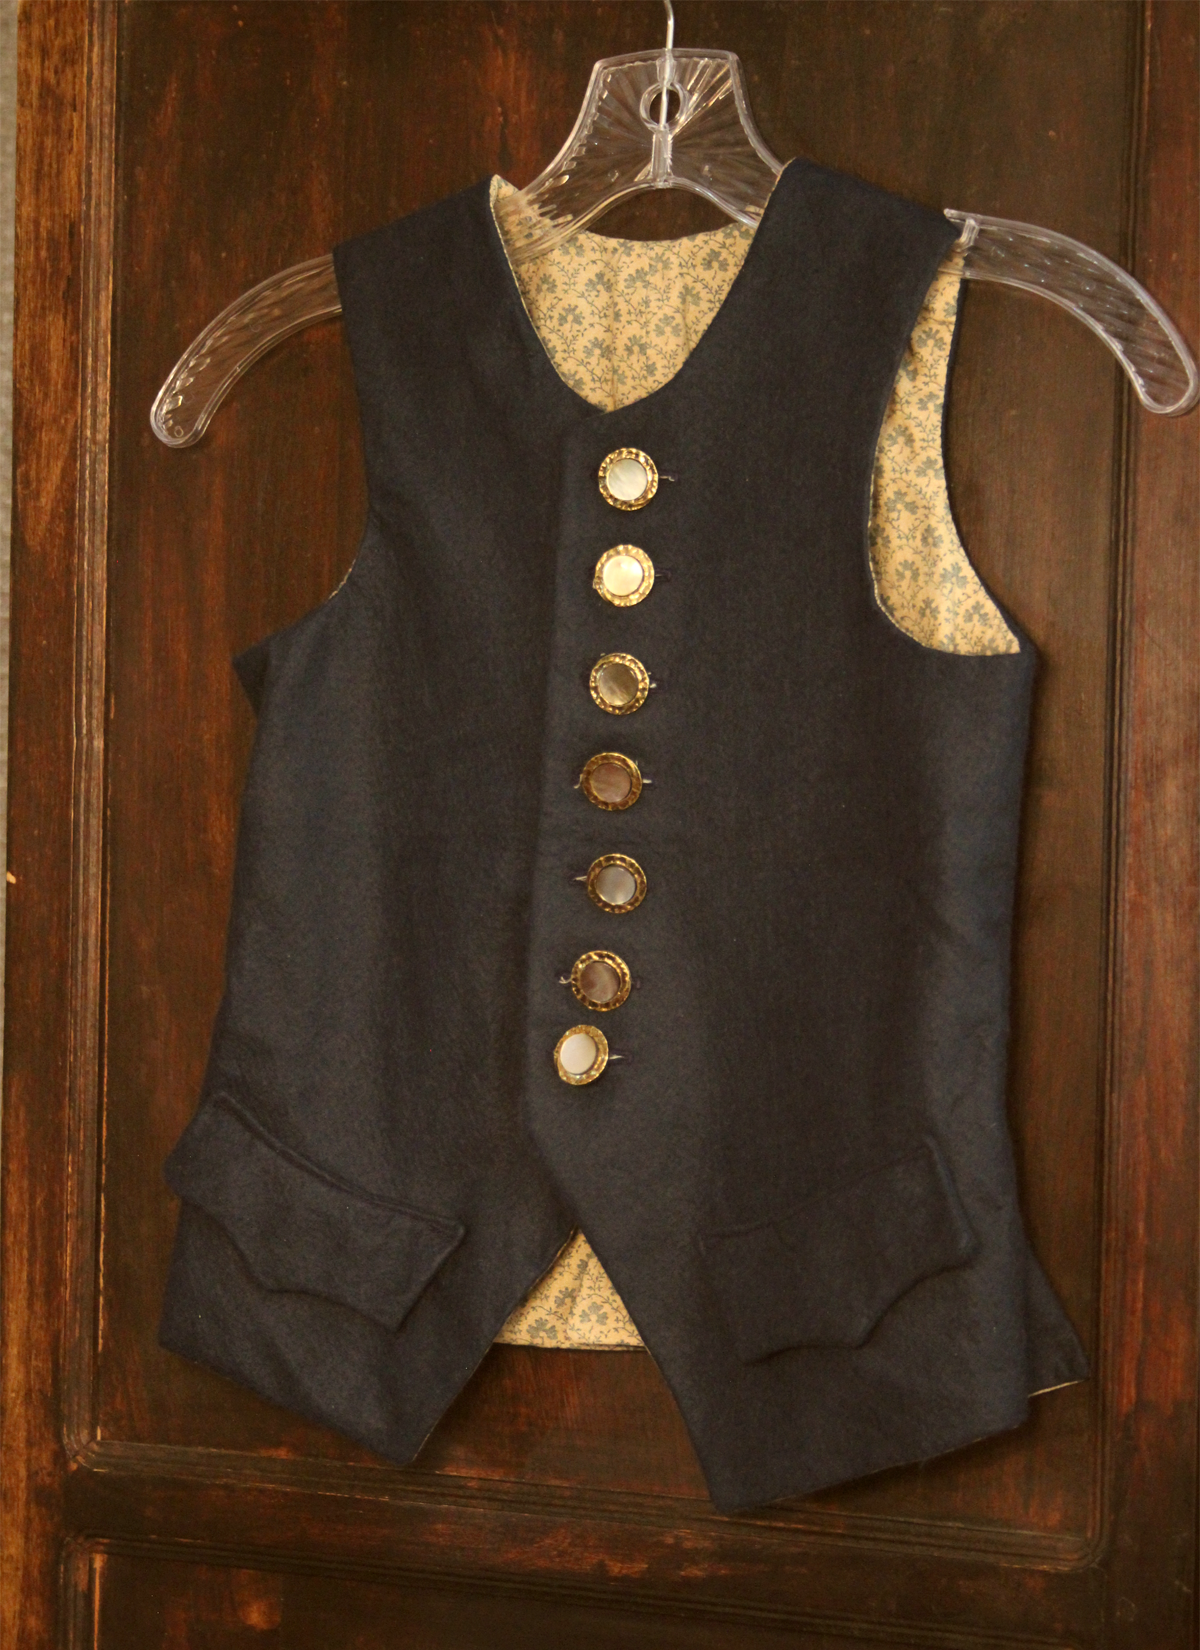
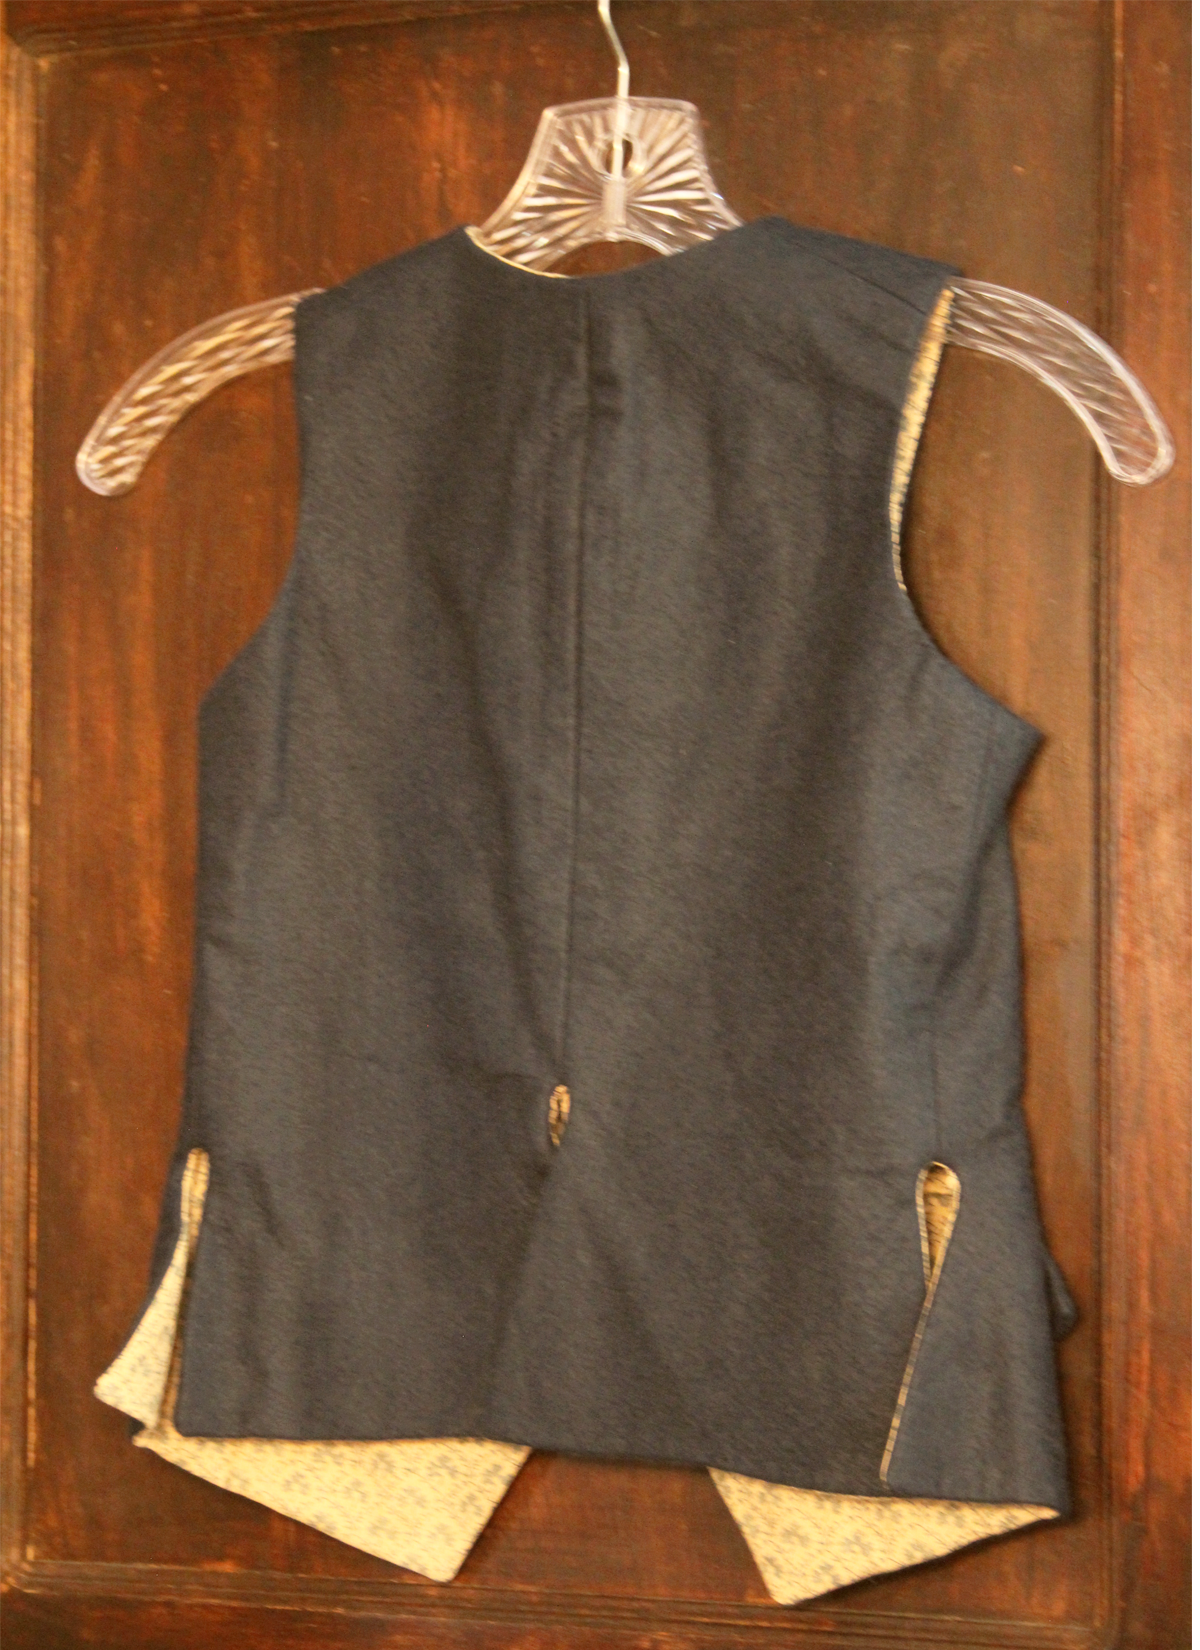
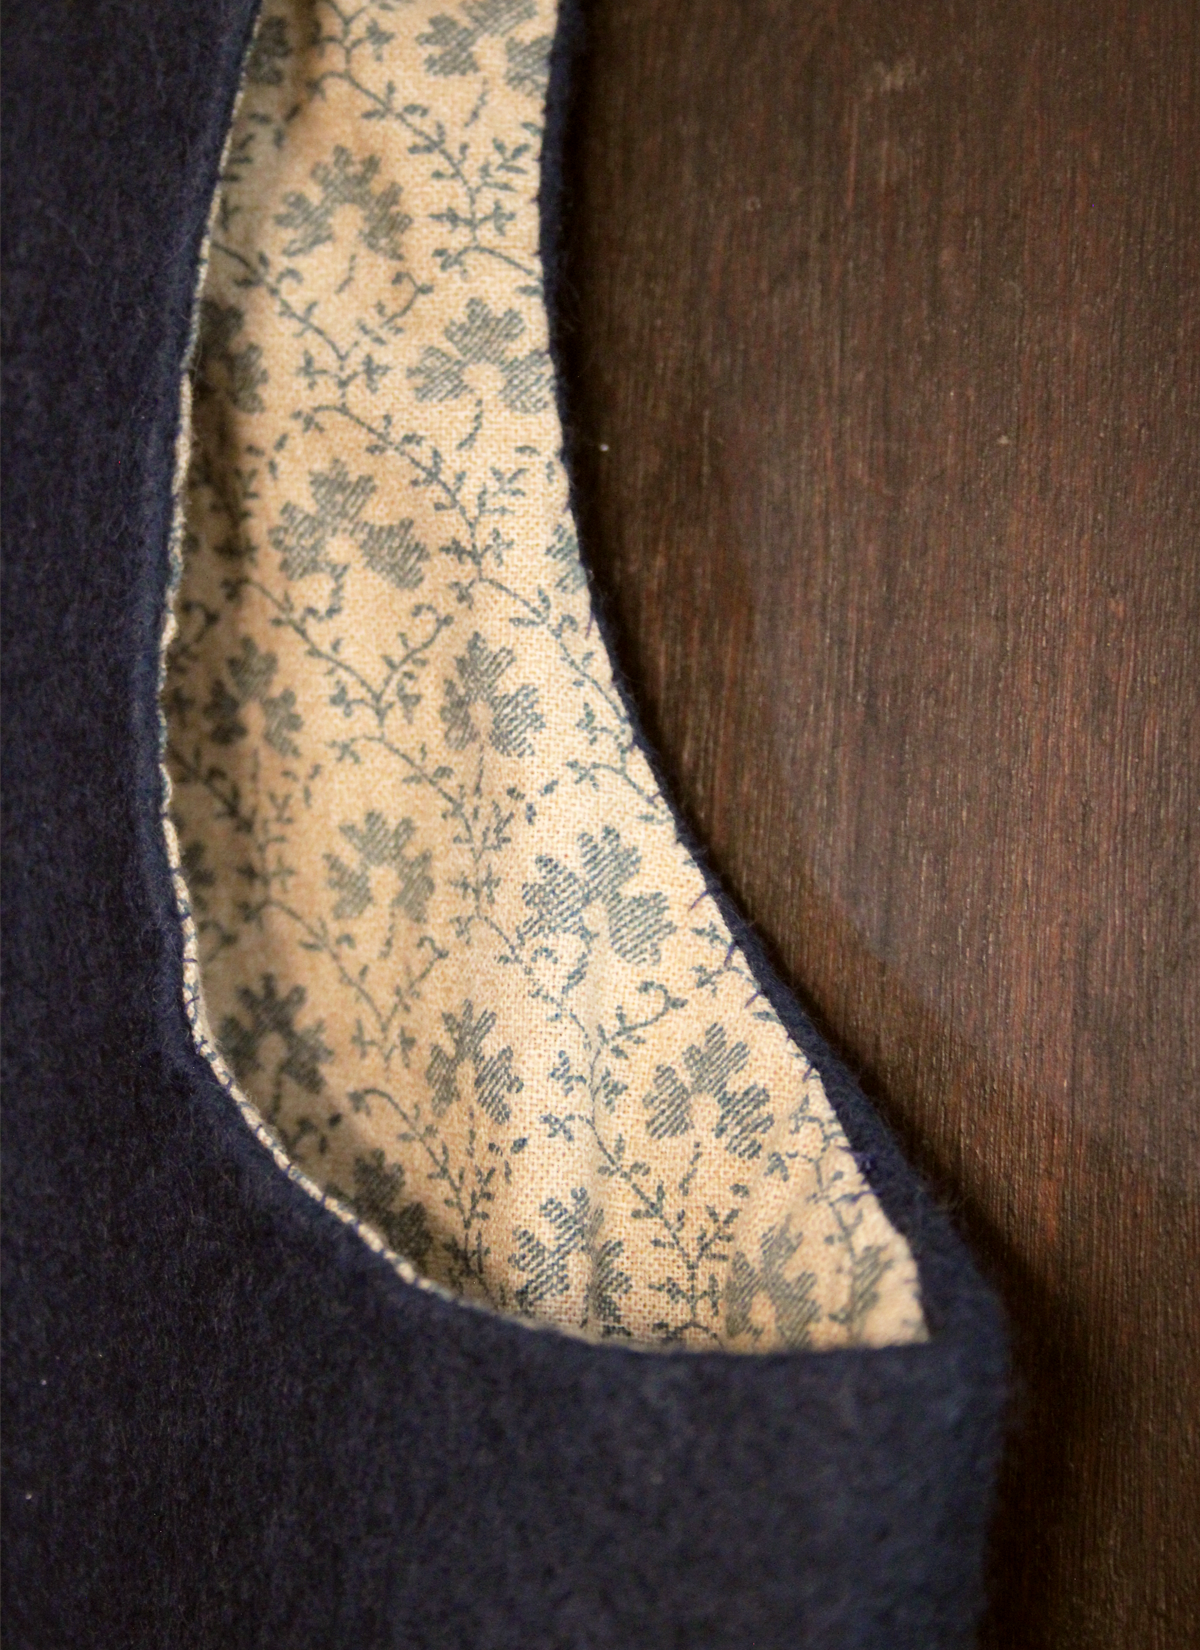
MATCHING THE FABRIC
MATCHING THE BUTTONS
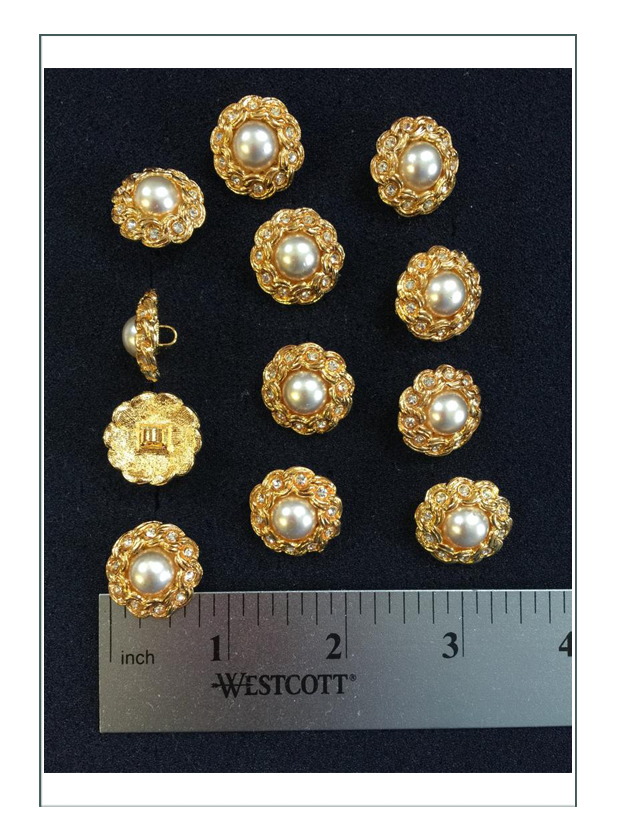
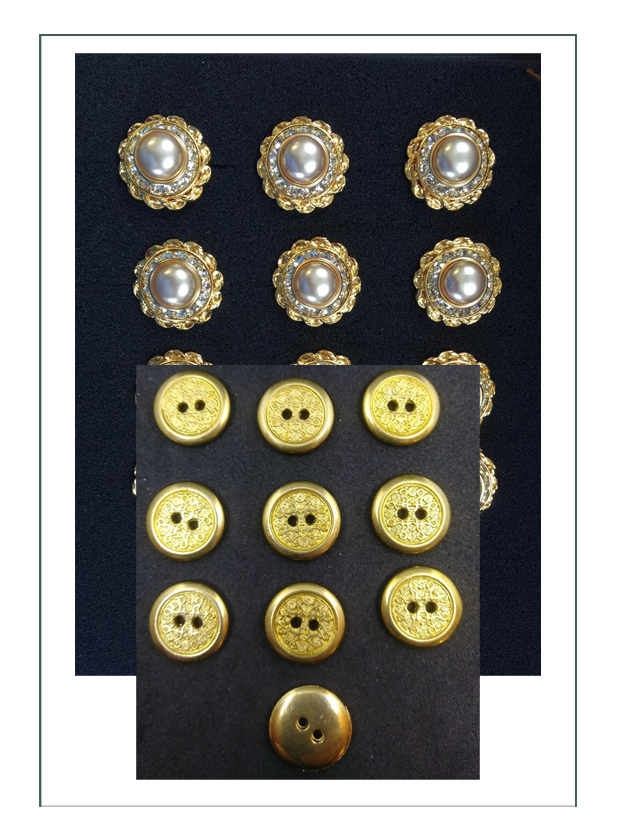
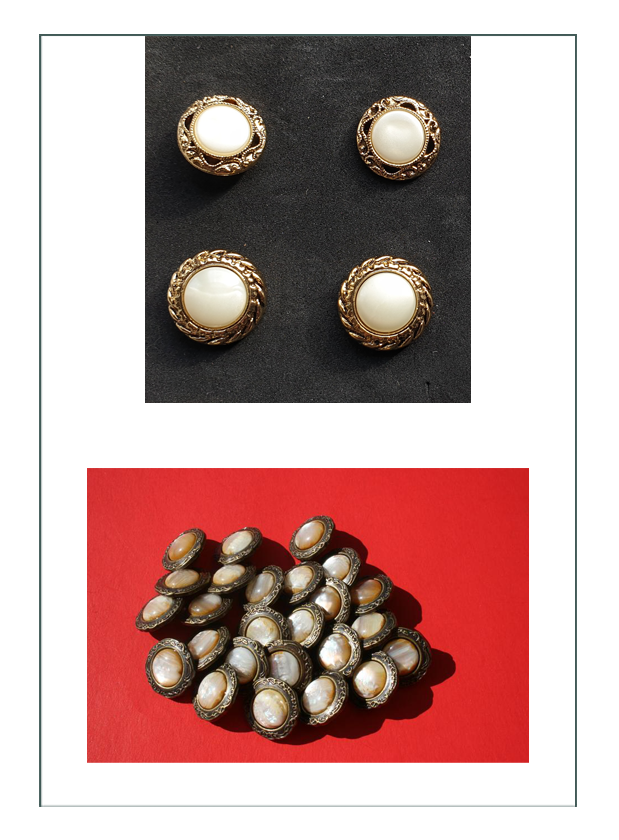
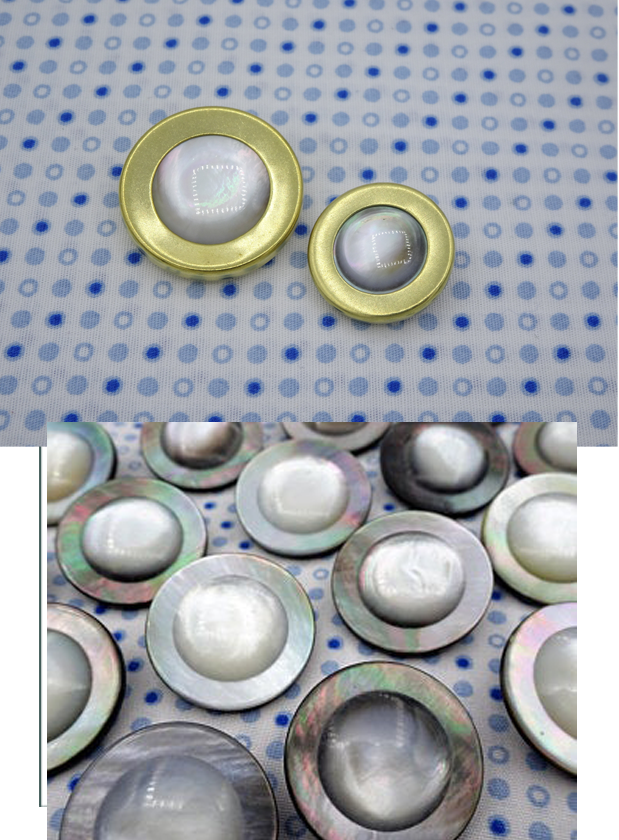
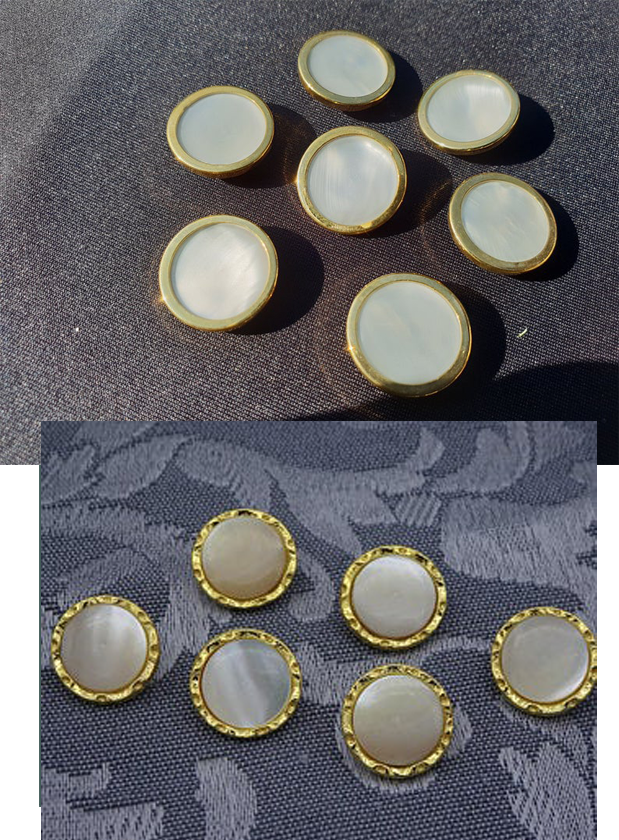
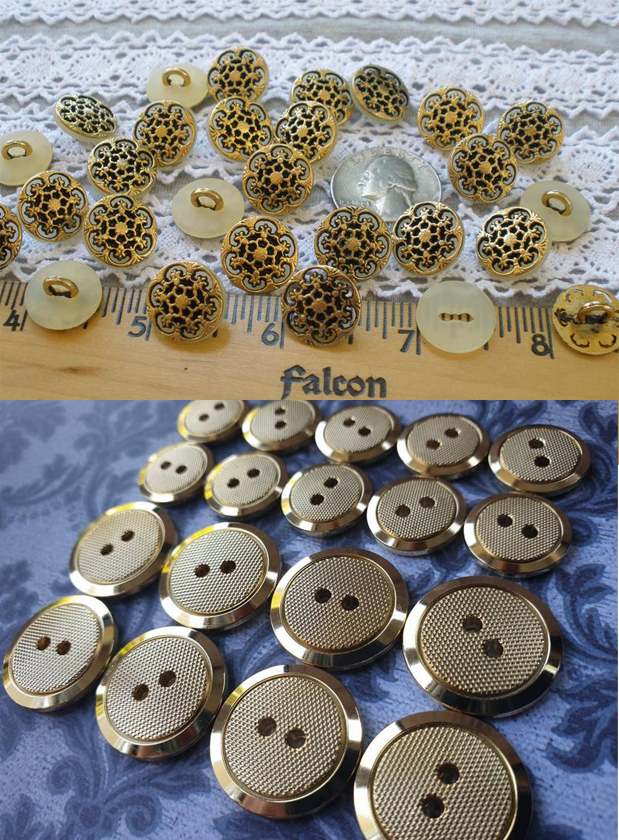
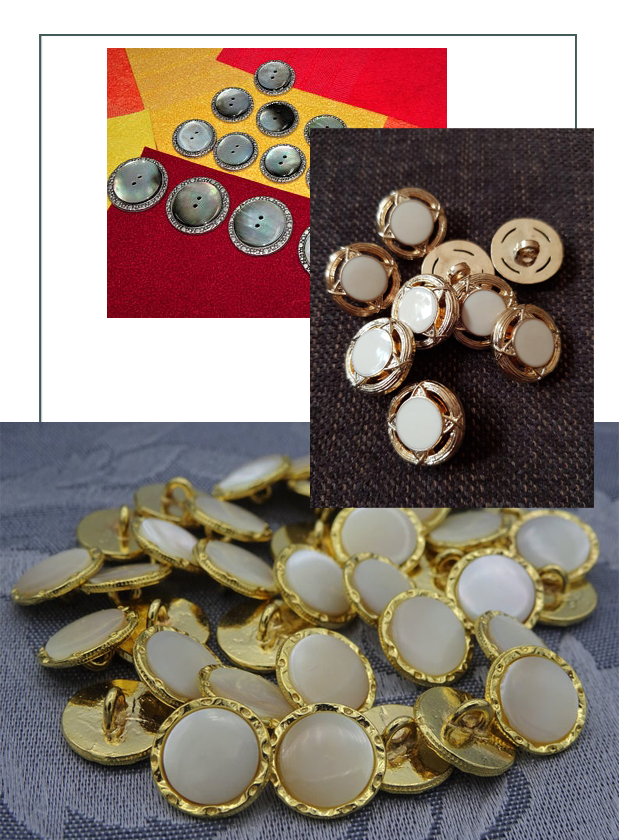
And so we settled on the expensive ones from the UK as they were shank, real metal, real glass, and will “up the bling” for the groom. He should be a bit “snazzier” than his groomsman we think:

2. Keep it Simple
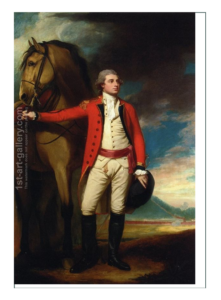
After proposing embroidery, fancywork, trim, piping, and fancy buttonholes, the bride repeated she wanted it like the boy’s, and to keep it simple. Here are a few things we played with before tossing the out (there were a LOT more!) All of these final selections would have given a military type look like this historical portrait:

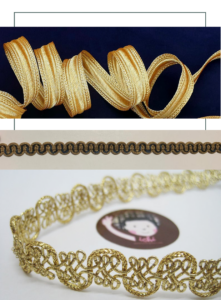
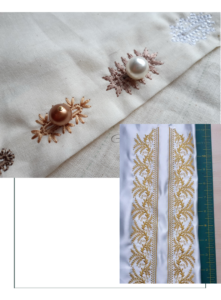
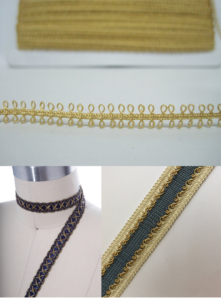
And so.. no trim was chosen. It will be plain and simple like the boys’
3. Make it Fit
We take pride on draping on a carefully sculpted mannequin in order to get a flawless fit. In the 18th century, they had the advantage as they had “the body” there to drape on. We have to rely on livestream sessions using a little camera, and the person at the other end has to get measurements.
It usually ends up with Suzi’s memory guiding the padding of the dummy and eventual fit, as it’s really hard to discern just wear the measurer decided the waist was, which dictates the back length of the waistcoat and everything else.
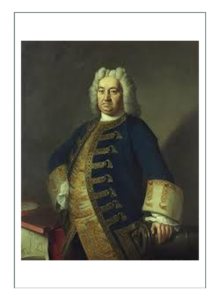
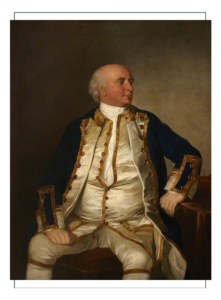
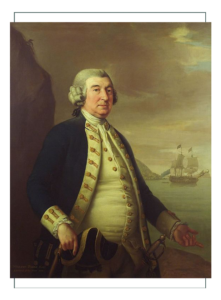
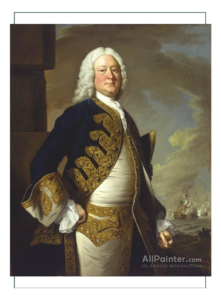
With Sam’s unique shape too, there were little extant garments with which to reference, and the few there were always were sitting down, had their arms covering their torso, and never could we see how they fit the back! So.. 8 hours of draping and 4 mockups later, we thought we had it. Here are the extant portraits and garments we used to determine an accurate historic fit to the waistcoat.
The Admirals
Interestingly, almost all the figures in this size were British or American Admirals of the Navy! More power to Sam, we say, since this is a Pirate wedding. He’s definitely the one in charge, and would have appeared to be so back then too.
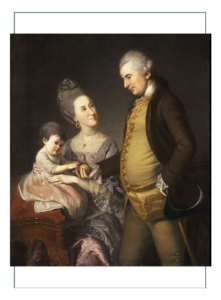
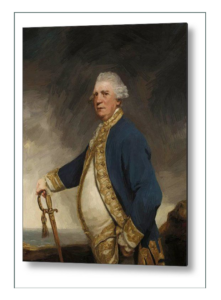
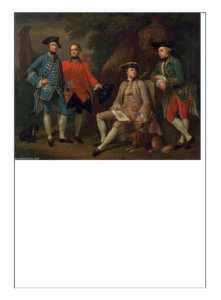
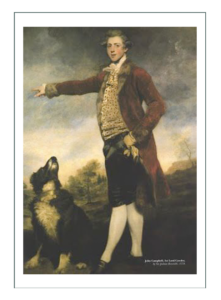
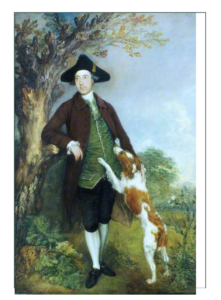
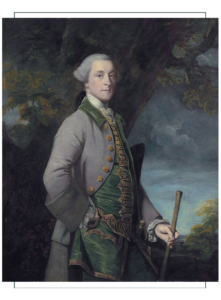
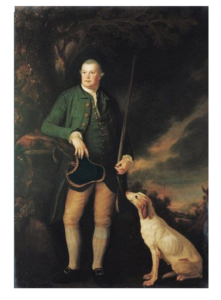
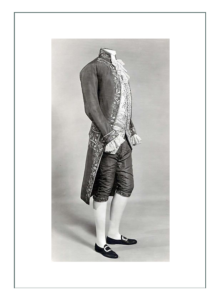
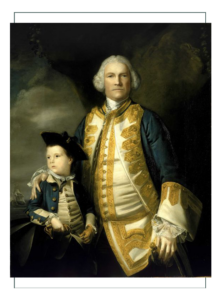
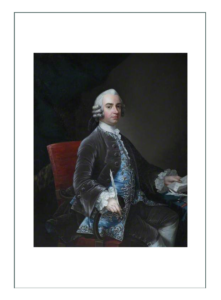
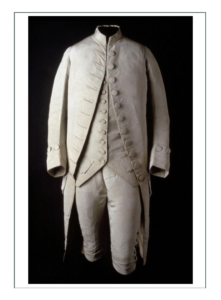
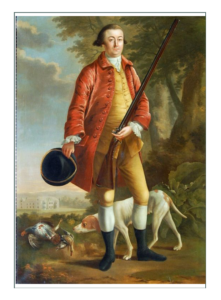
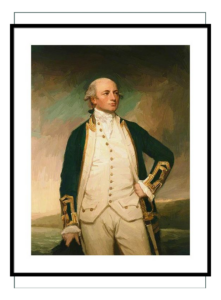
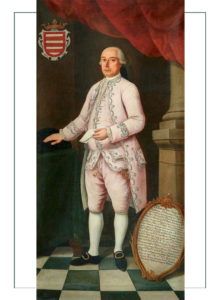
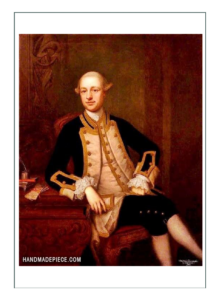
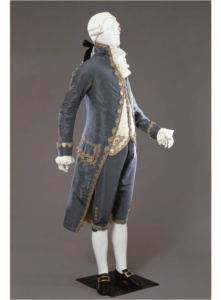
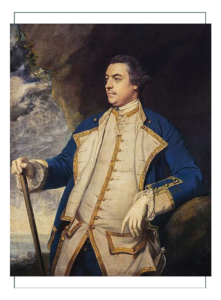
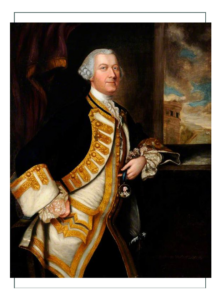
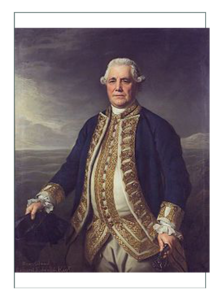
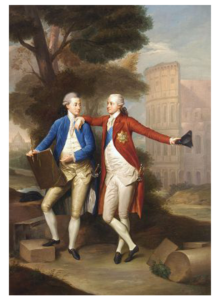
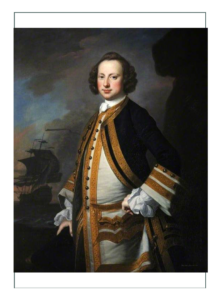
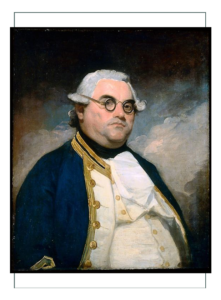
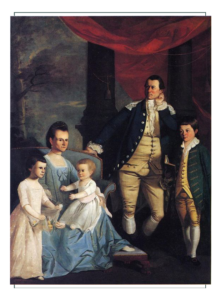
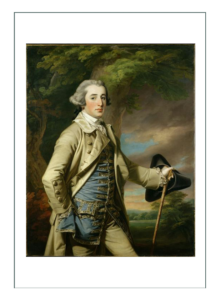
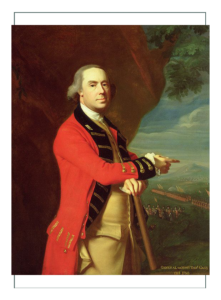
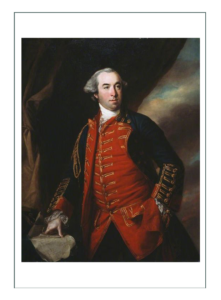
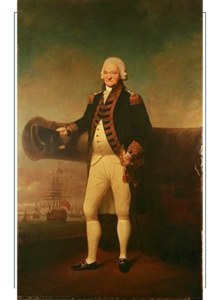

Free Form Design
The many examples above show men in their “jackets’ and “vests” at all times. THAT is the point. Every man doing anything and everywhere wore his waistcoat and frock coat together all the time. Except for sailors (and obviously not the admirals) who wore “trousers” and “shirts” only, even a working man wore his waistcoat and some sort of cravat.
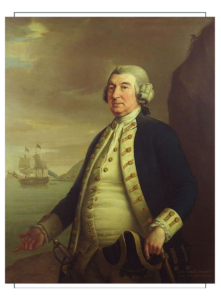
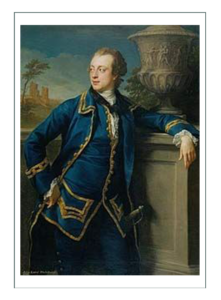
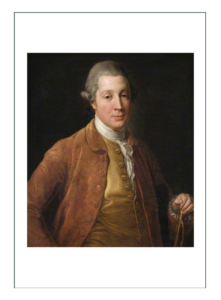
Since the bride has allowed us to “do our thing” on the frock coat, we draw inspiration from both the fancy work of the first group of examples, and the detail work of what is essentially uniforming in most of the 2nd group. The following give us best inspiration for frock coat design and detailing. Again, we’ll keep it simple; we are short of time and on a budget:
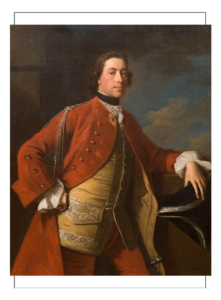
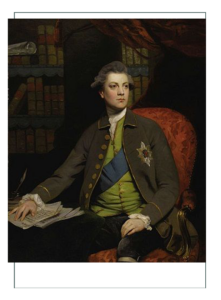
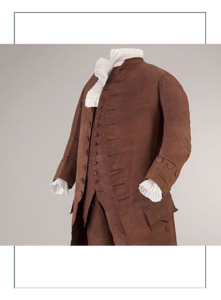
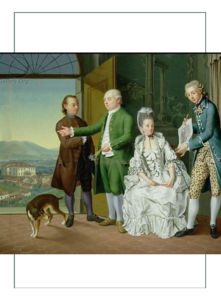
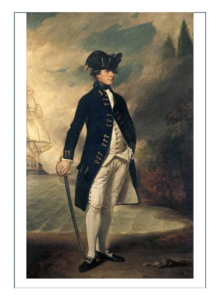
SELECTED FABRIC FOR COAT
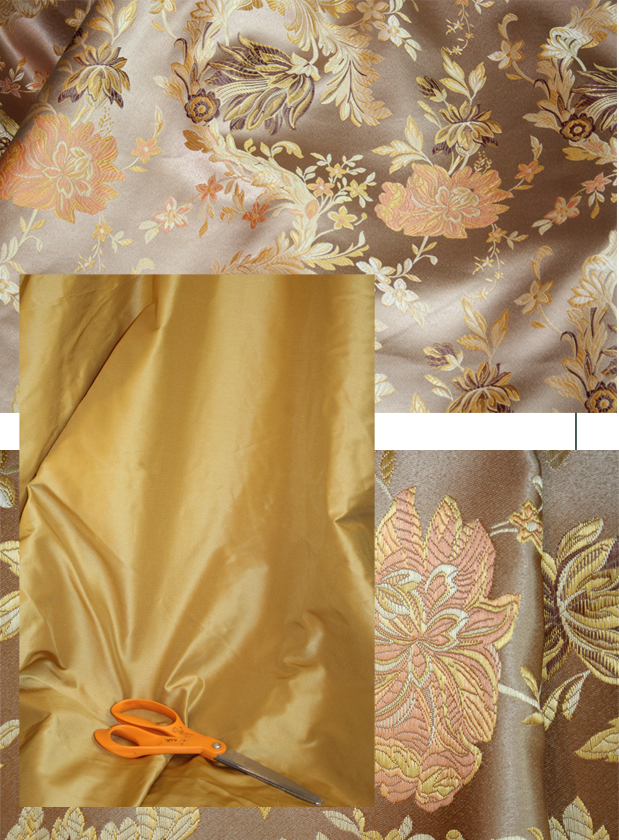
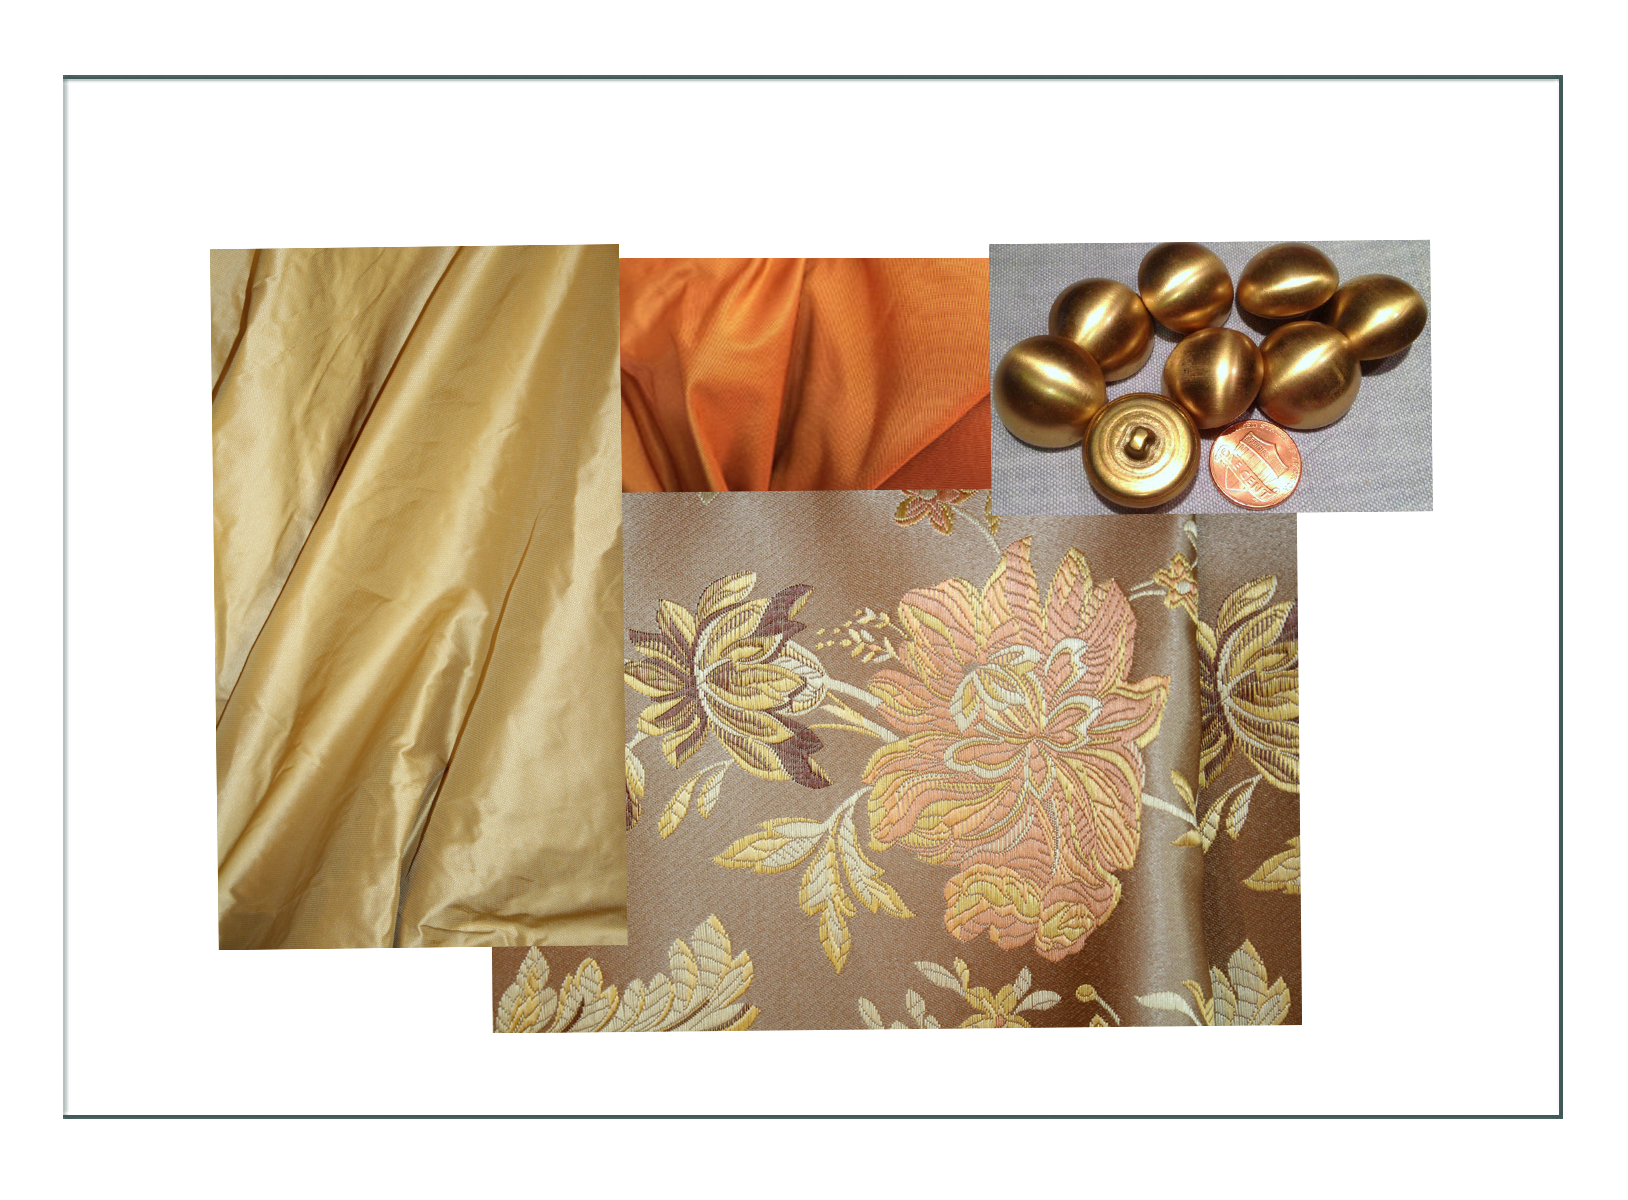
The “deal” was that if we used fabric from stock, Aimee would get the coat at a reduced price in exchange for Sam’s testimony and use of portraits for Silhouette’s marketing. This damask silk brocade is not exactly the wedding color scheme to match the bride’s tartan ensemble, but it will make a complete and finished polished look for the groom.
The fabric is dynamic and wild – oh so 18th century! We will keep the design basic and plain like in the coats we admire above where the tailoring shows it off, but make sure the fit is superb. This fabric changes color and texture depending on the light. We will use a reproduction silk taffeta lining to stiffen it, plus will go half way on the 1770’s design (which would have stiffened the whole thing), and just stiffen the front so it can support buttonholes and keep a crisp center front line.

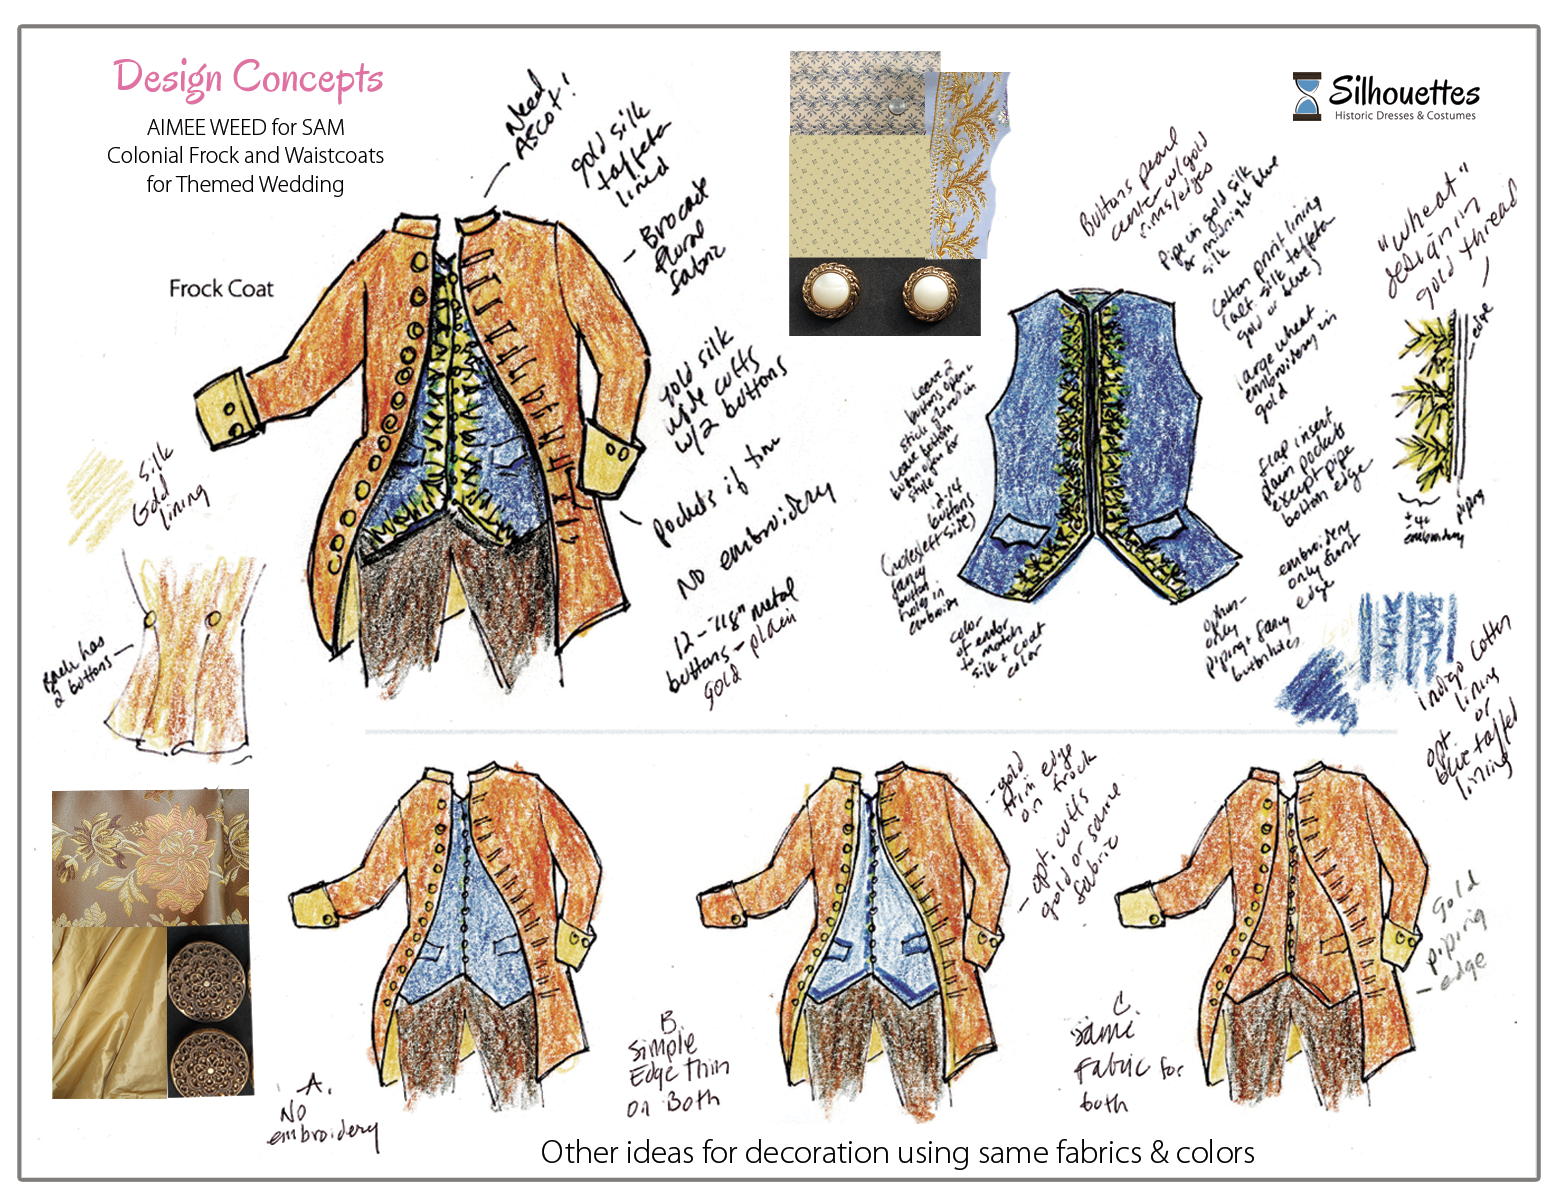
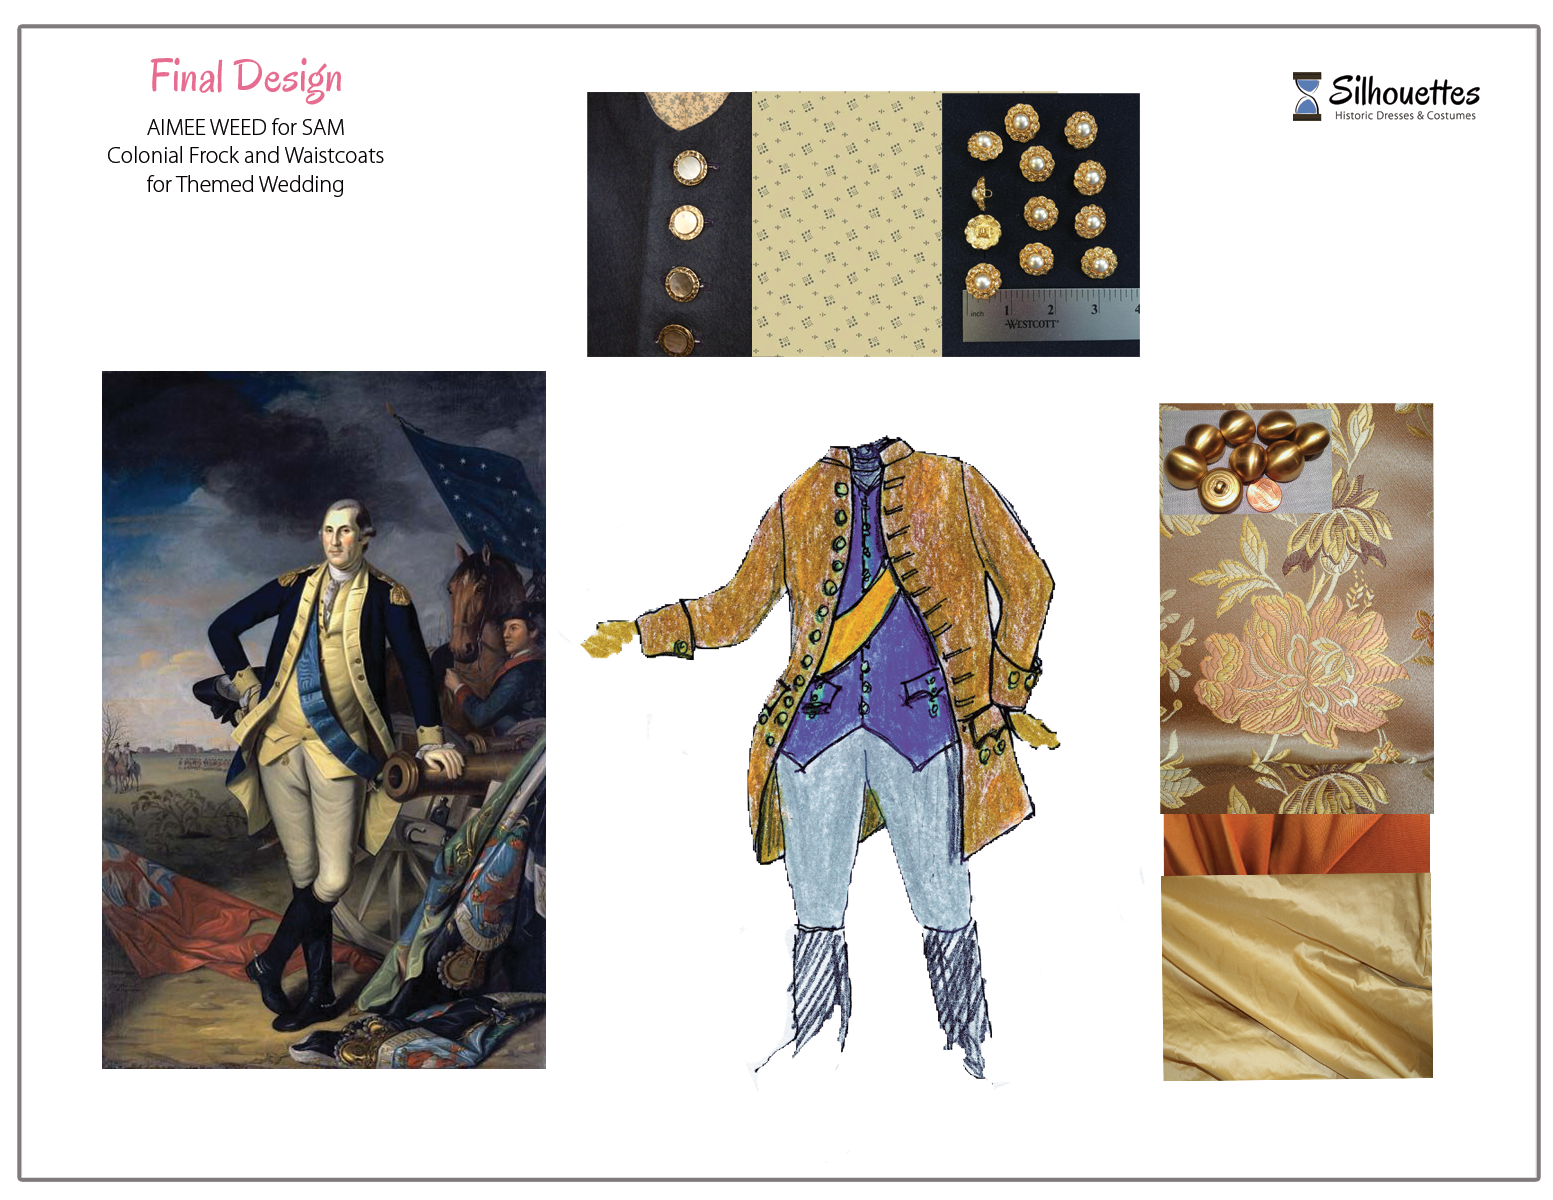
After discussion with Aimee, we will surprise Sam with the coat, so we are on our own to drape the design and do what looks best as we go. The finished project will be much like that in the center bottom of this sketch, although with brighter buttons and fancy pockets, and no blue trim as shown.
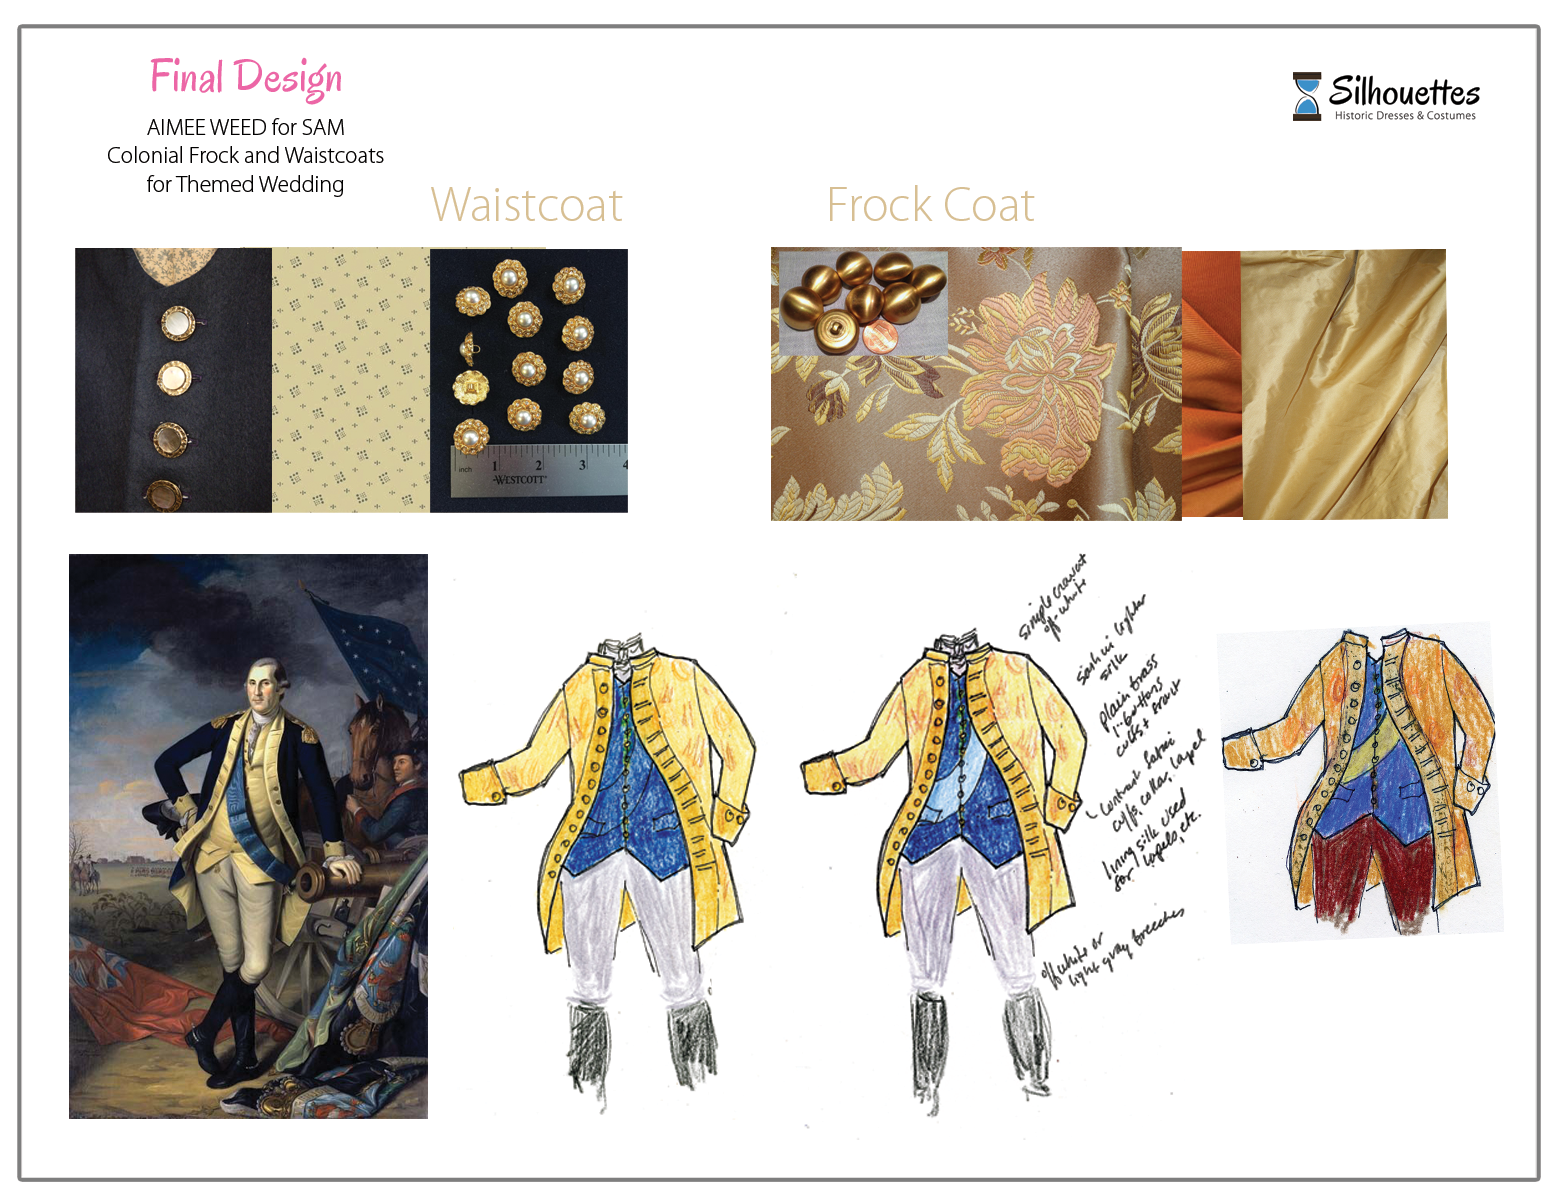
And then we found George Washington! From his inspiration plus the favorites above, we planned to “invert” his formal portrait attire which was somewhat military in appearance, but more what one would wear to a fancy dinner or.. wedding. We had found the coordinating lining fabric and buttons to match the boy’s, but the challenge was to find coordinating fabric and notions for the frock coat from in stock for economical reasons.
We loved the concept of the leadership or nobility sash, but oculd not find a color that would tie it all together, until we happened upon a scrap of orange silk taffeta.

Click here to go to Sam’s Main Page with the Finished Project (next)
